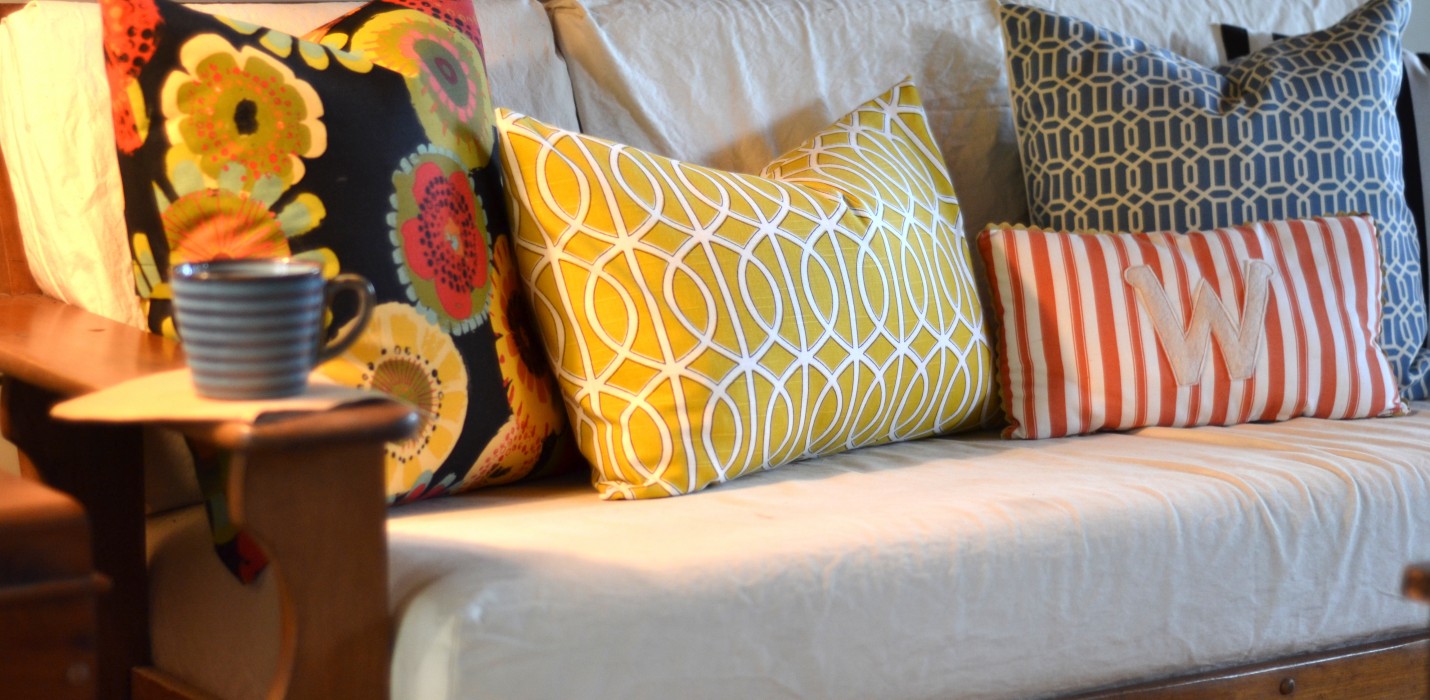
Pillows add so much to a space! They are a quick way to achieve a new look with minimal investment! Here are two easy methods for envelope back pillows you can whip up in a snap even if it’s your first try!
For this tutorial I am using a 20″ square pillow and a 16″ x 24″ pillow. All measurements for cutting are based on these sizes. Seam allowances are 1/2″.
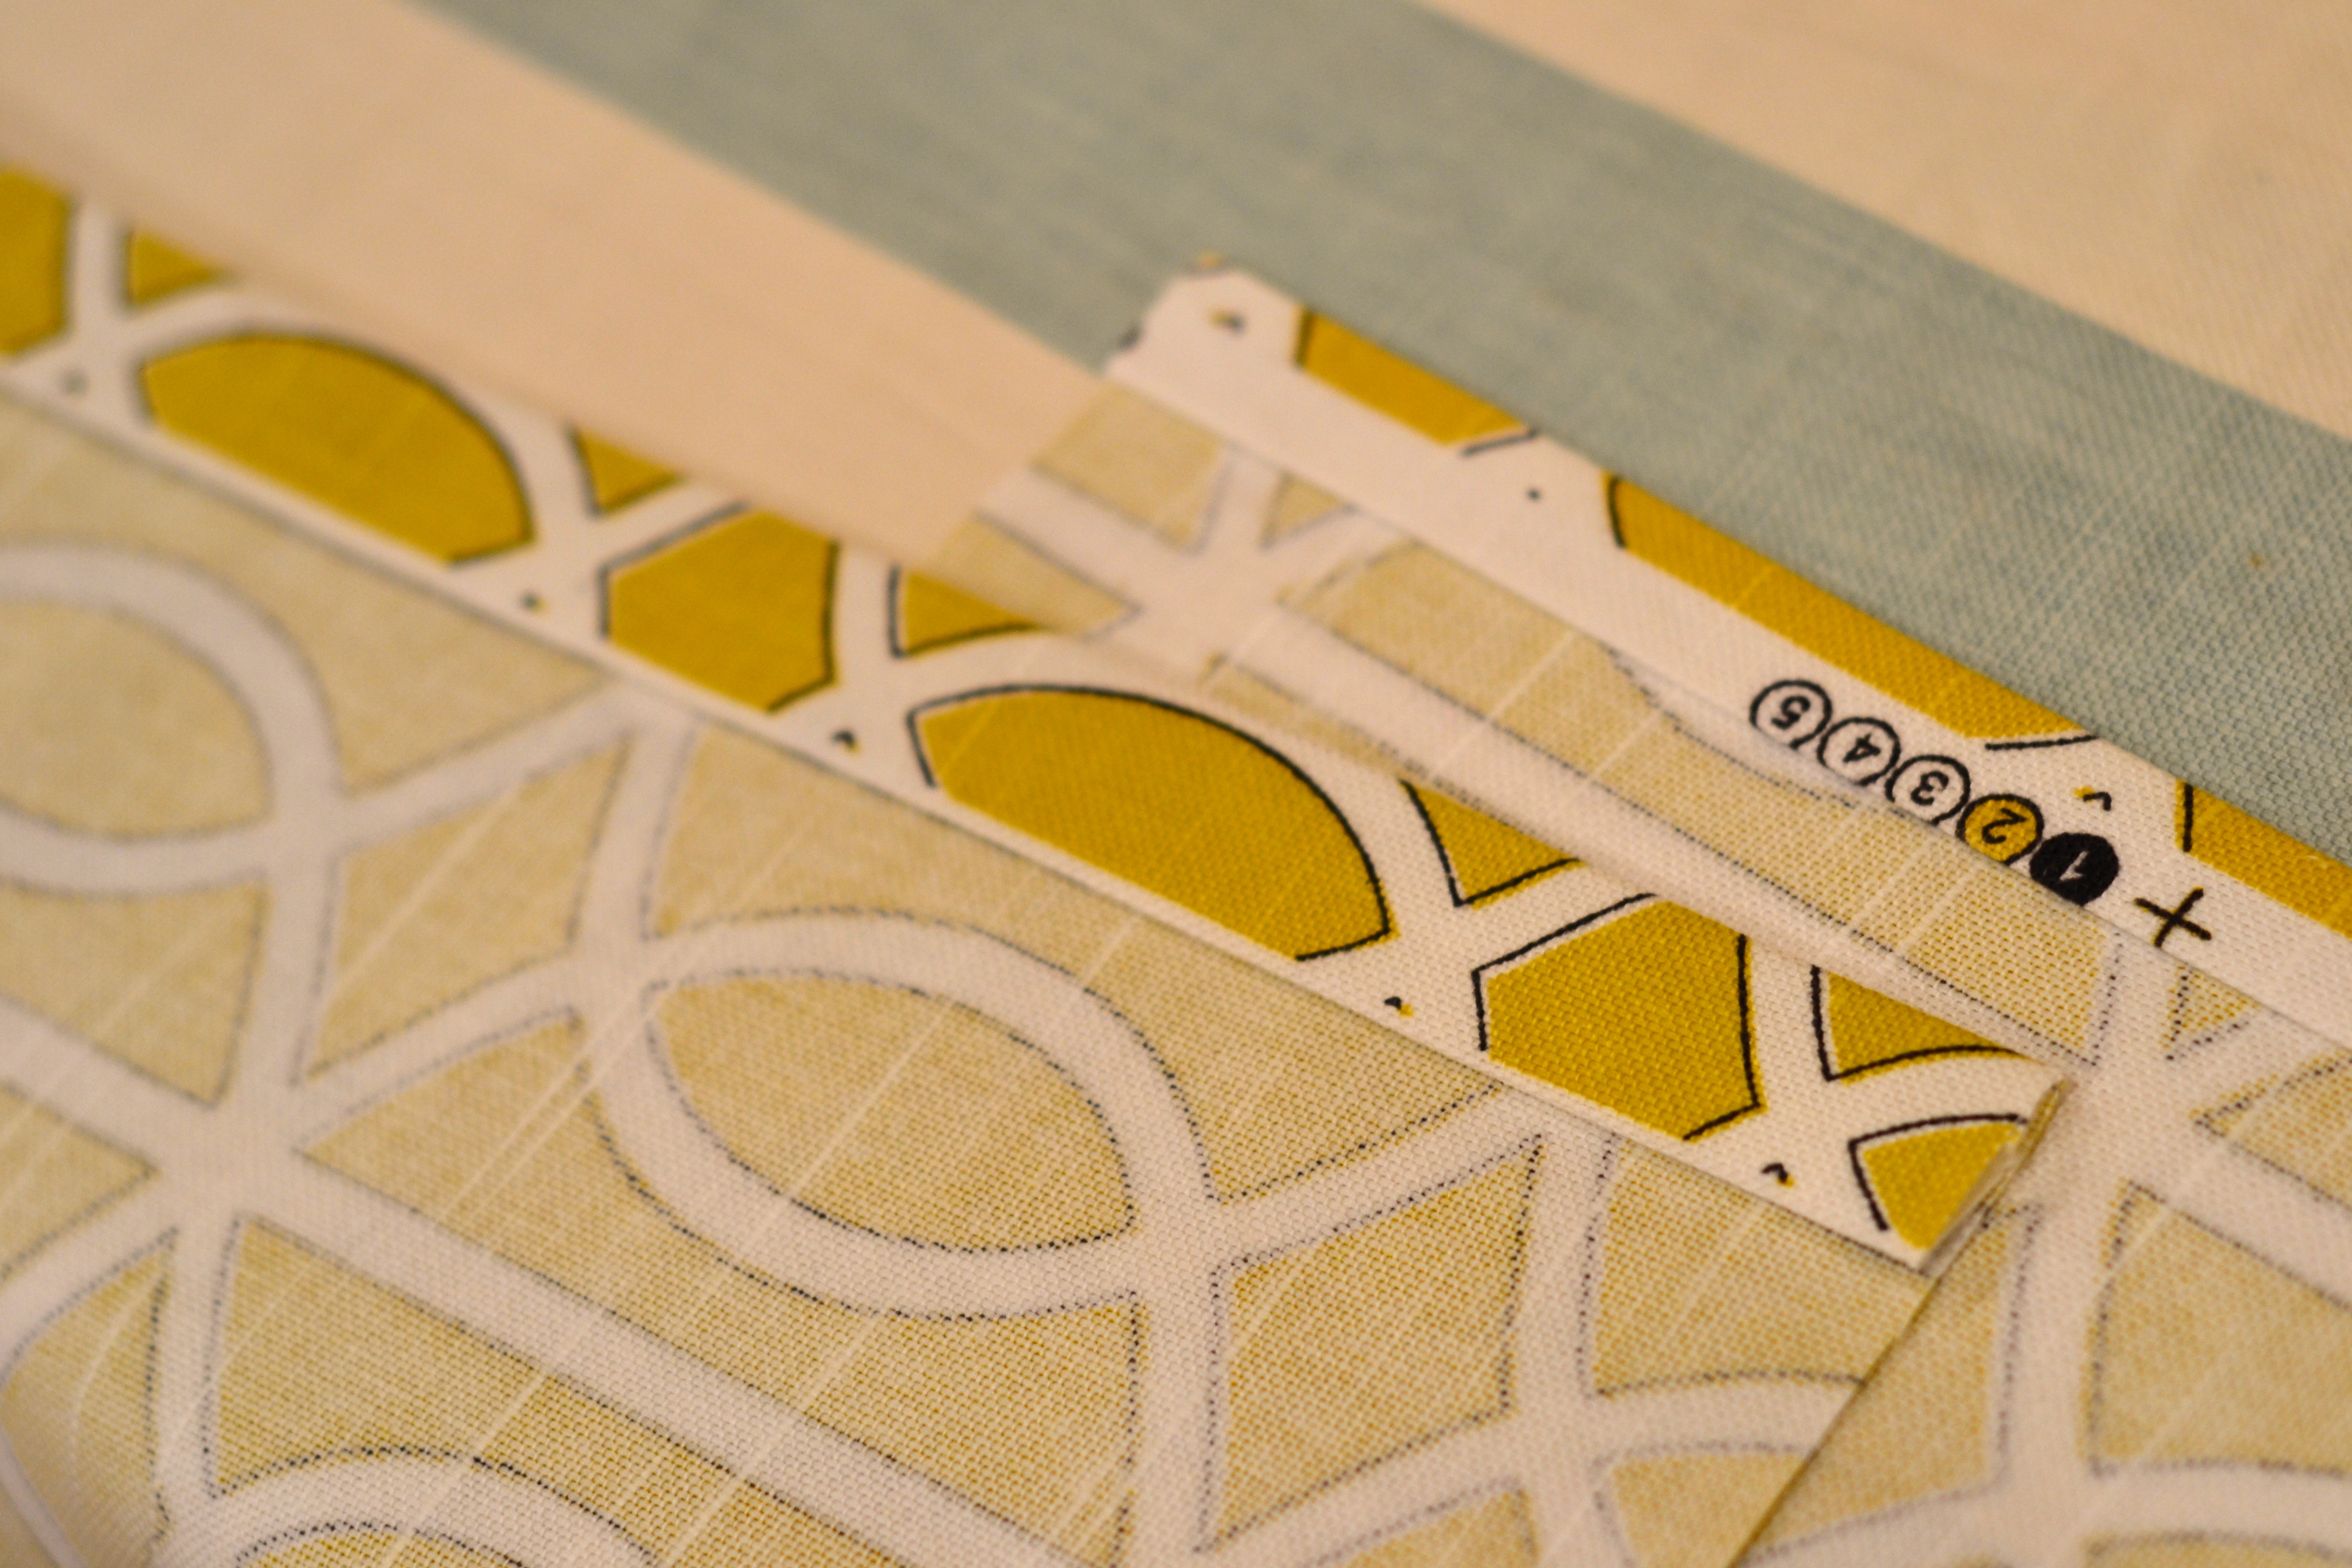
Now you’re ready to choose your fabric…other than the end result, this is my favorite part!
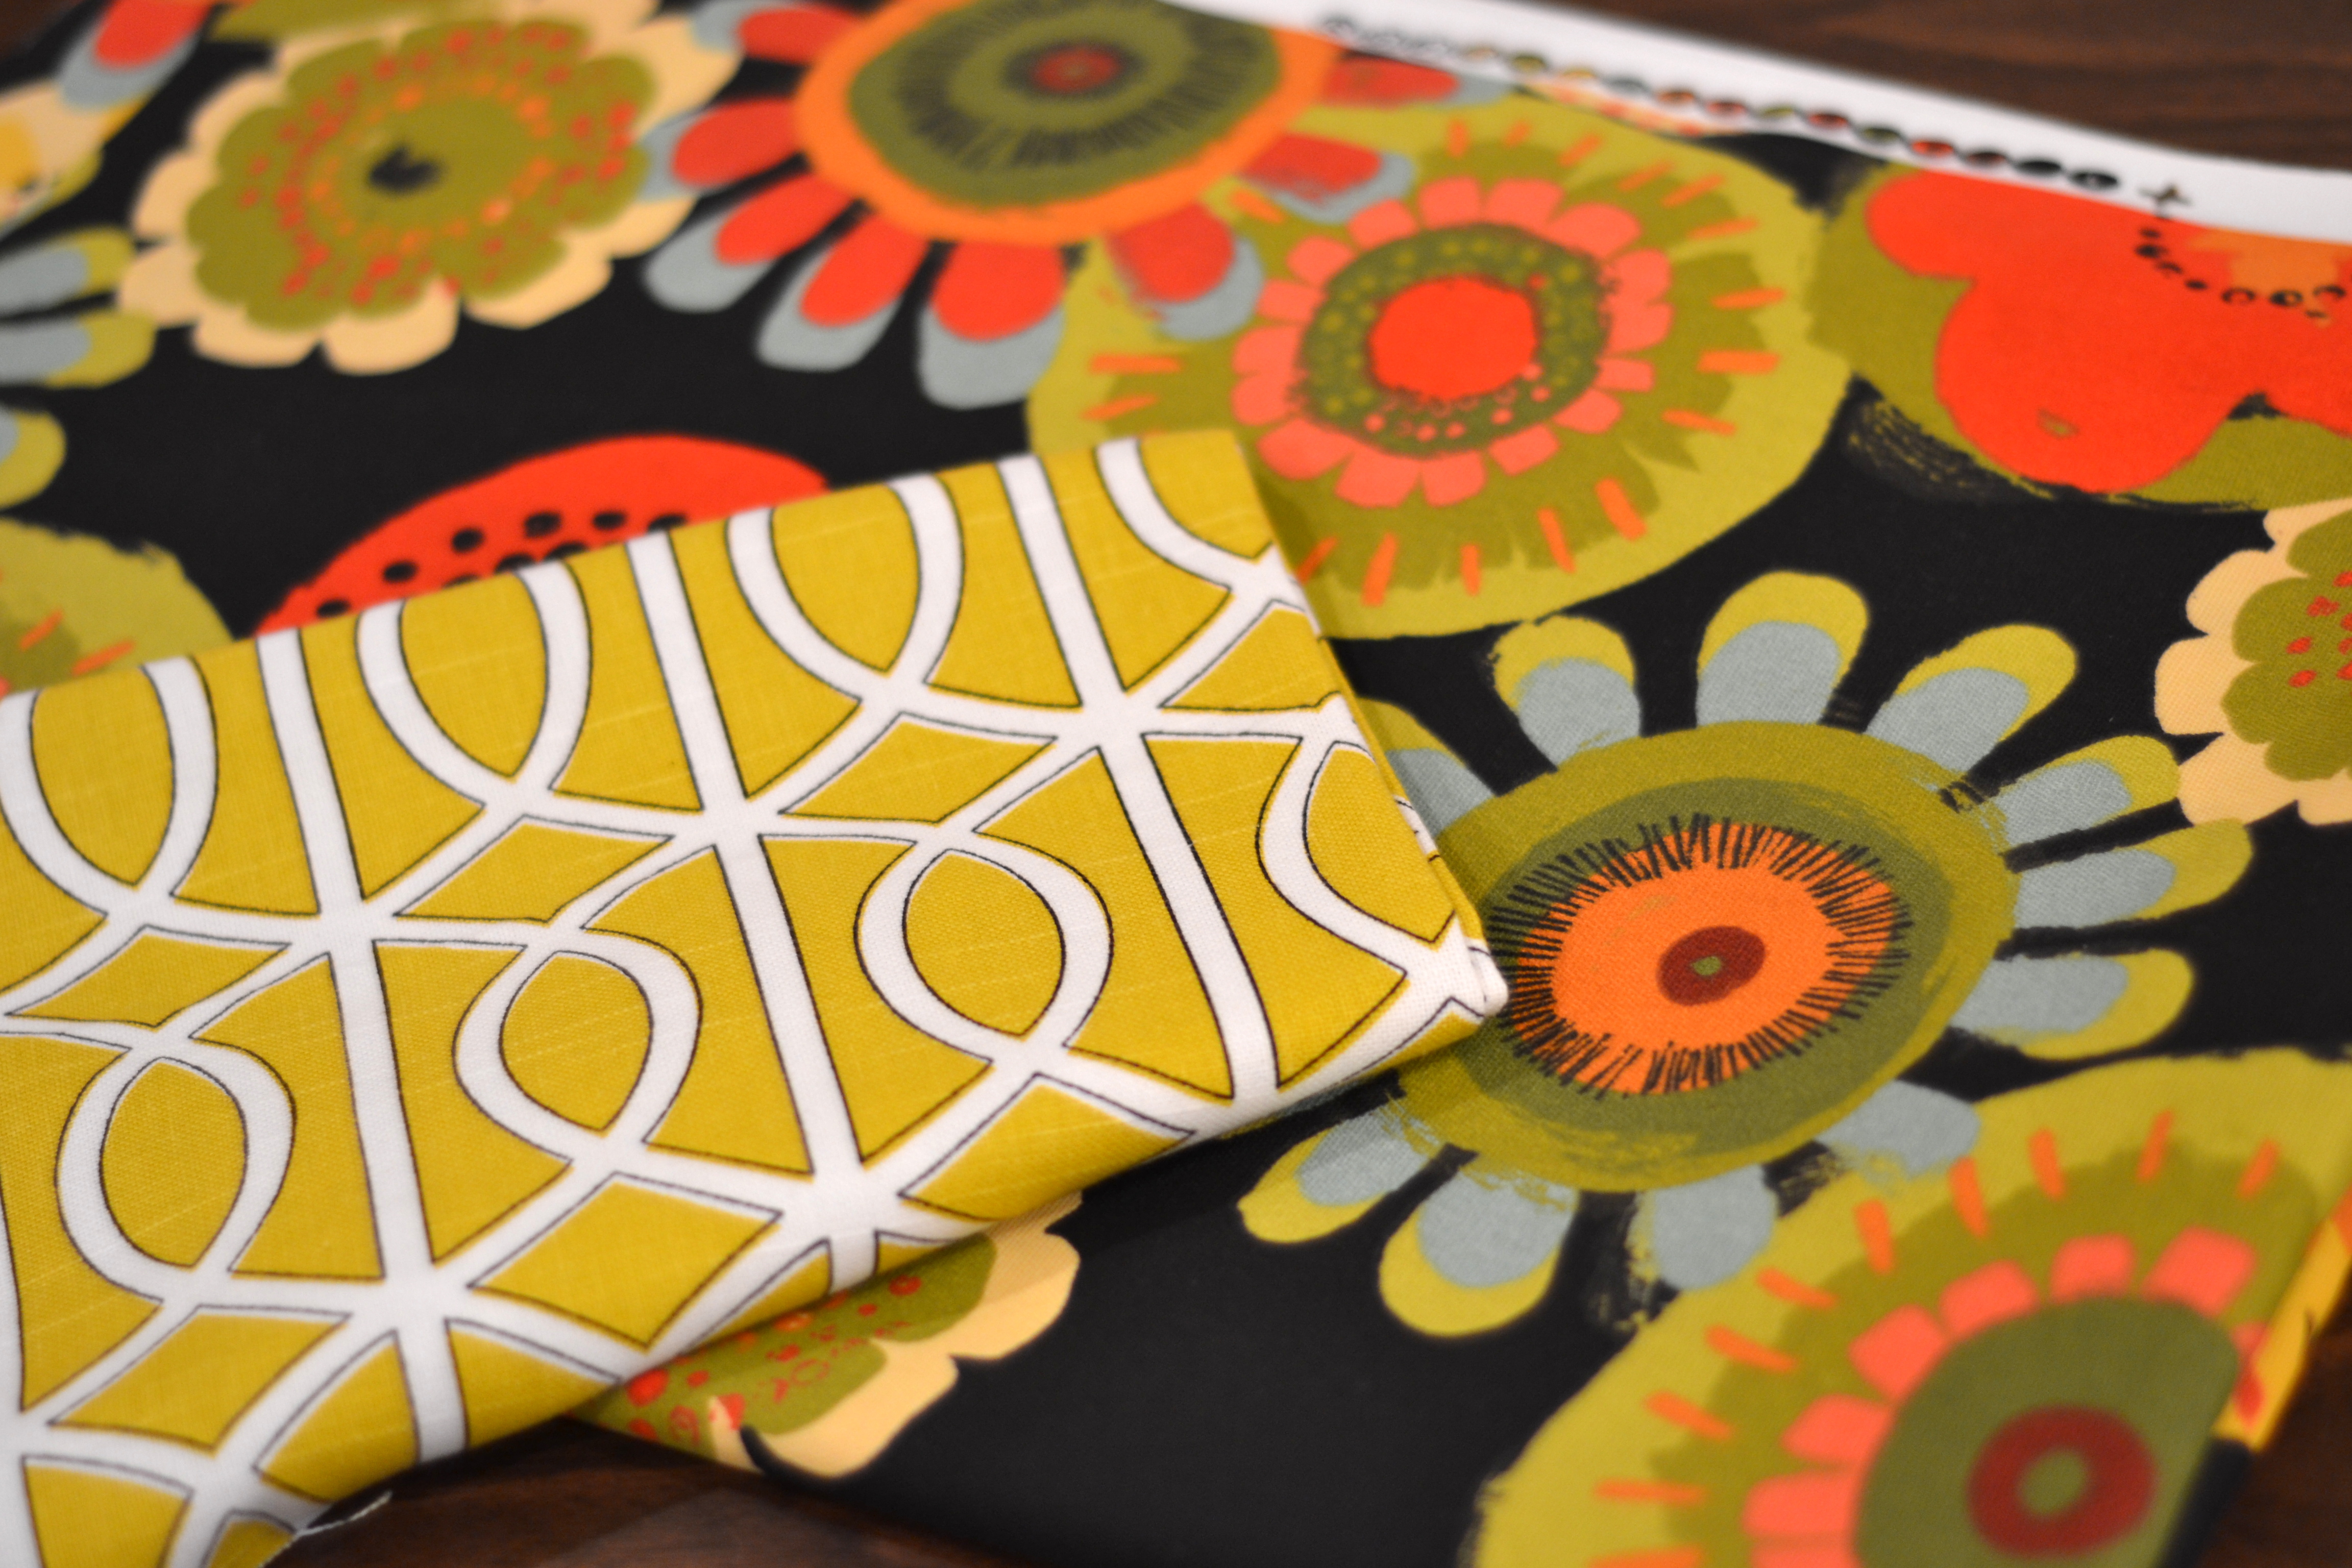
For a 20″ pillow cut one 20″x20″ square from your fabric. If you are using a pattern with detail you especially like take it into consideration when cutting your pillow front. (We are cutting the fabric the same size as the pillow form so when finished it will be nice and full.) Now cut two 20″x14″ pieces for the envelope back.

Front and back pieces
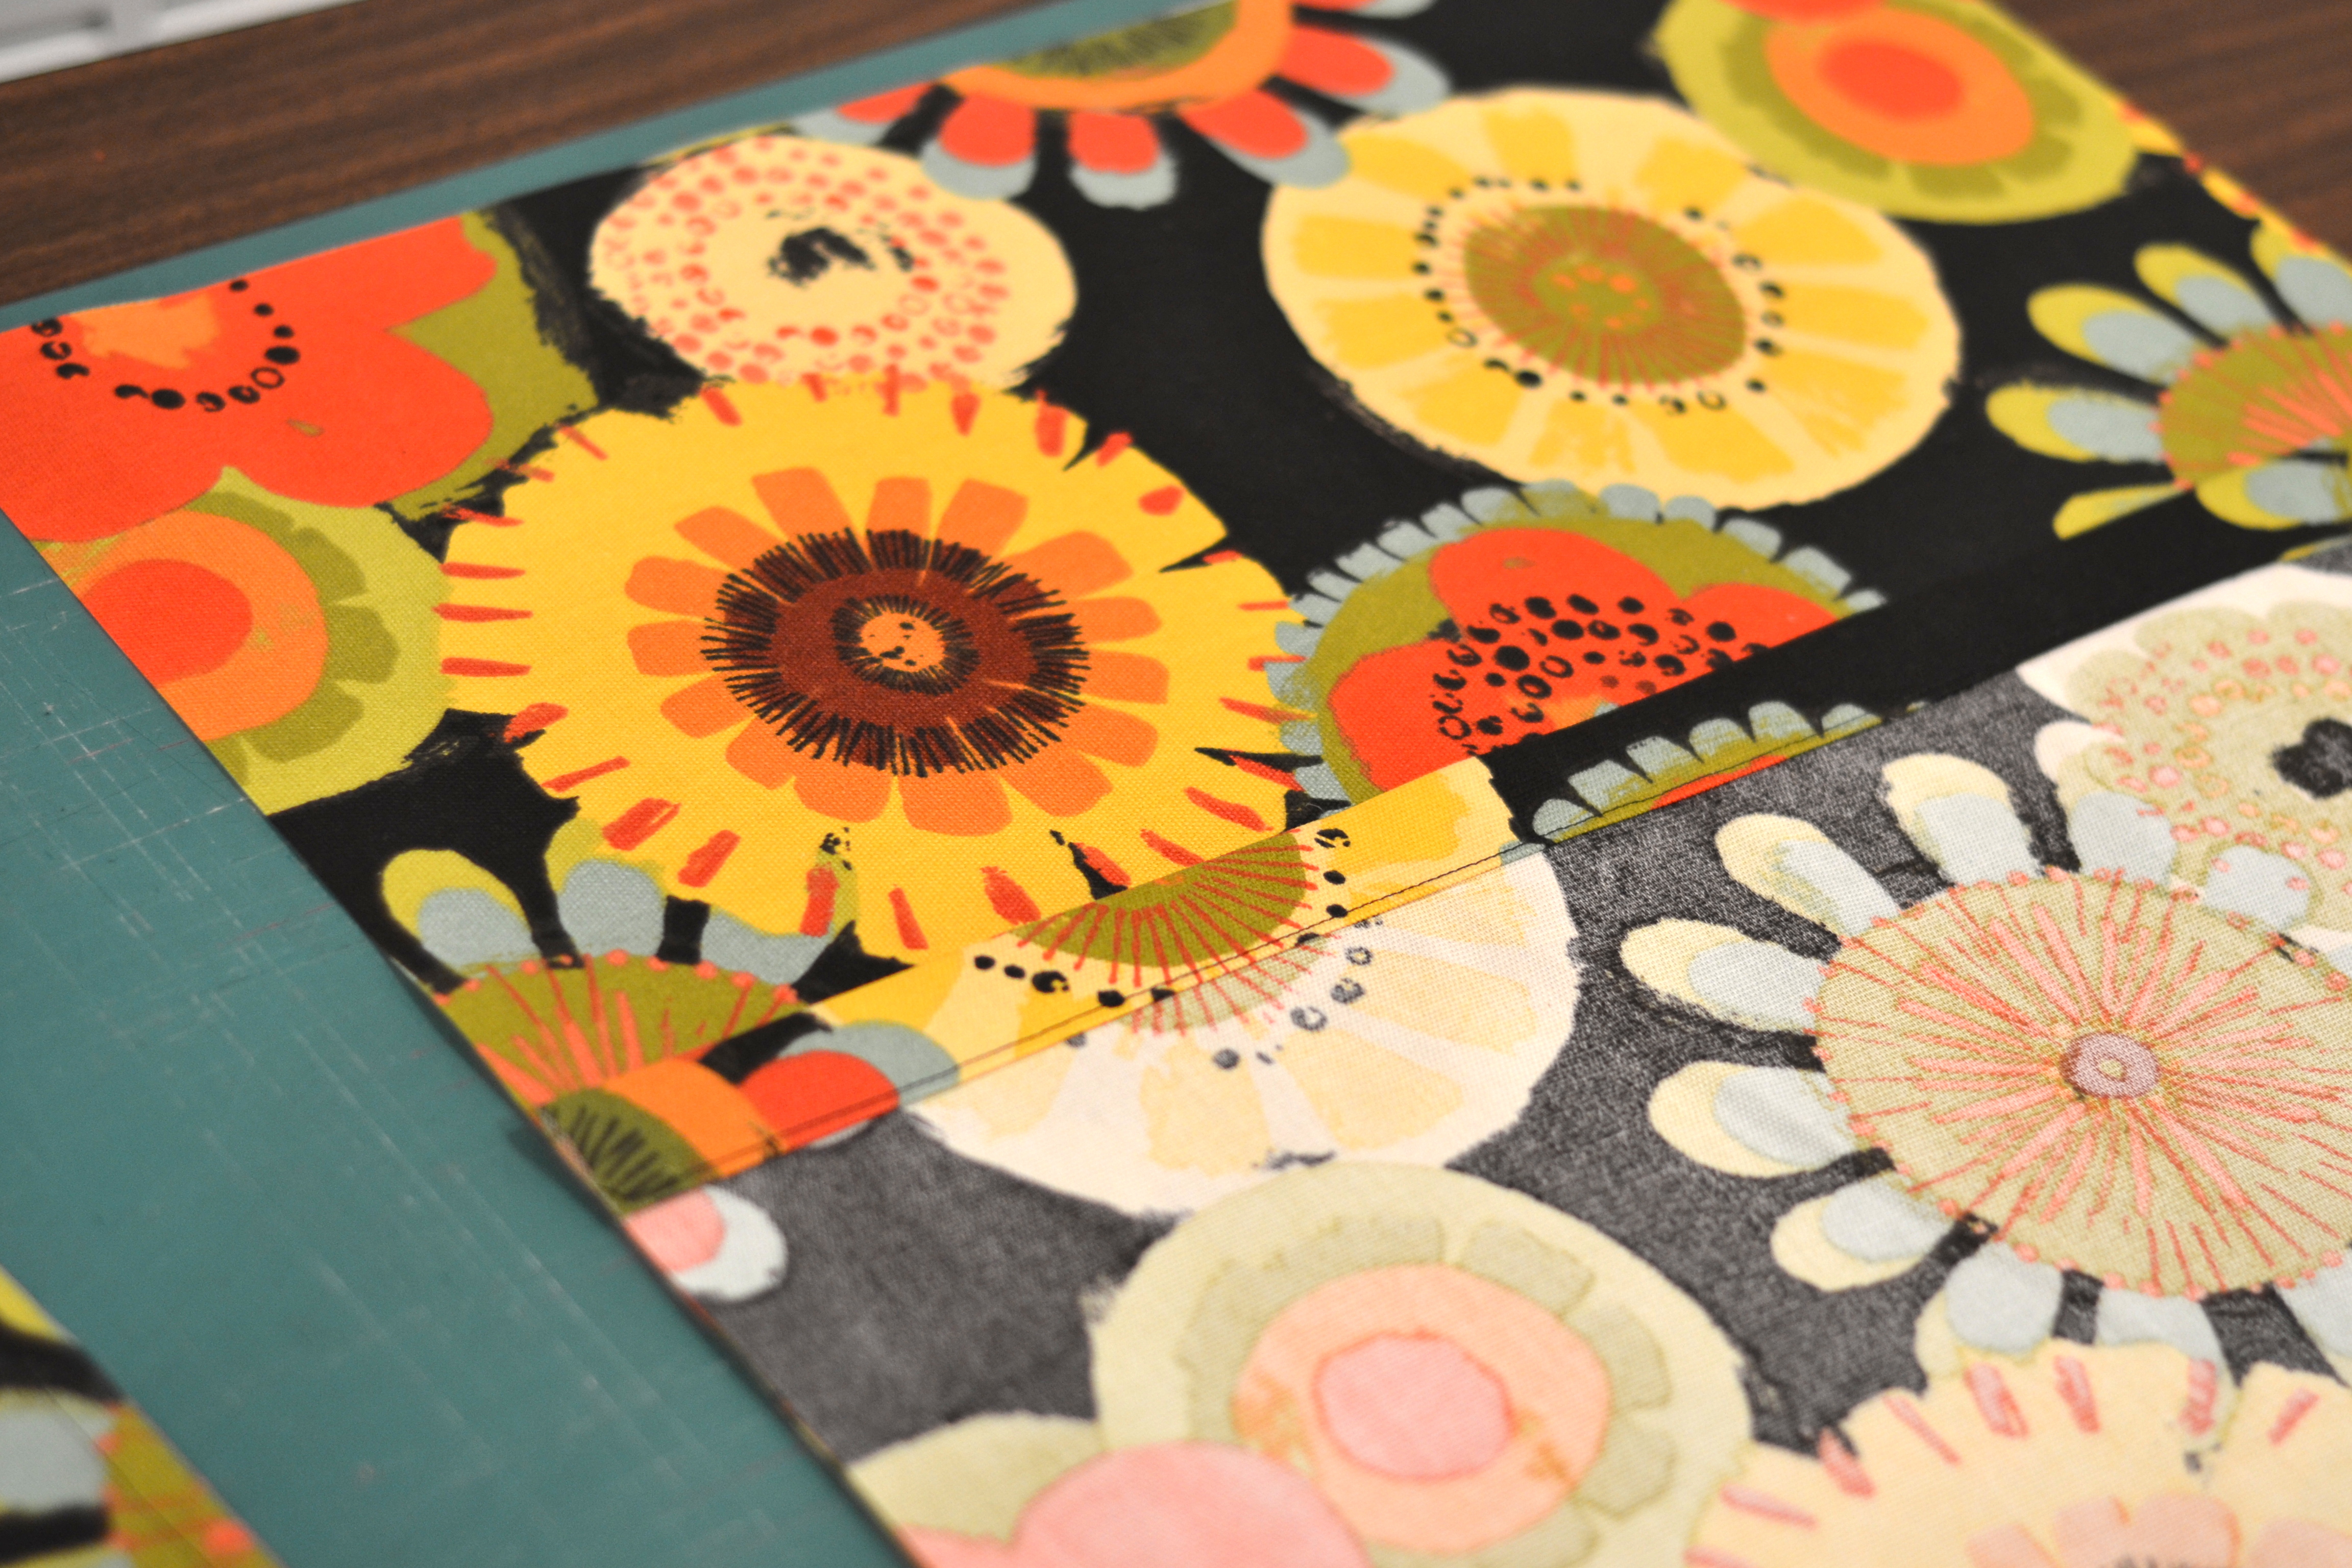
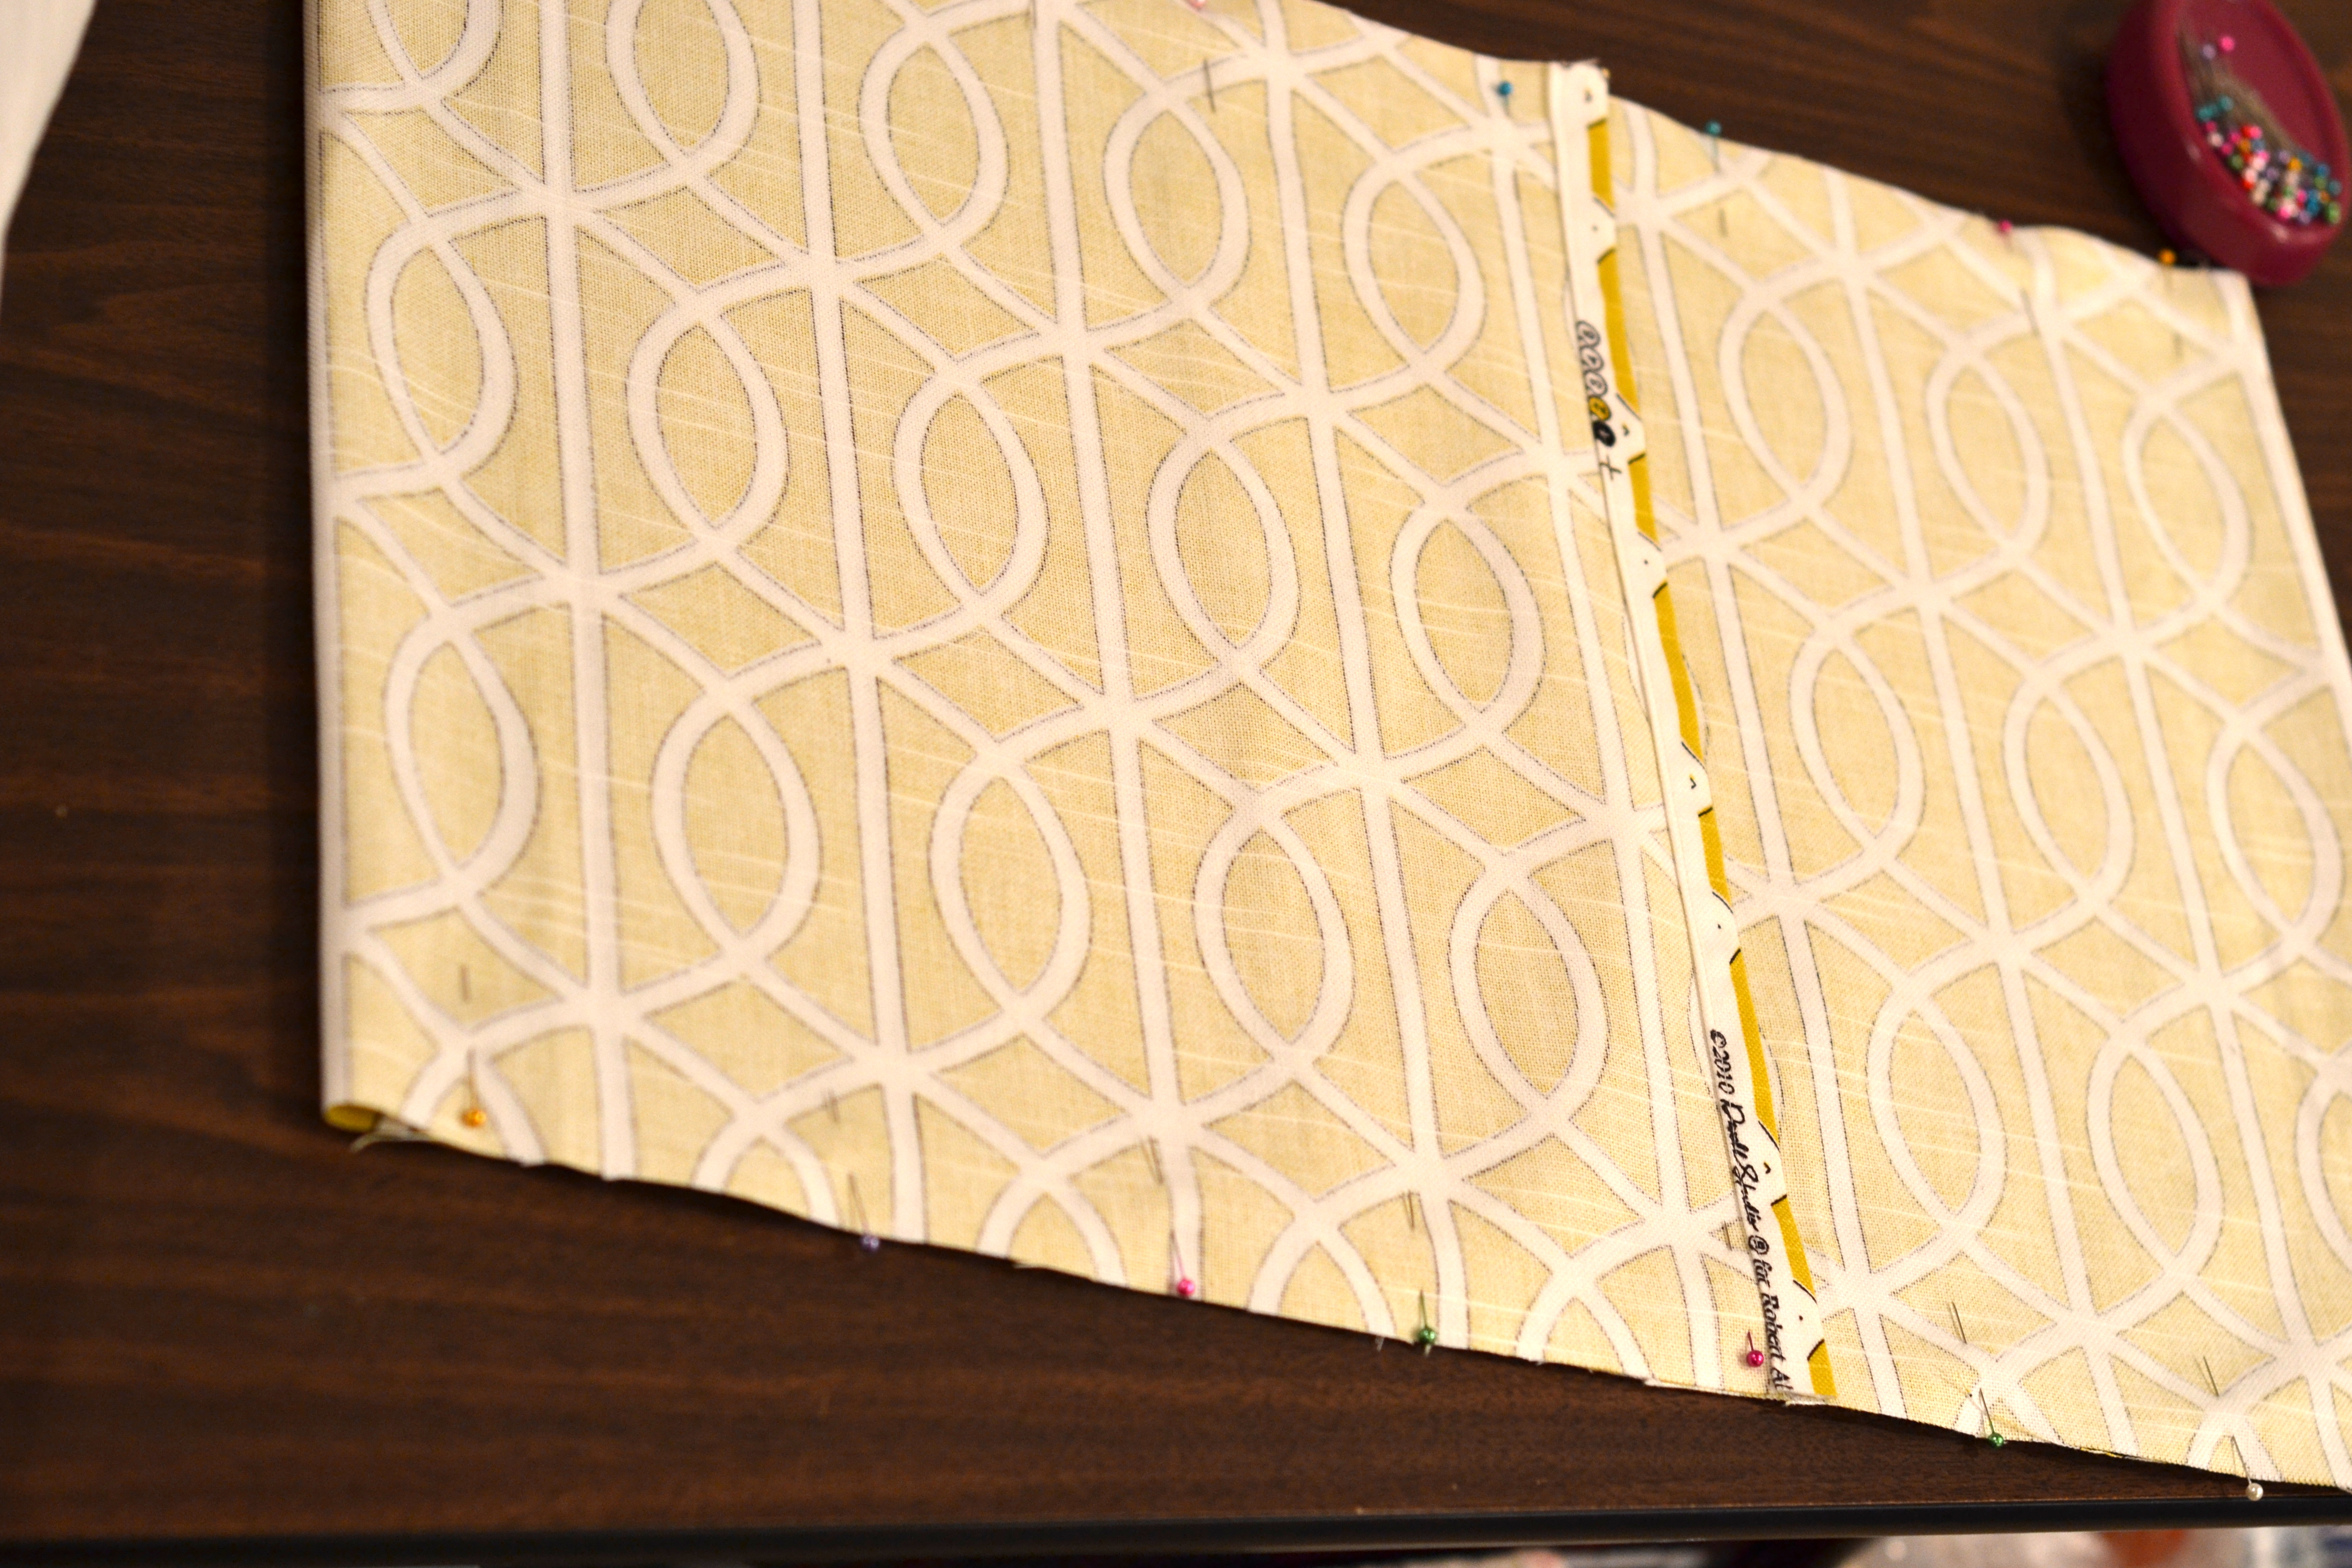
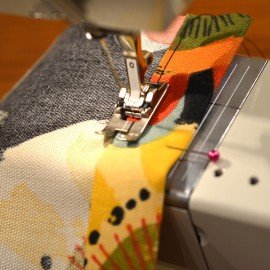
Press under 1/2″ on one long edge of a 20″x14″ piece and press. Turn under 1/2″ again and press. Now stitch in place. On the other 20″ x14″ piece turn under 1/2″; press. Turn under again 1″ this time and press. Stitch close to edge using your presser foot as a guide (see photo). Now it’s time to put it all together!
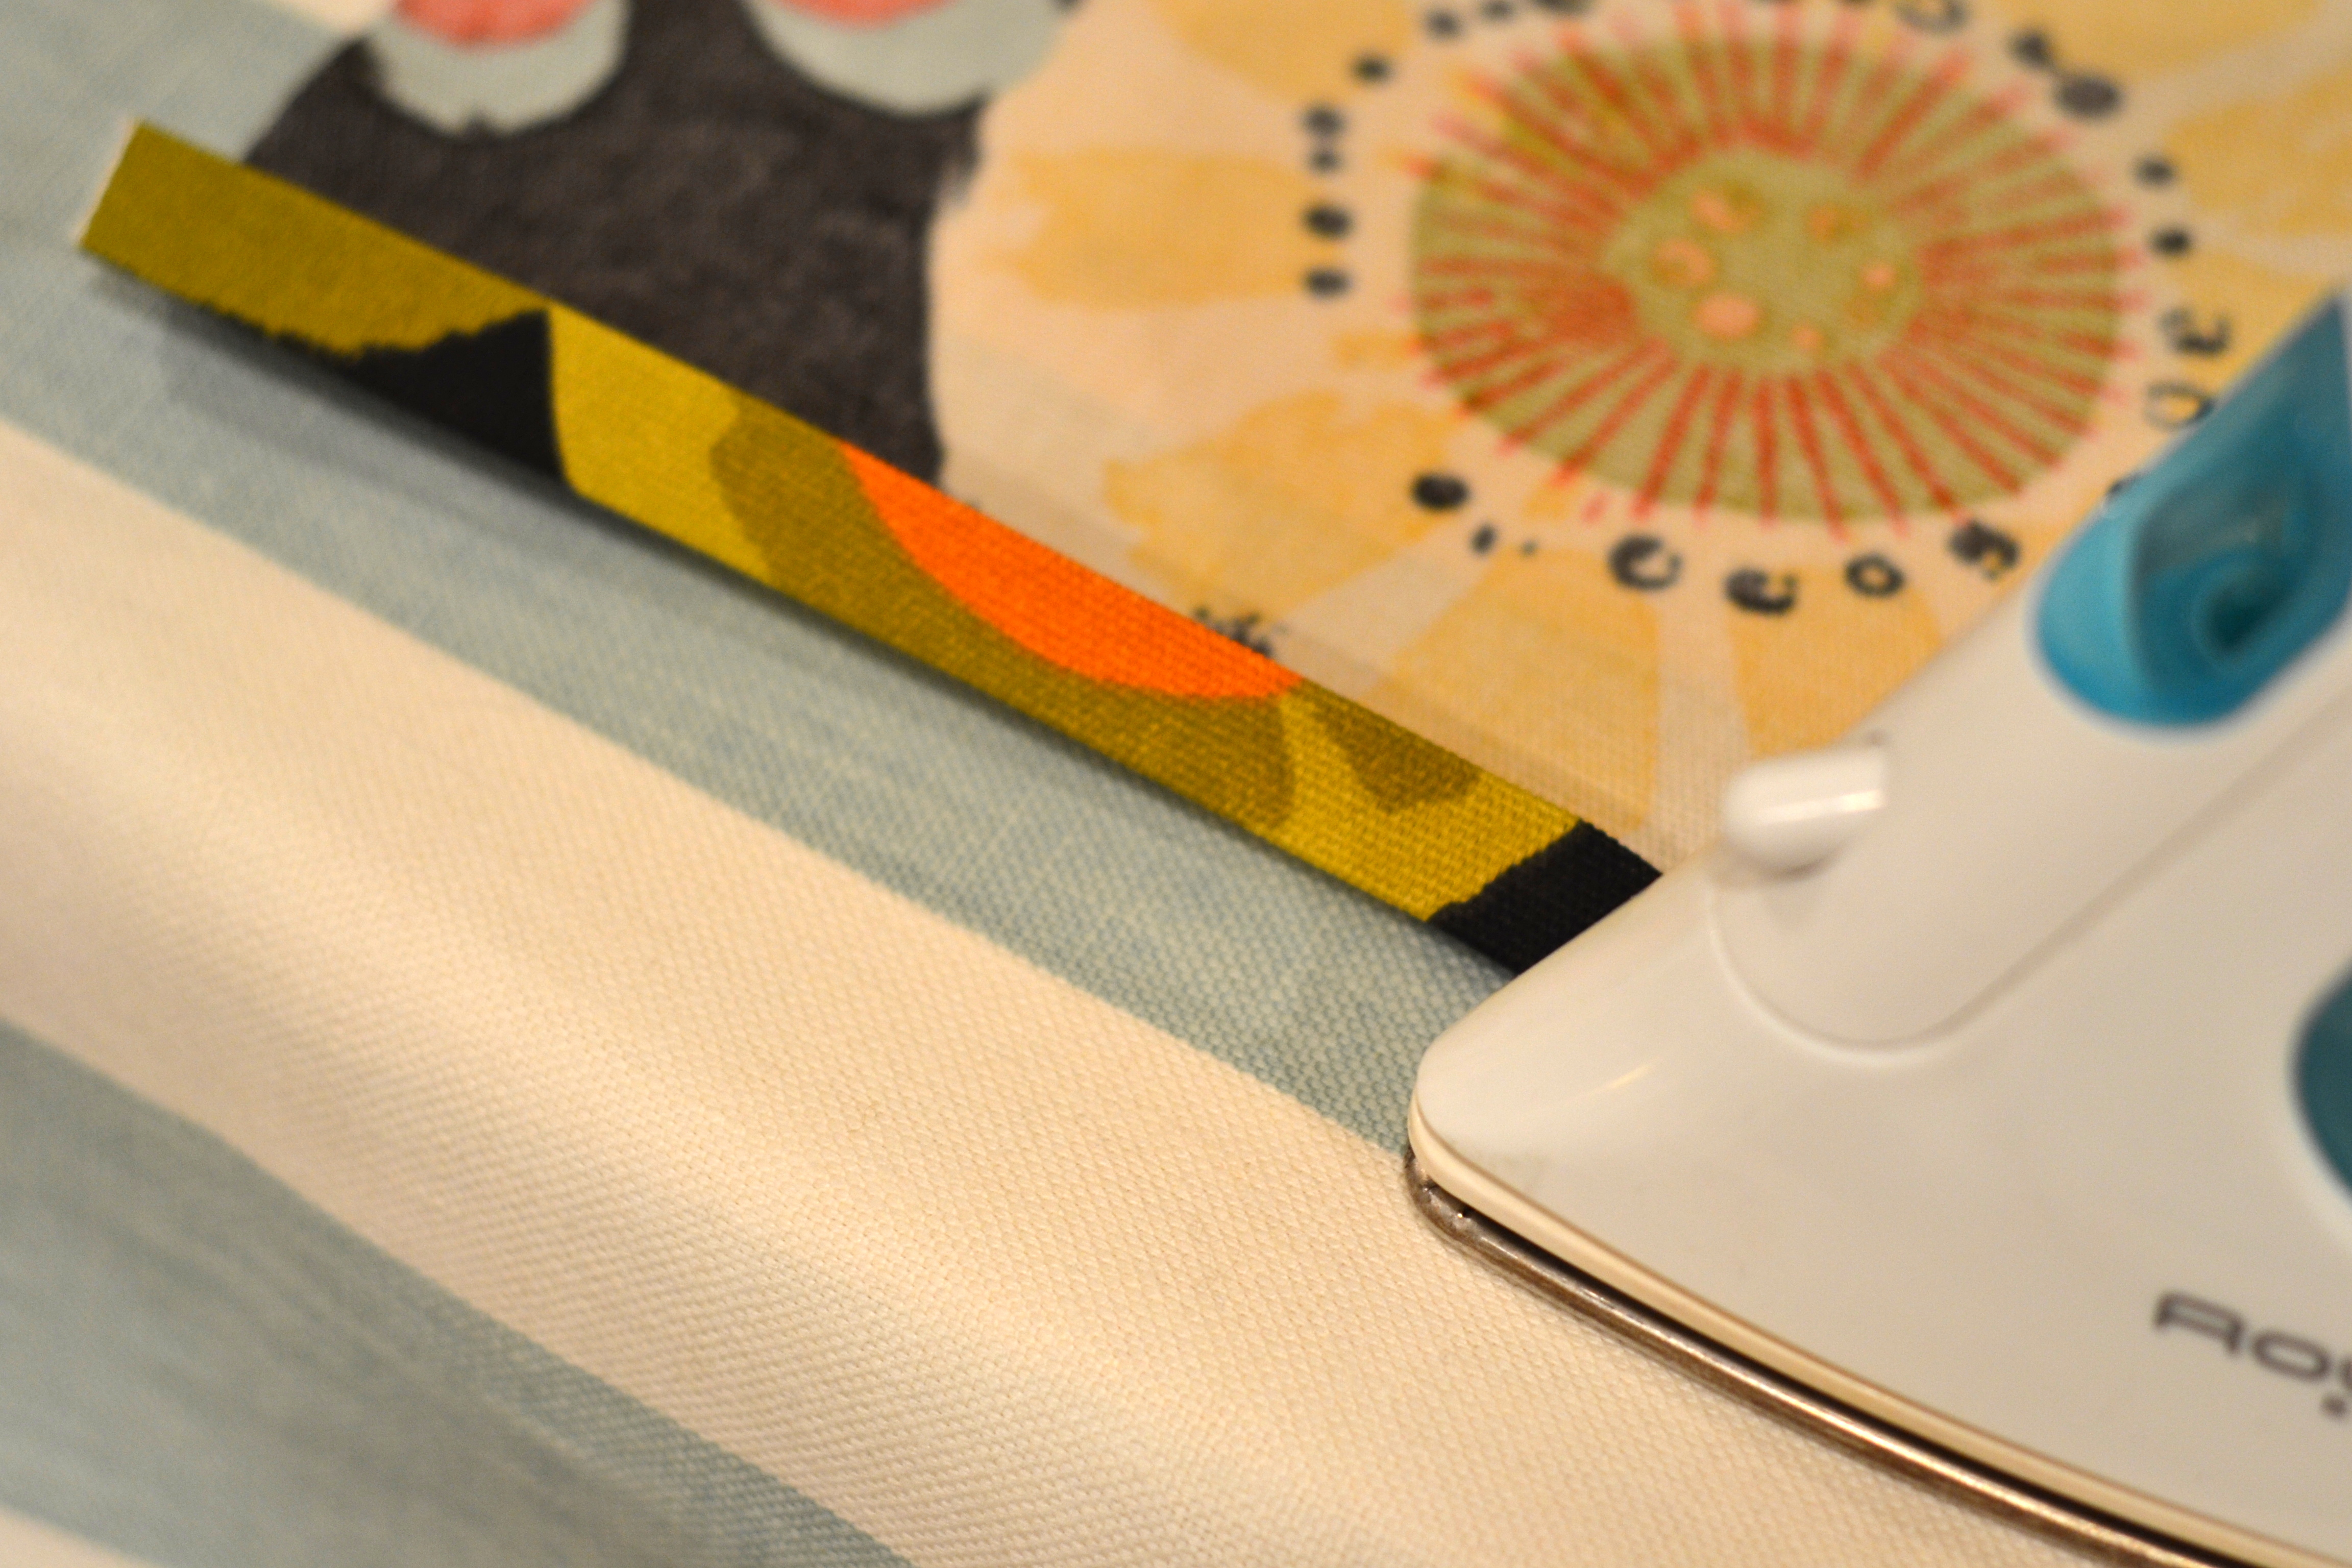
1/2″ hem
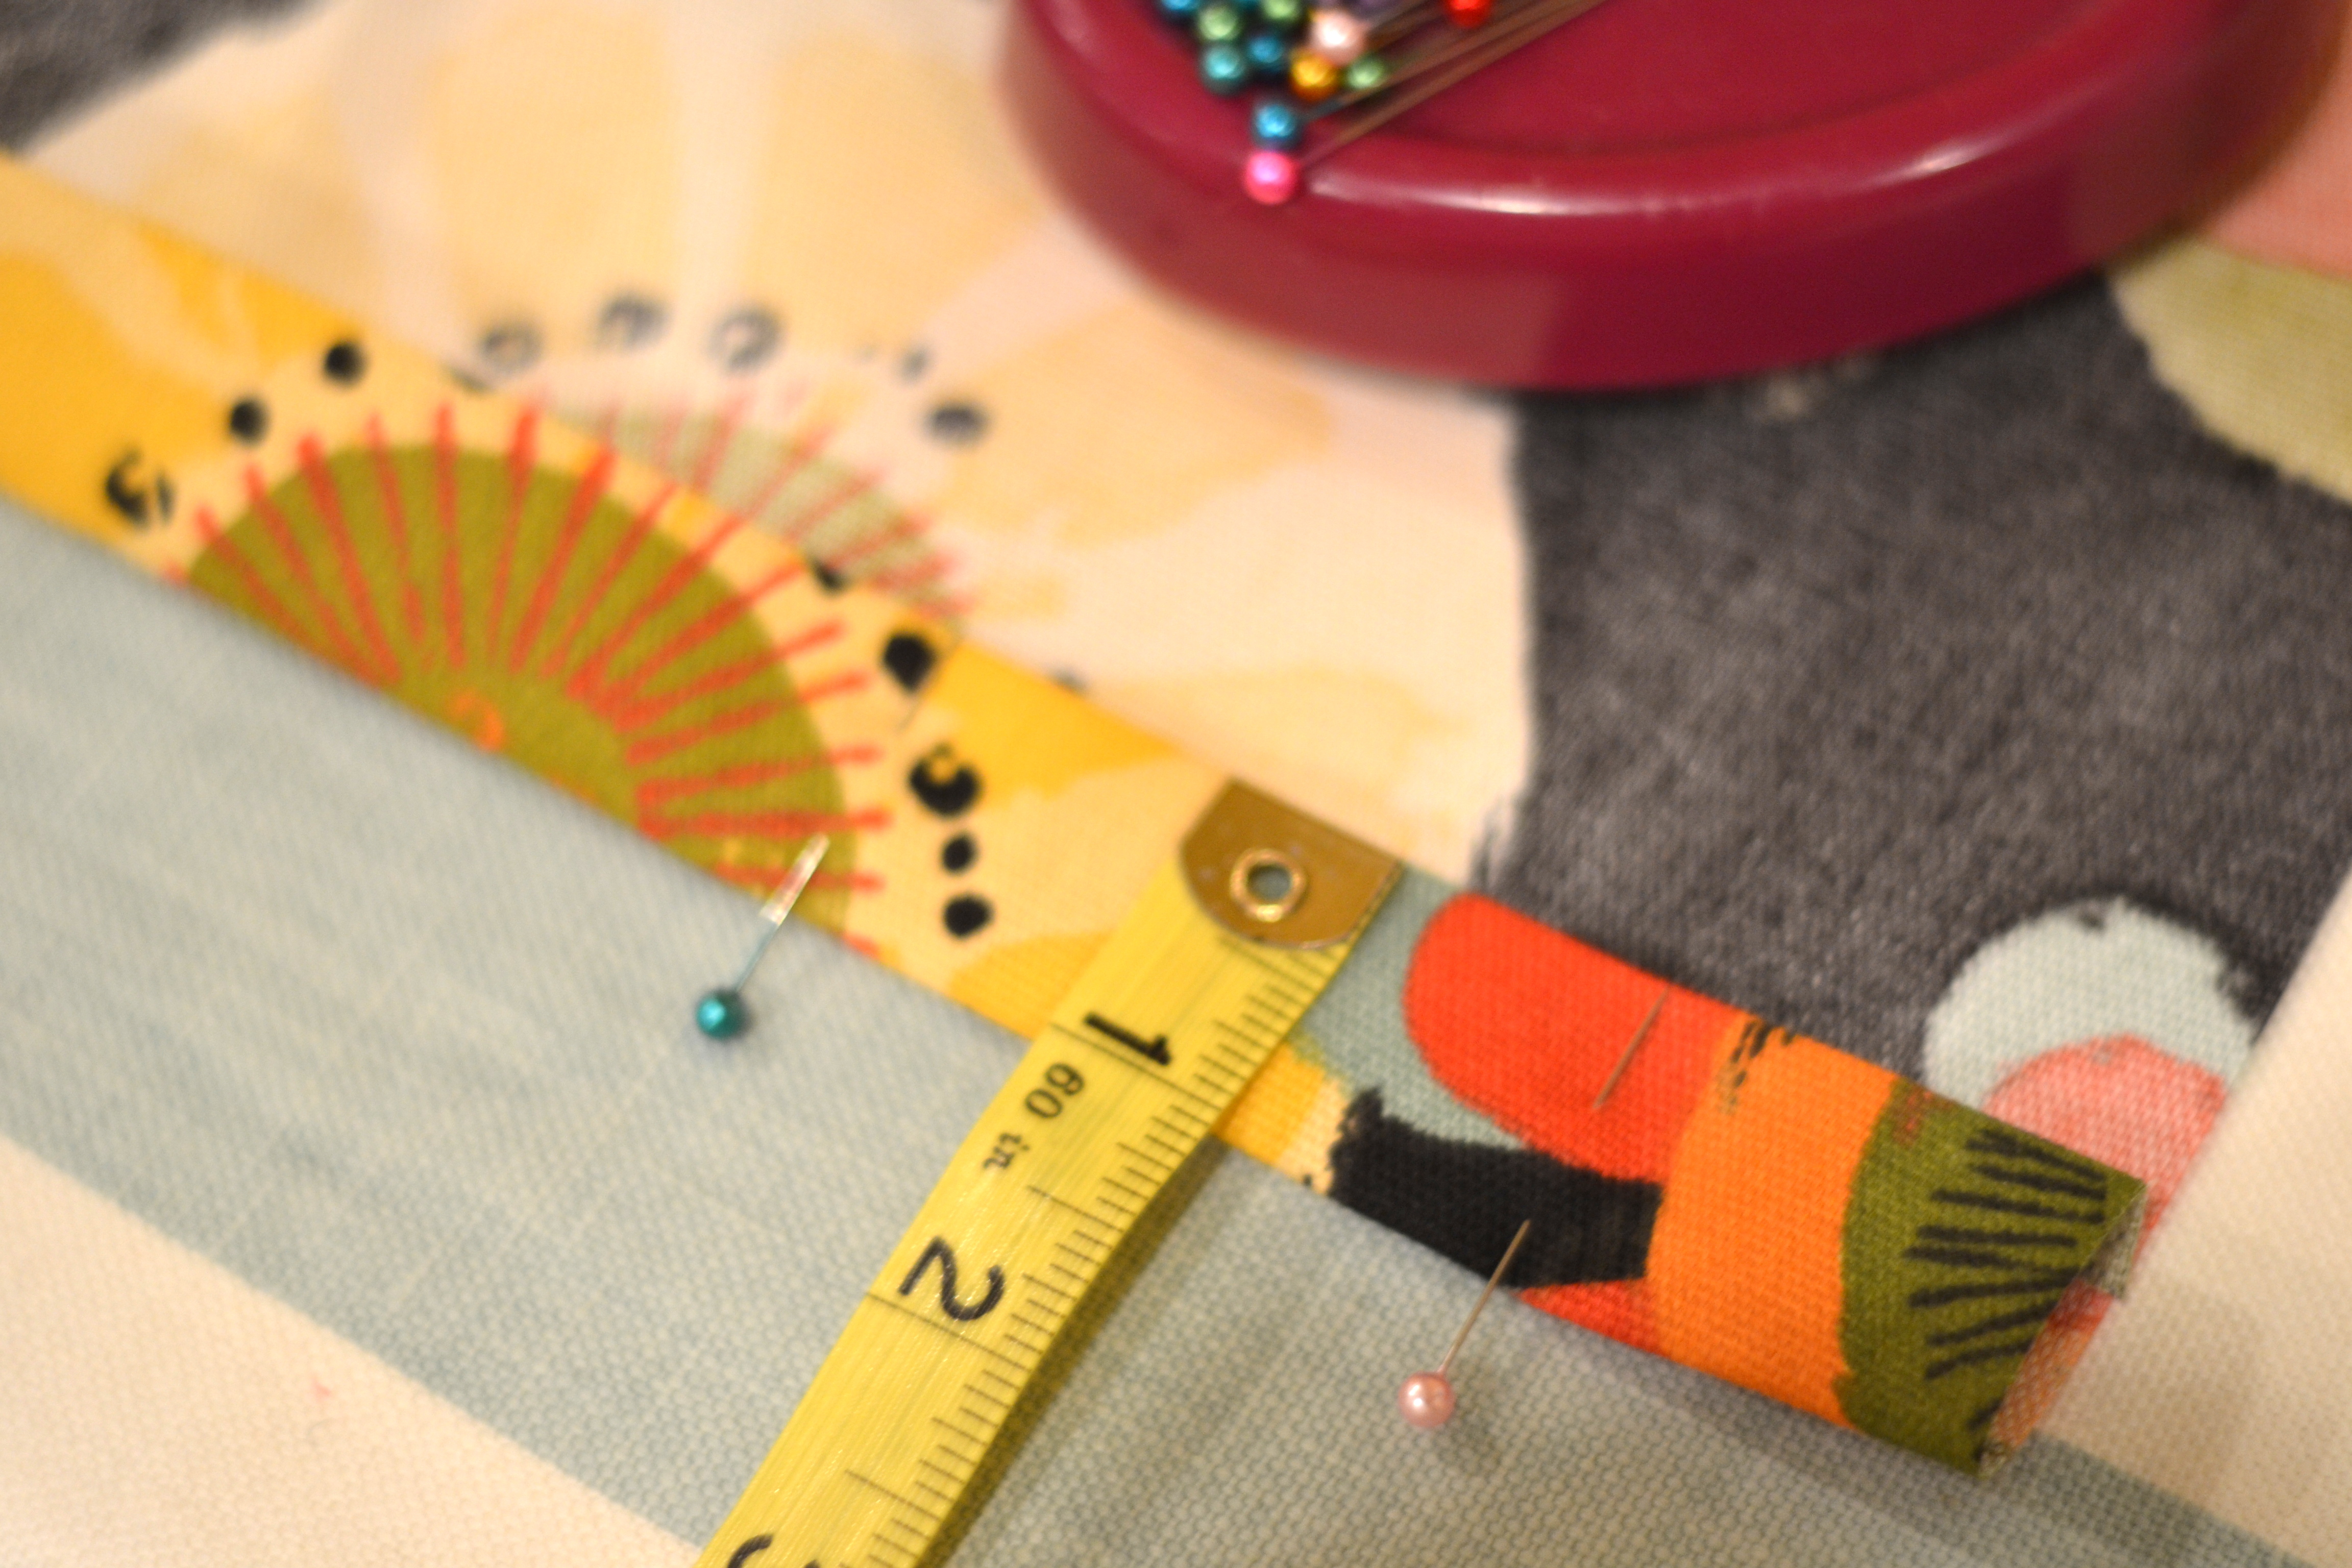
1″ hem

Stitch close to edge
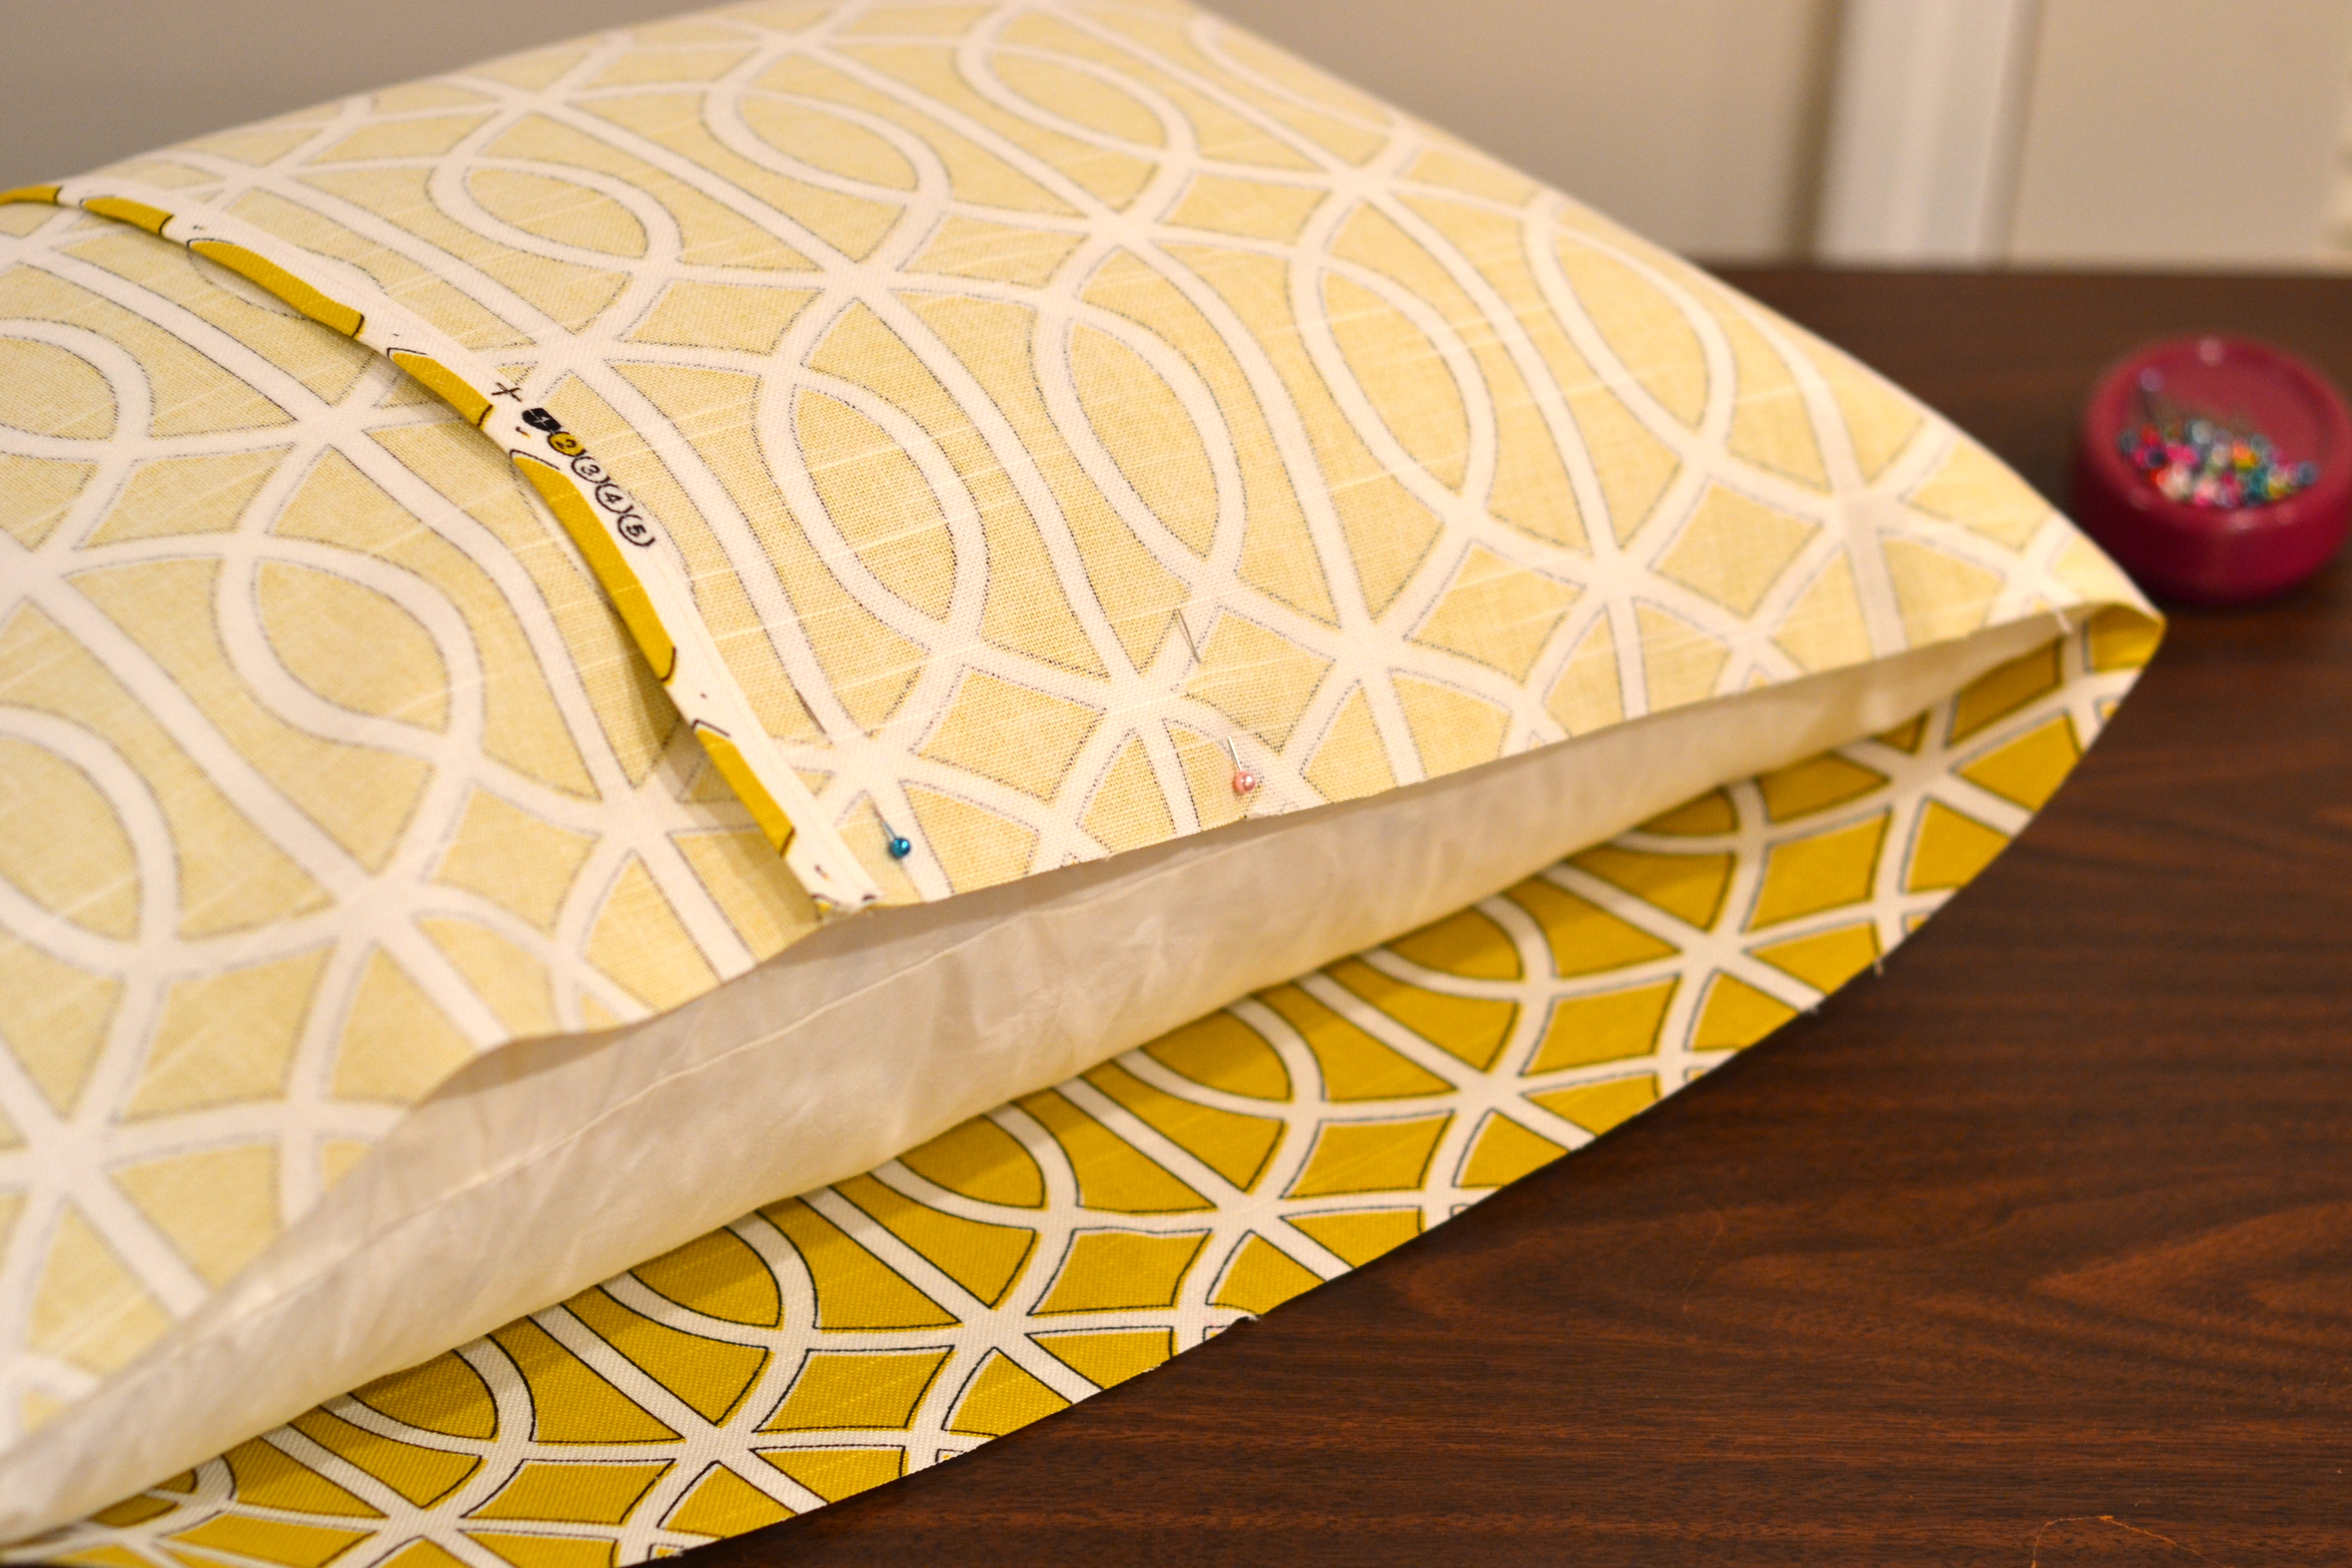
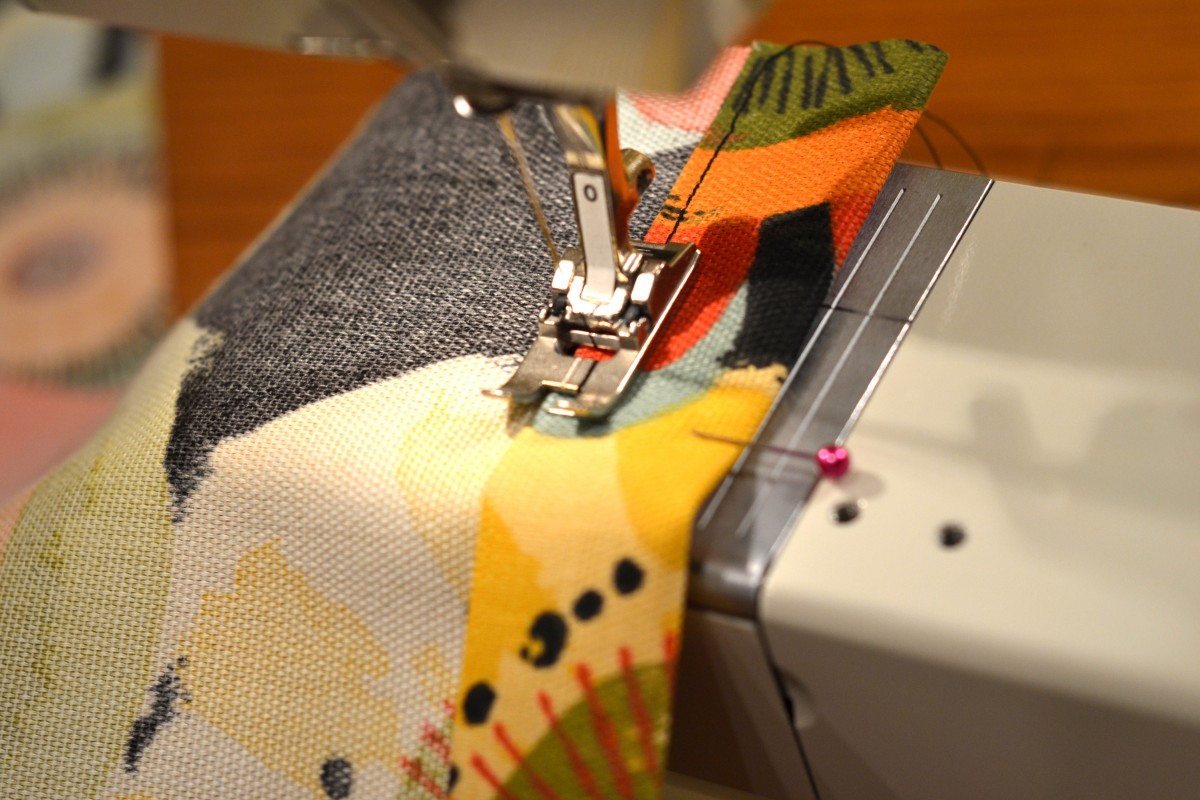
Lay front piece right side up; place the back piece with 1″ hem onto the front piece, right sides facing. Now put the remaining back piece with 1/2″ hem face down. The two back pieces will overlap. Pin all four sides in place and sew all around the pillow, reinforcing where the two back pieces overlap by back stitching. Clip corners; turn right side out; using a dowel, turn out corners. Press. Insert pillow form.
Place 1″ hem down first

Pin backs to front
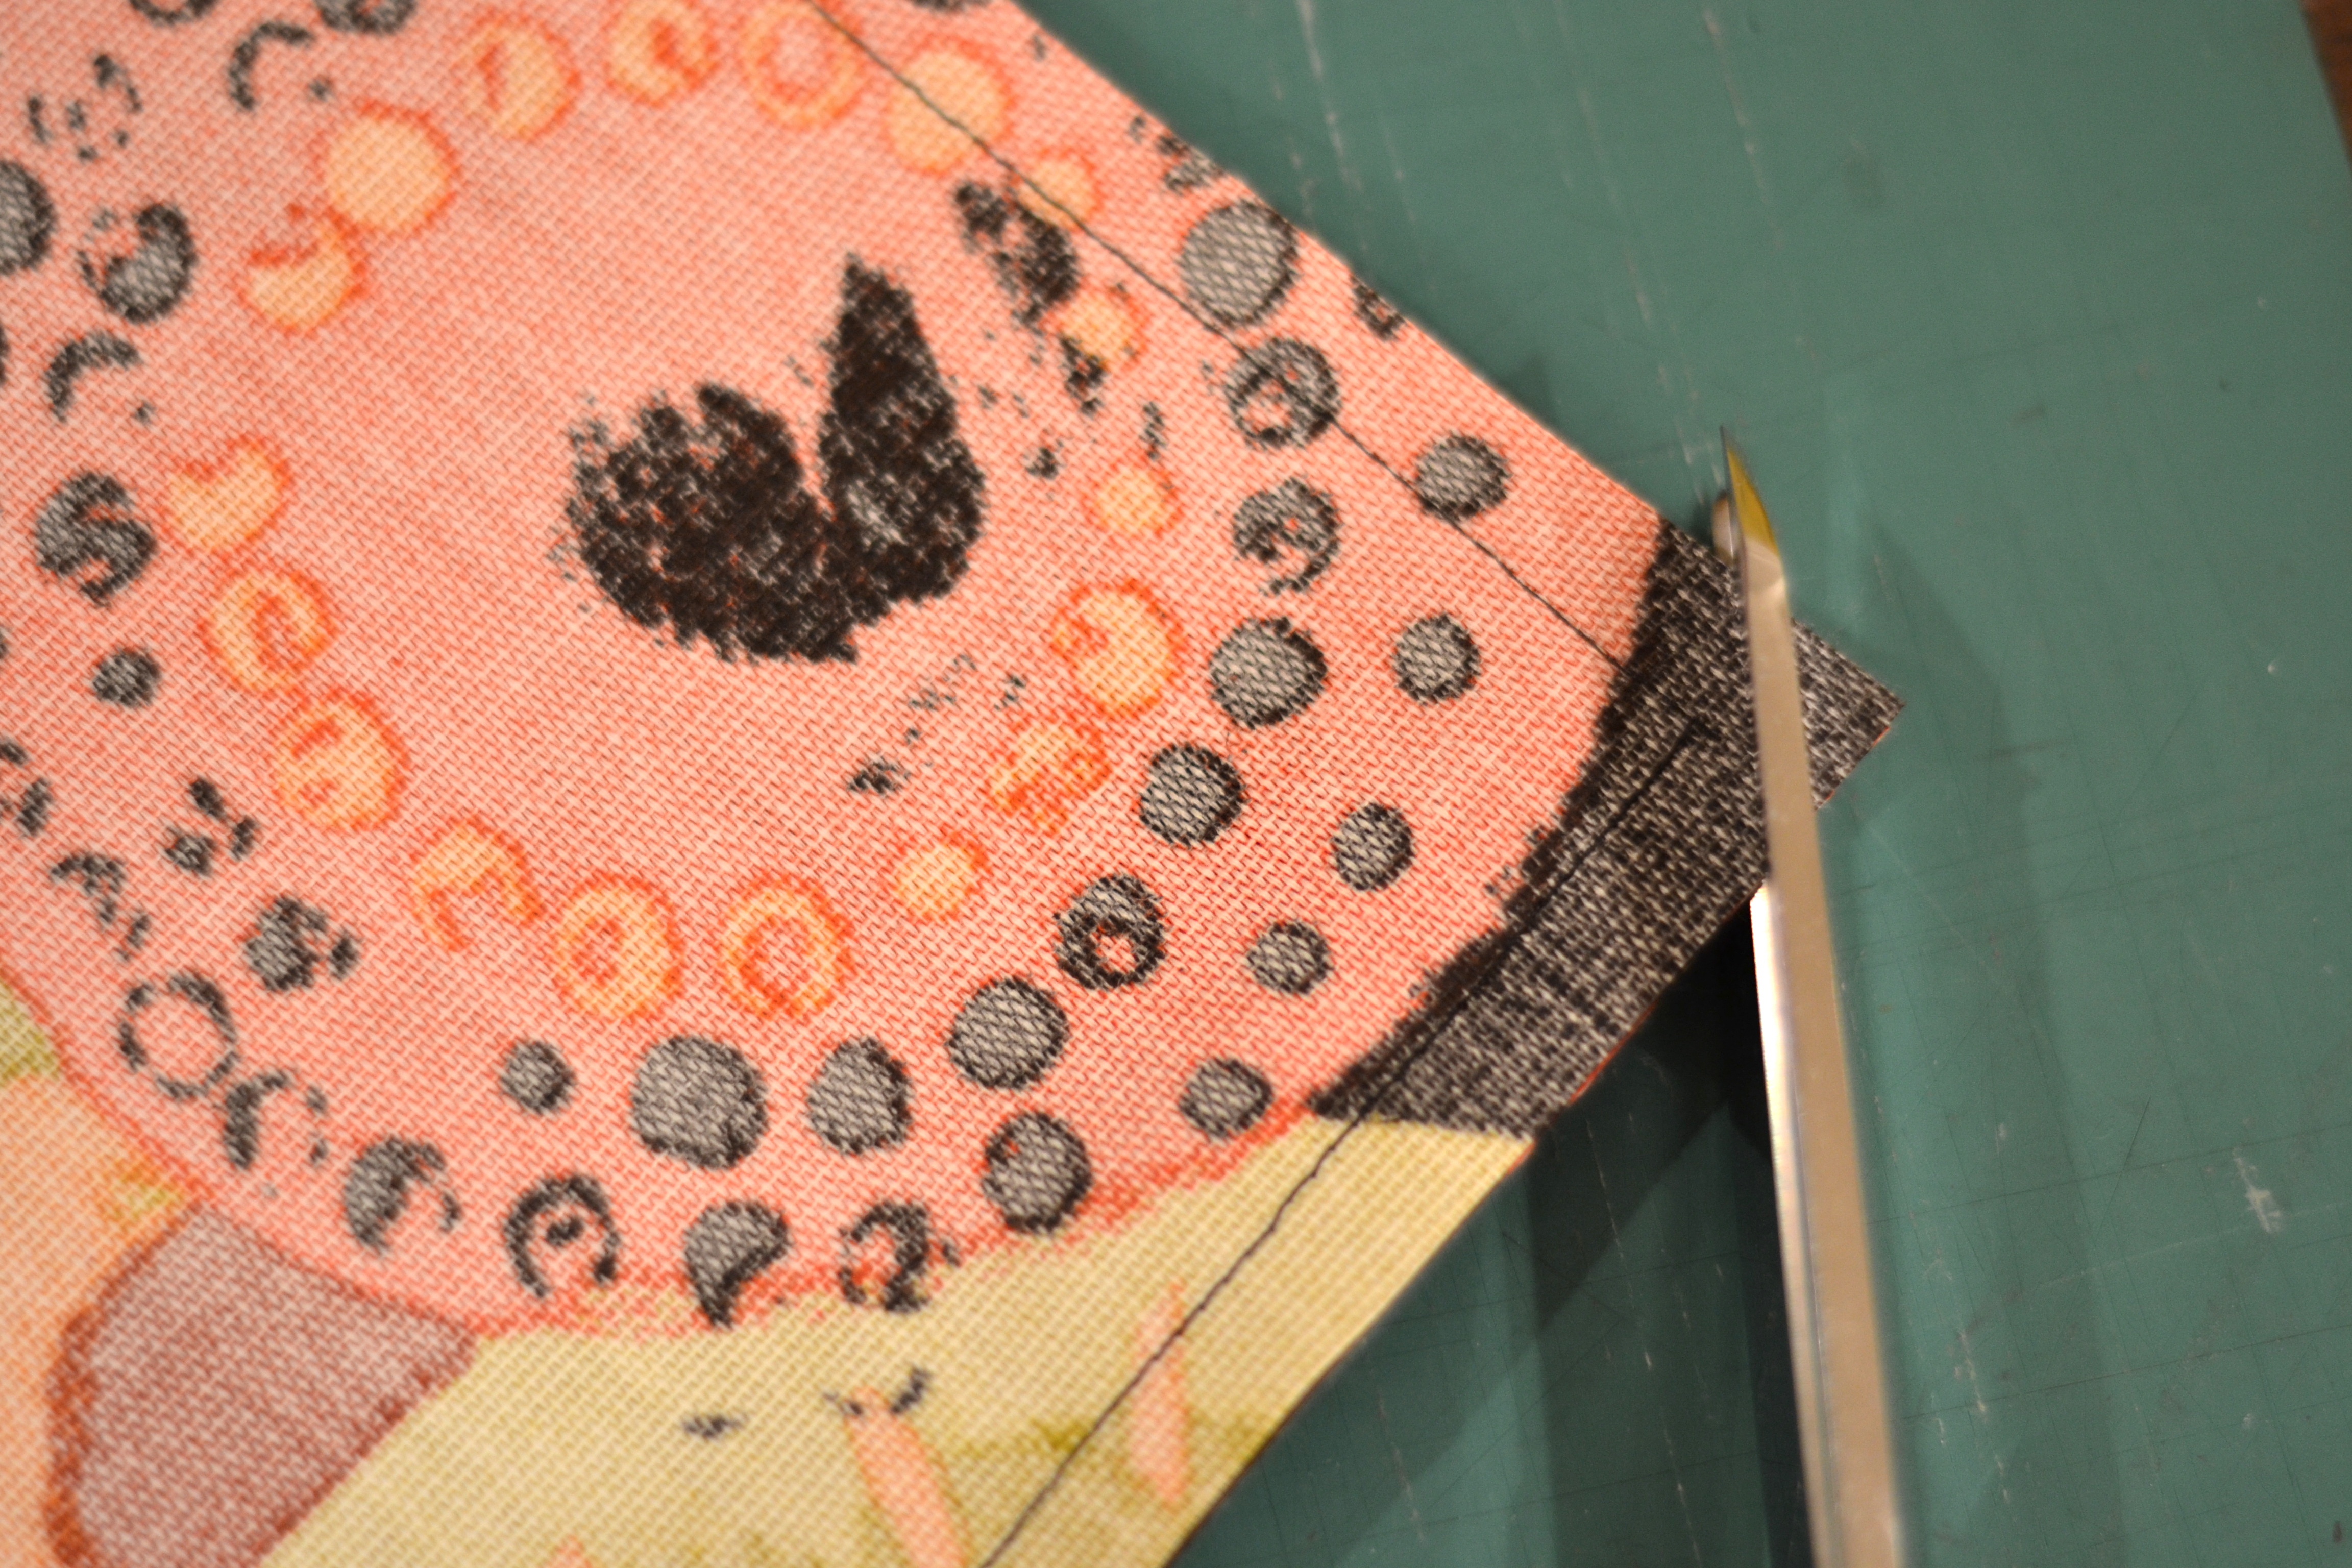
Stitch and clip corners

Finished back
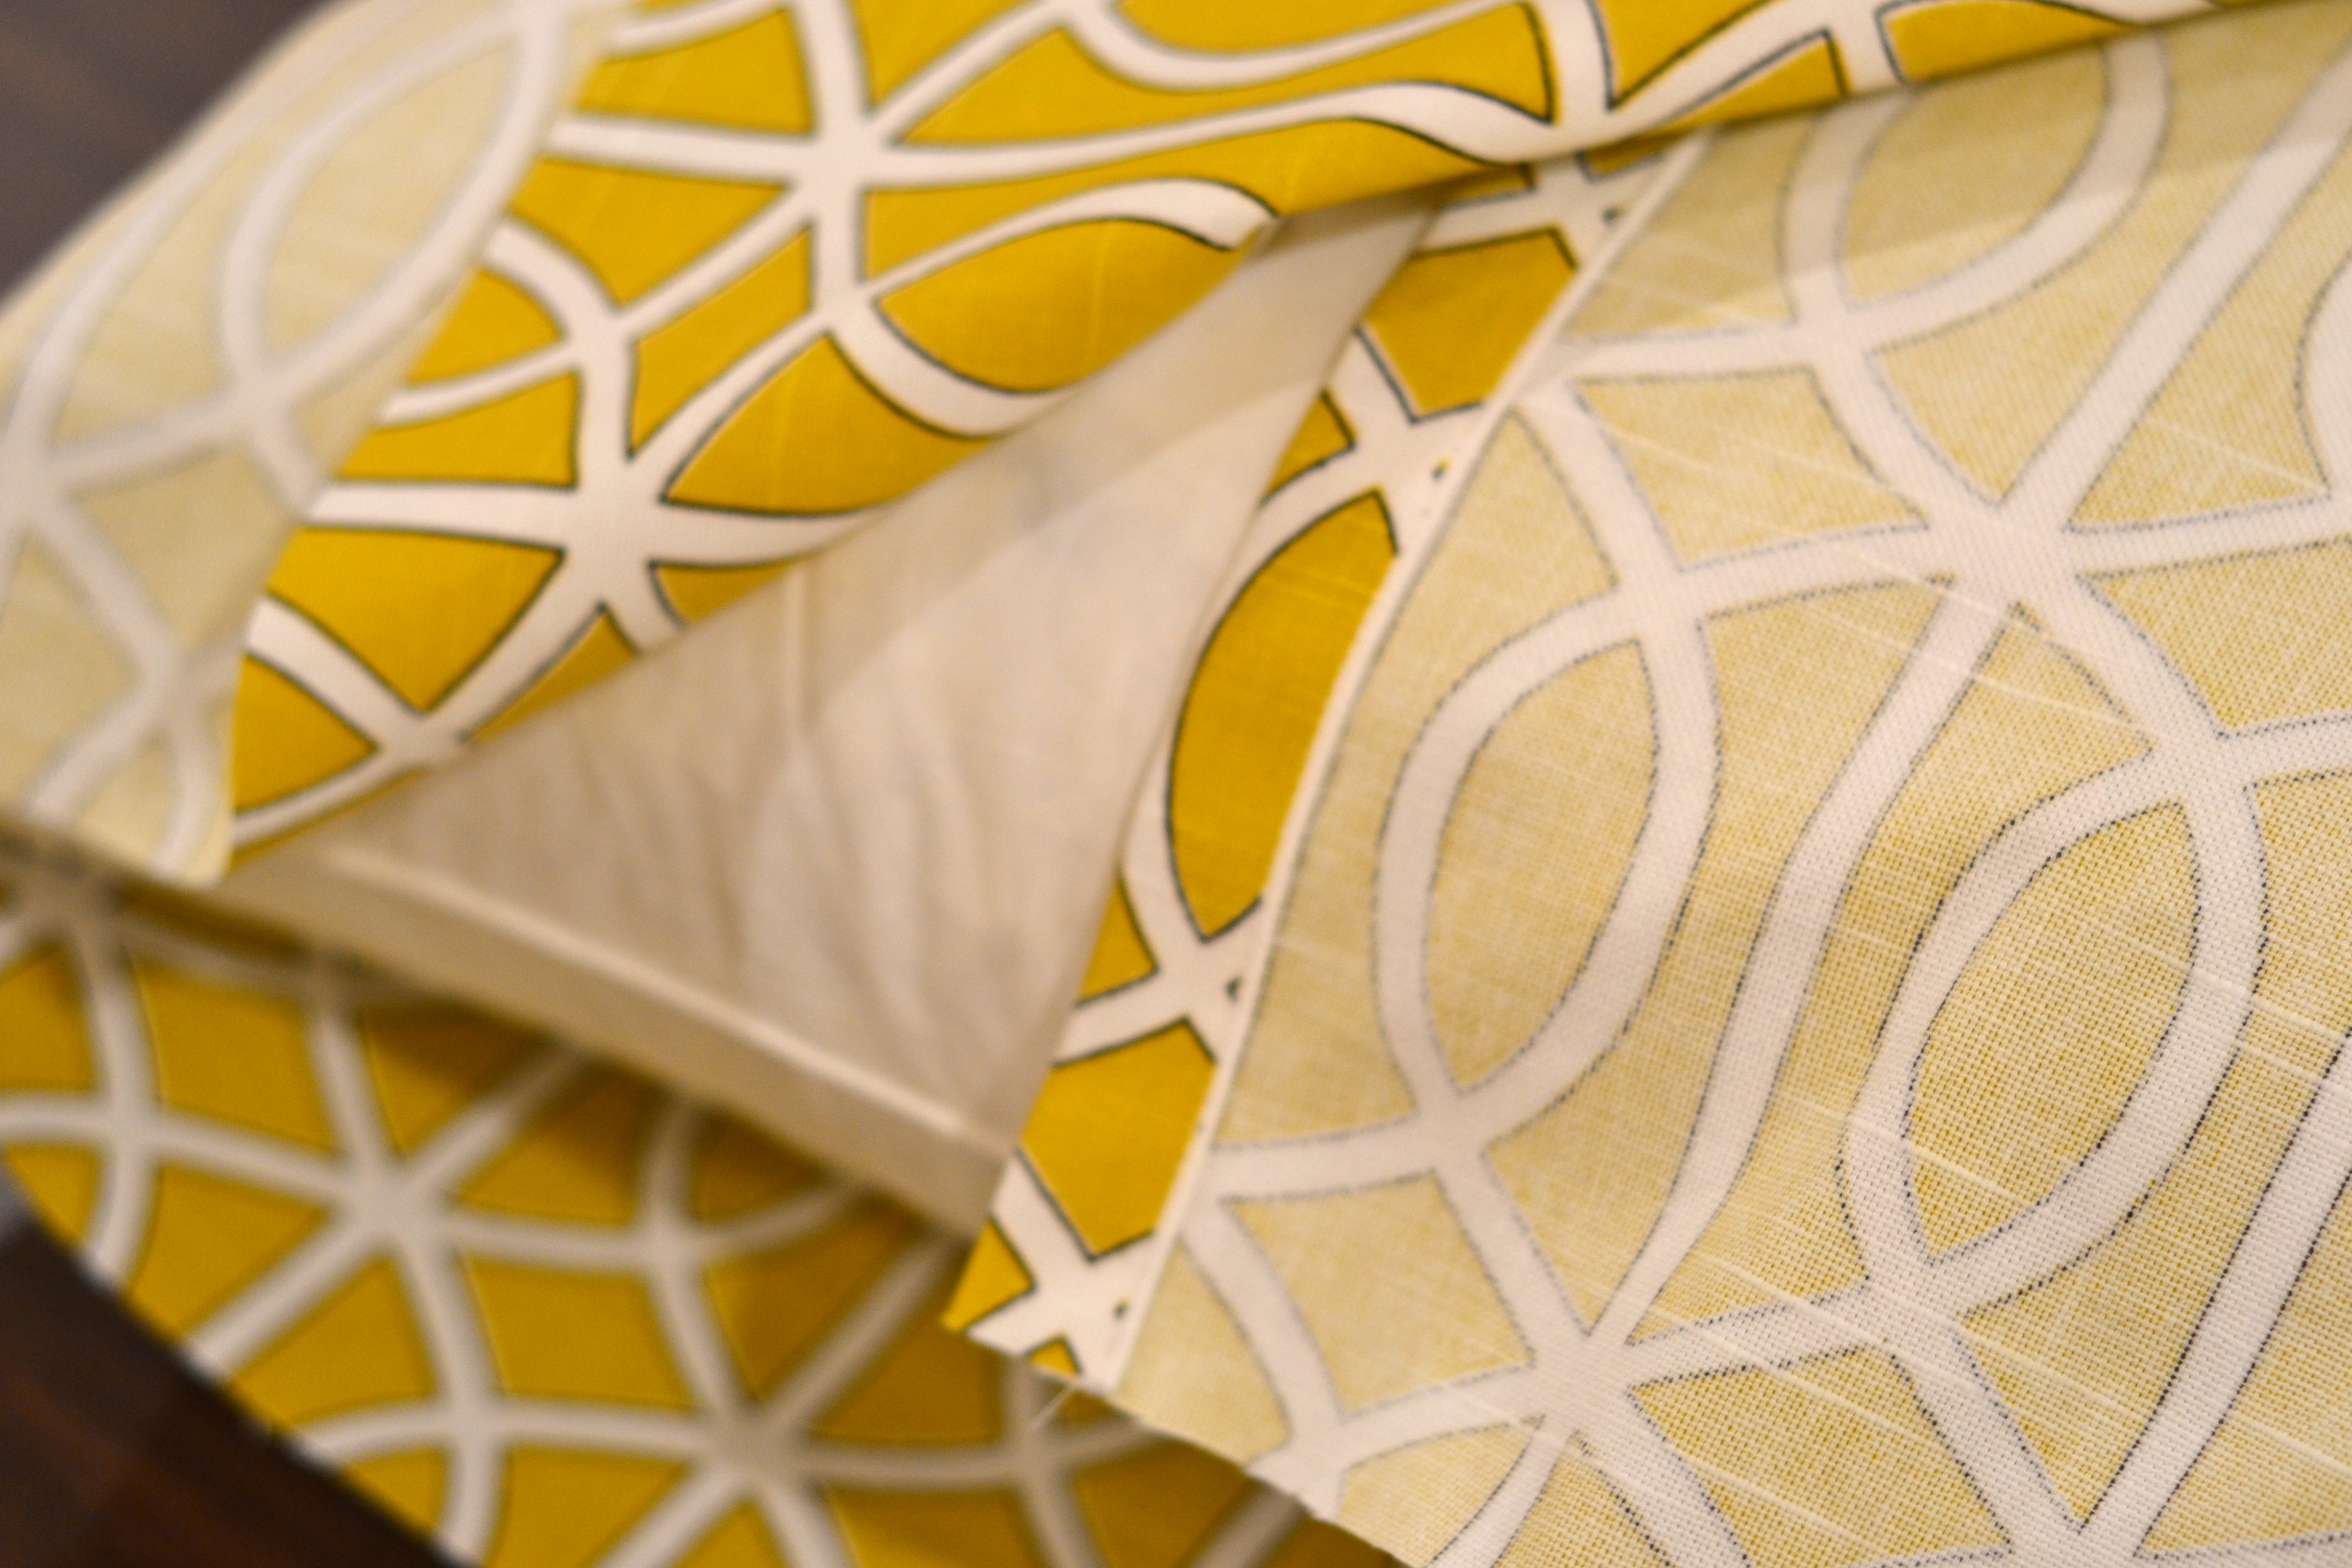
We will use another method for the 16″ x24″ pillow! Cut fabric 16″ x54″ ( approx. width of decorator fabric). Hem each of the 16″ ends. You will hem one end with a 1/2″ hem and the other with a 1″ hem, just like the back of the 20″ x20″ pillow above. Press.
Hem both ends
Wrap fabric around pillow
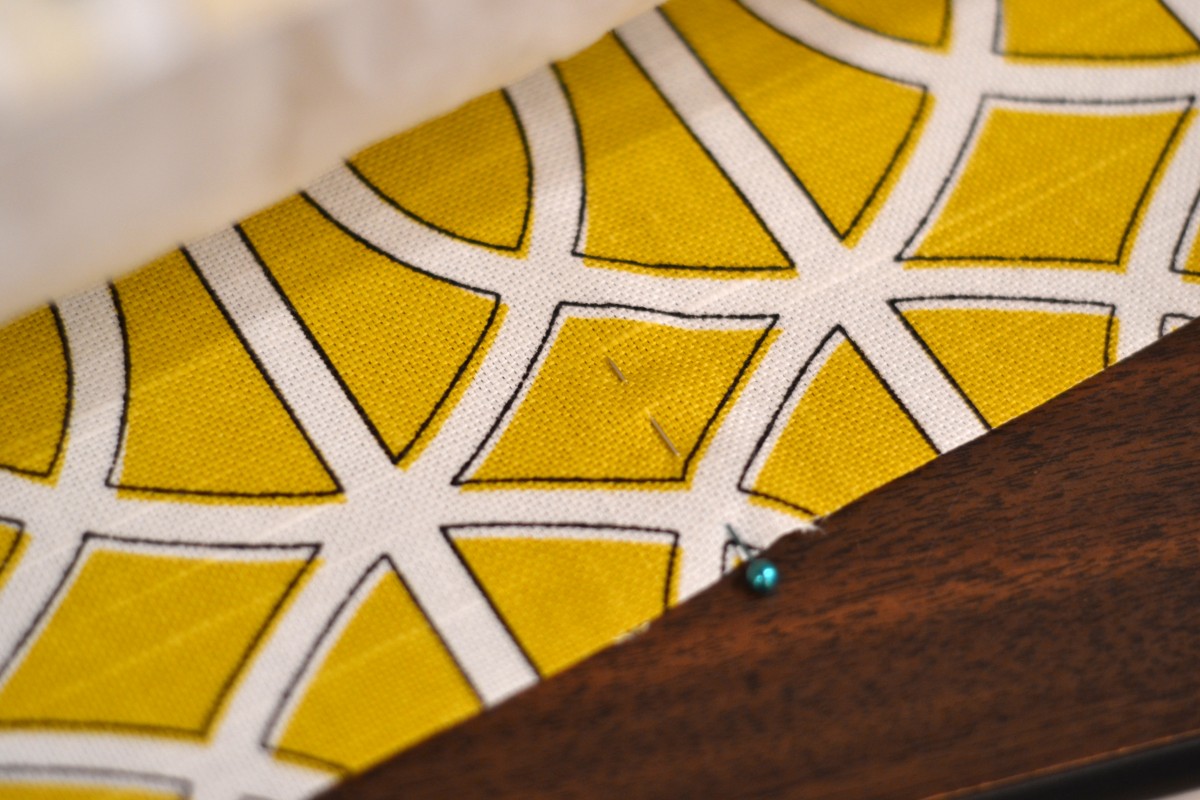
Pin overlap
Lay fabric out with right side facing you. Mark center of fabric with a pin. Place pillow form on fabric , centering it …approximate is fine. Bring ends of fabric up over the pillow, placing the wider hemmed edge down first and the narrow hem on top of it. Pin overlap in place, matching top and bottom edges of fabric.
Pull pillow out carefully; smooth fabric, using the center mark to help you keep everything lined up. Pin the open edges in place. Sew both edges with 1/2″ seam allowance. Turn right side out and press. Insert pillow form.

Mark center front with pin
Pin top and bottom edges and stitch

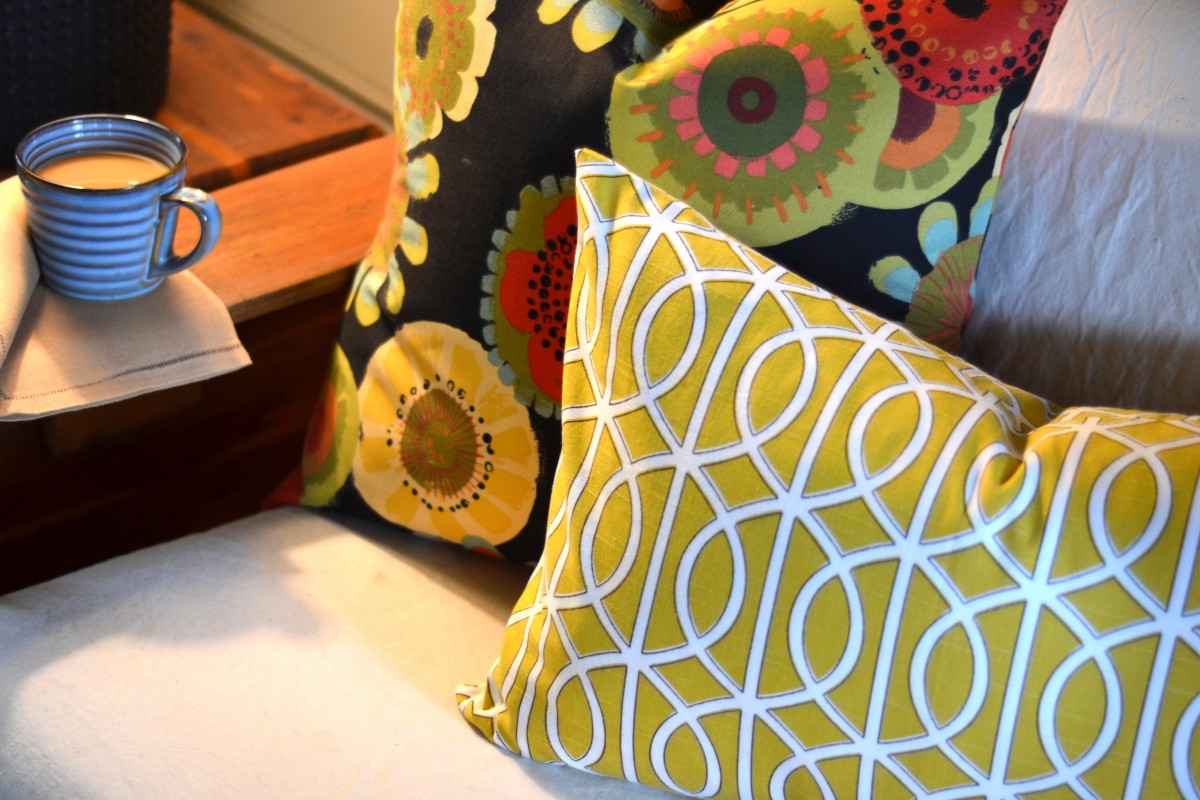
Finished products
You are ready to find a home for your new pillows! yay! Mine made it to the screen porch, and they look quite happy!
