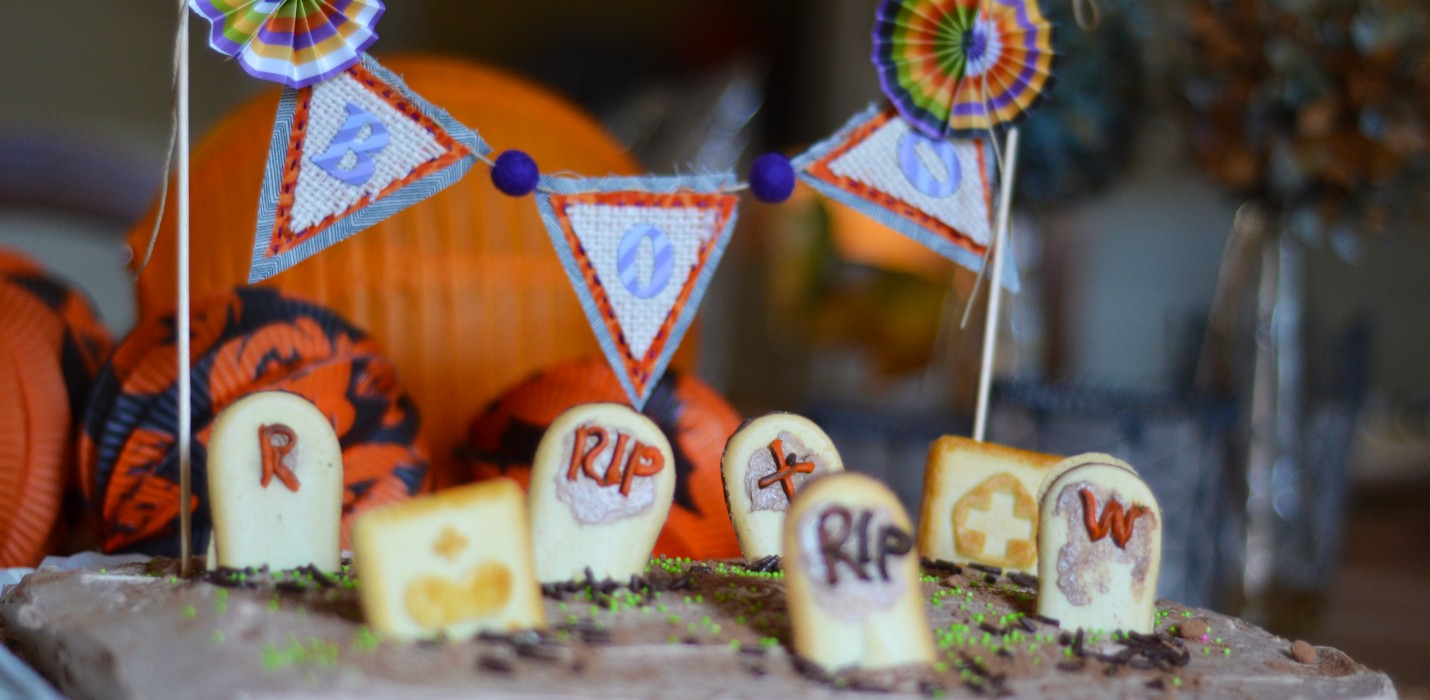
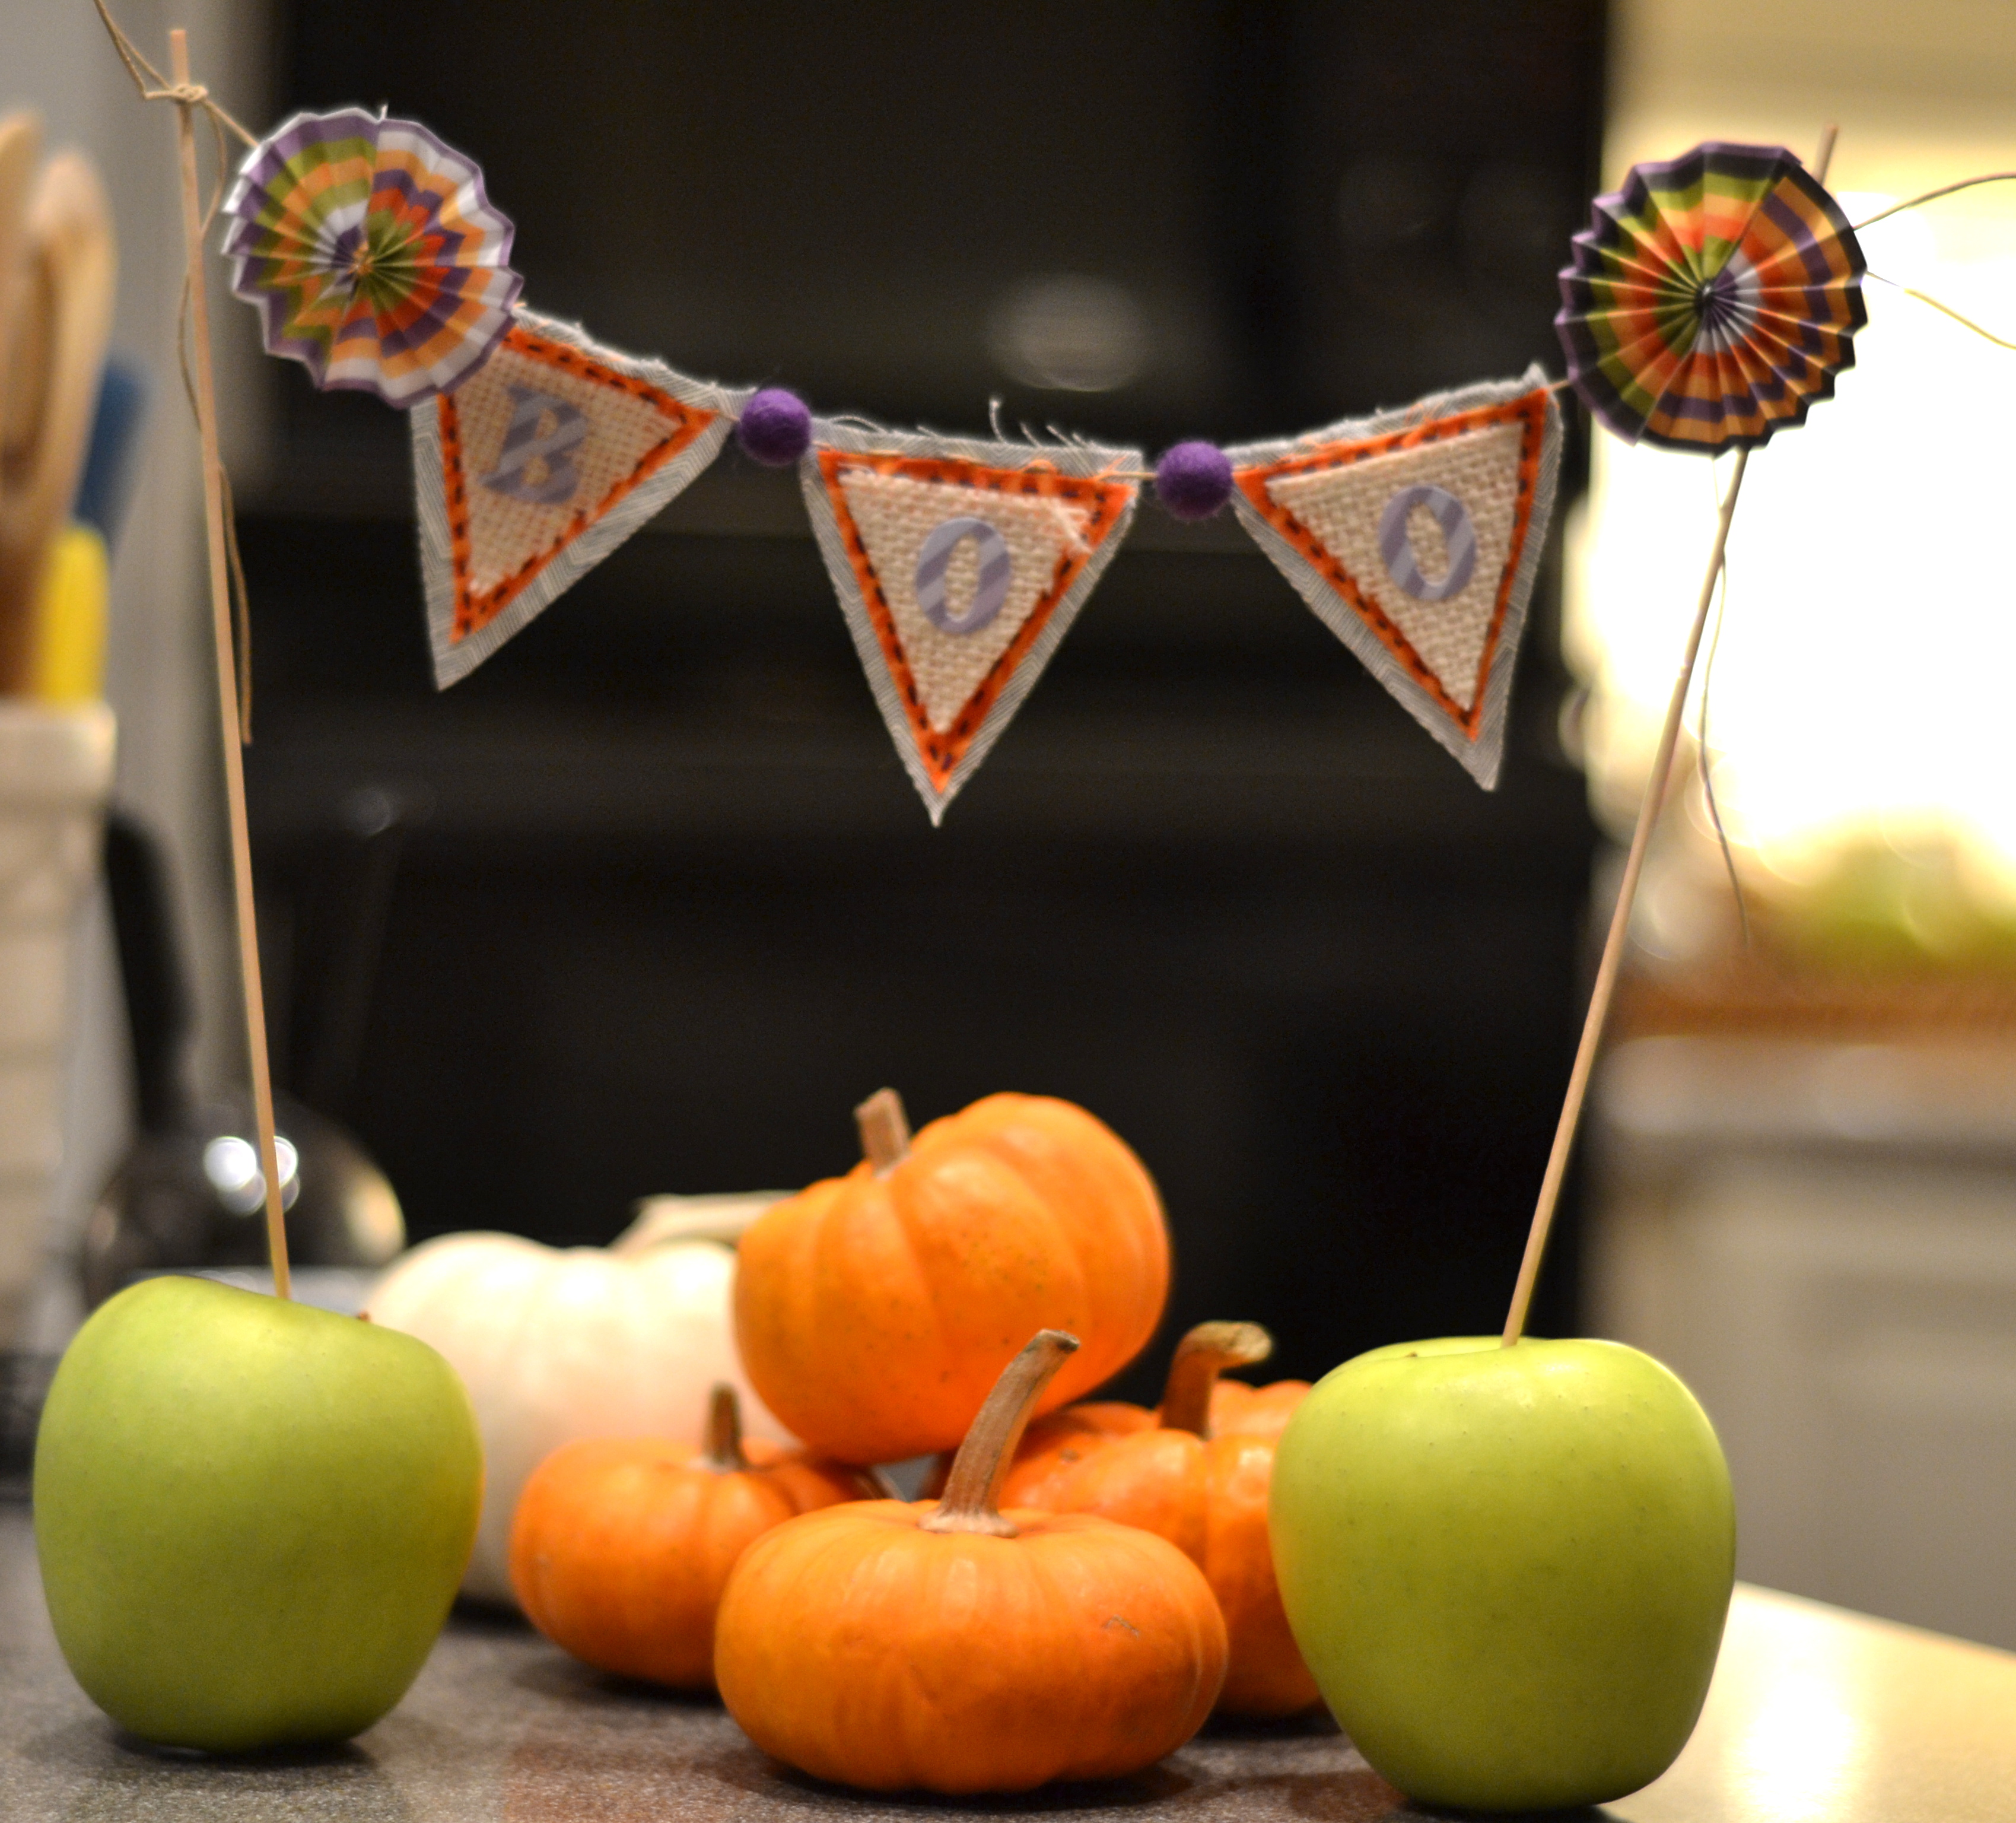
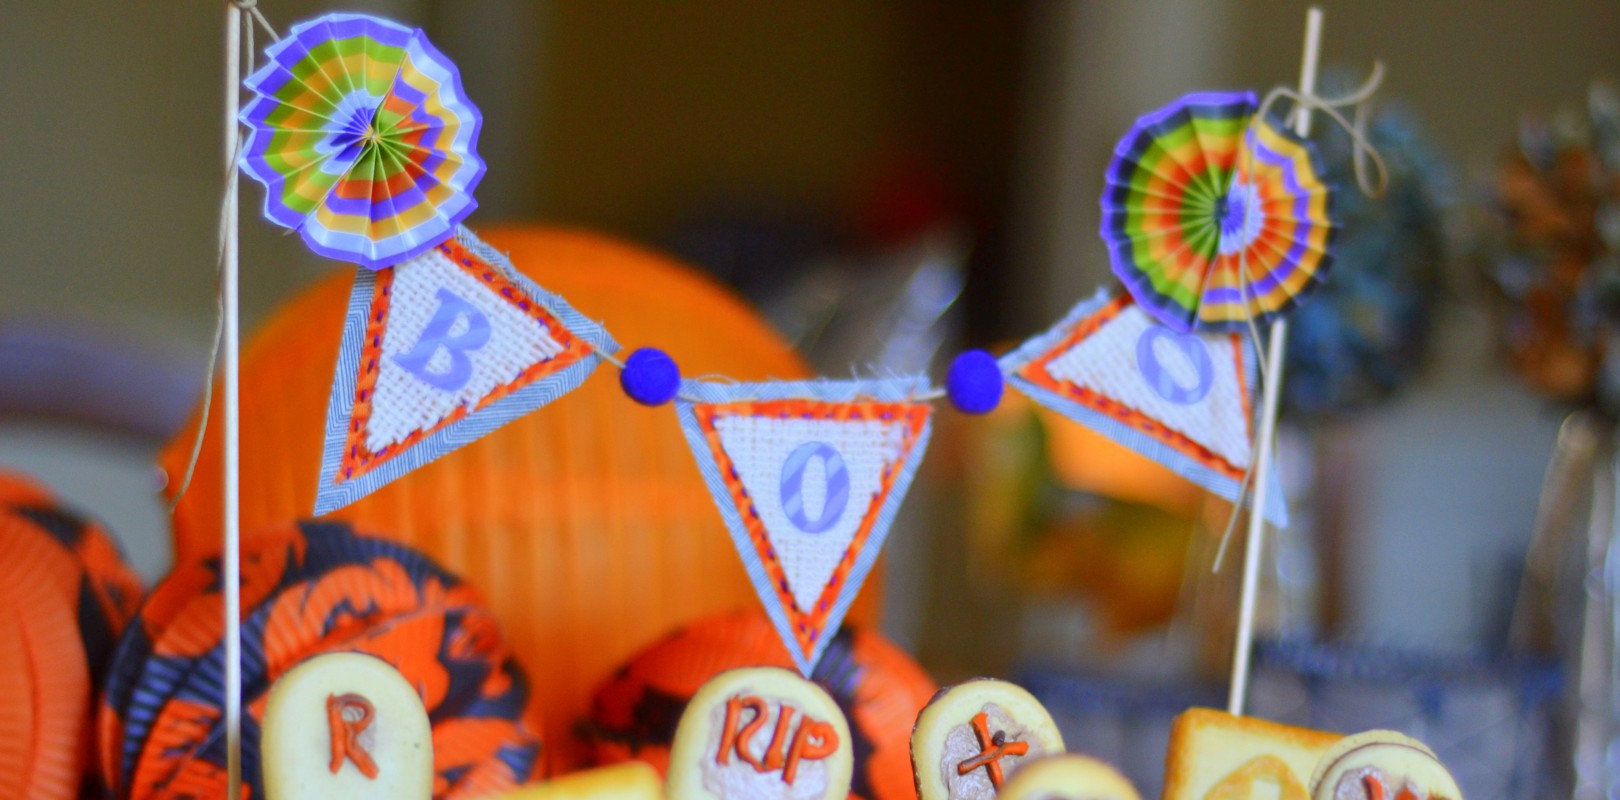
Here’s a fun, quick and easy Halloween craft! This cake banner is so festive and super adaptable! I simply stretched it across a 9”x13” cake, but there many possibilities! It would be even more stable in a layered cake because of the depth. After I tell you how I did it, I’ll list some other ideas that just popped into my head!
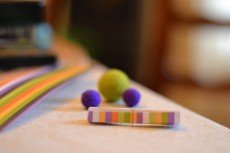
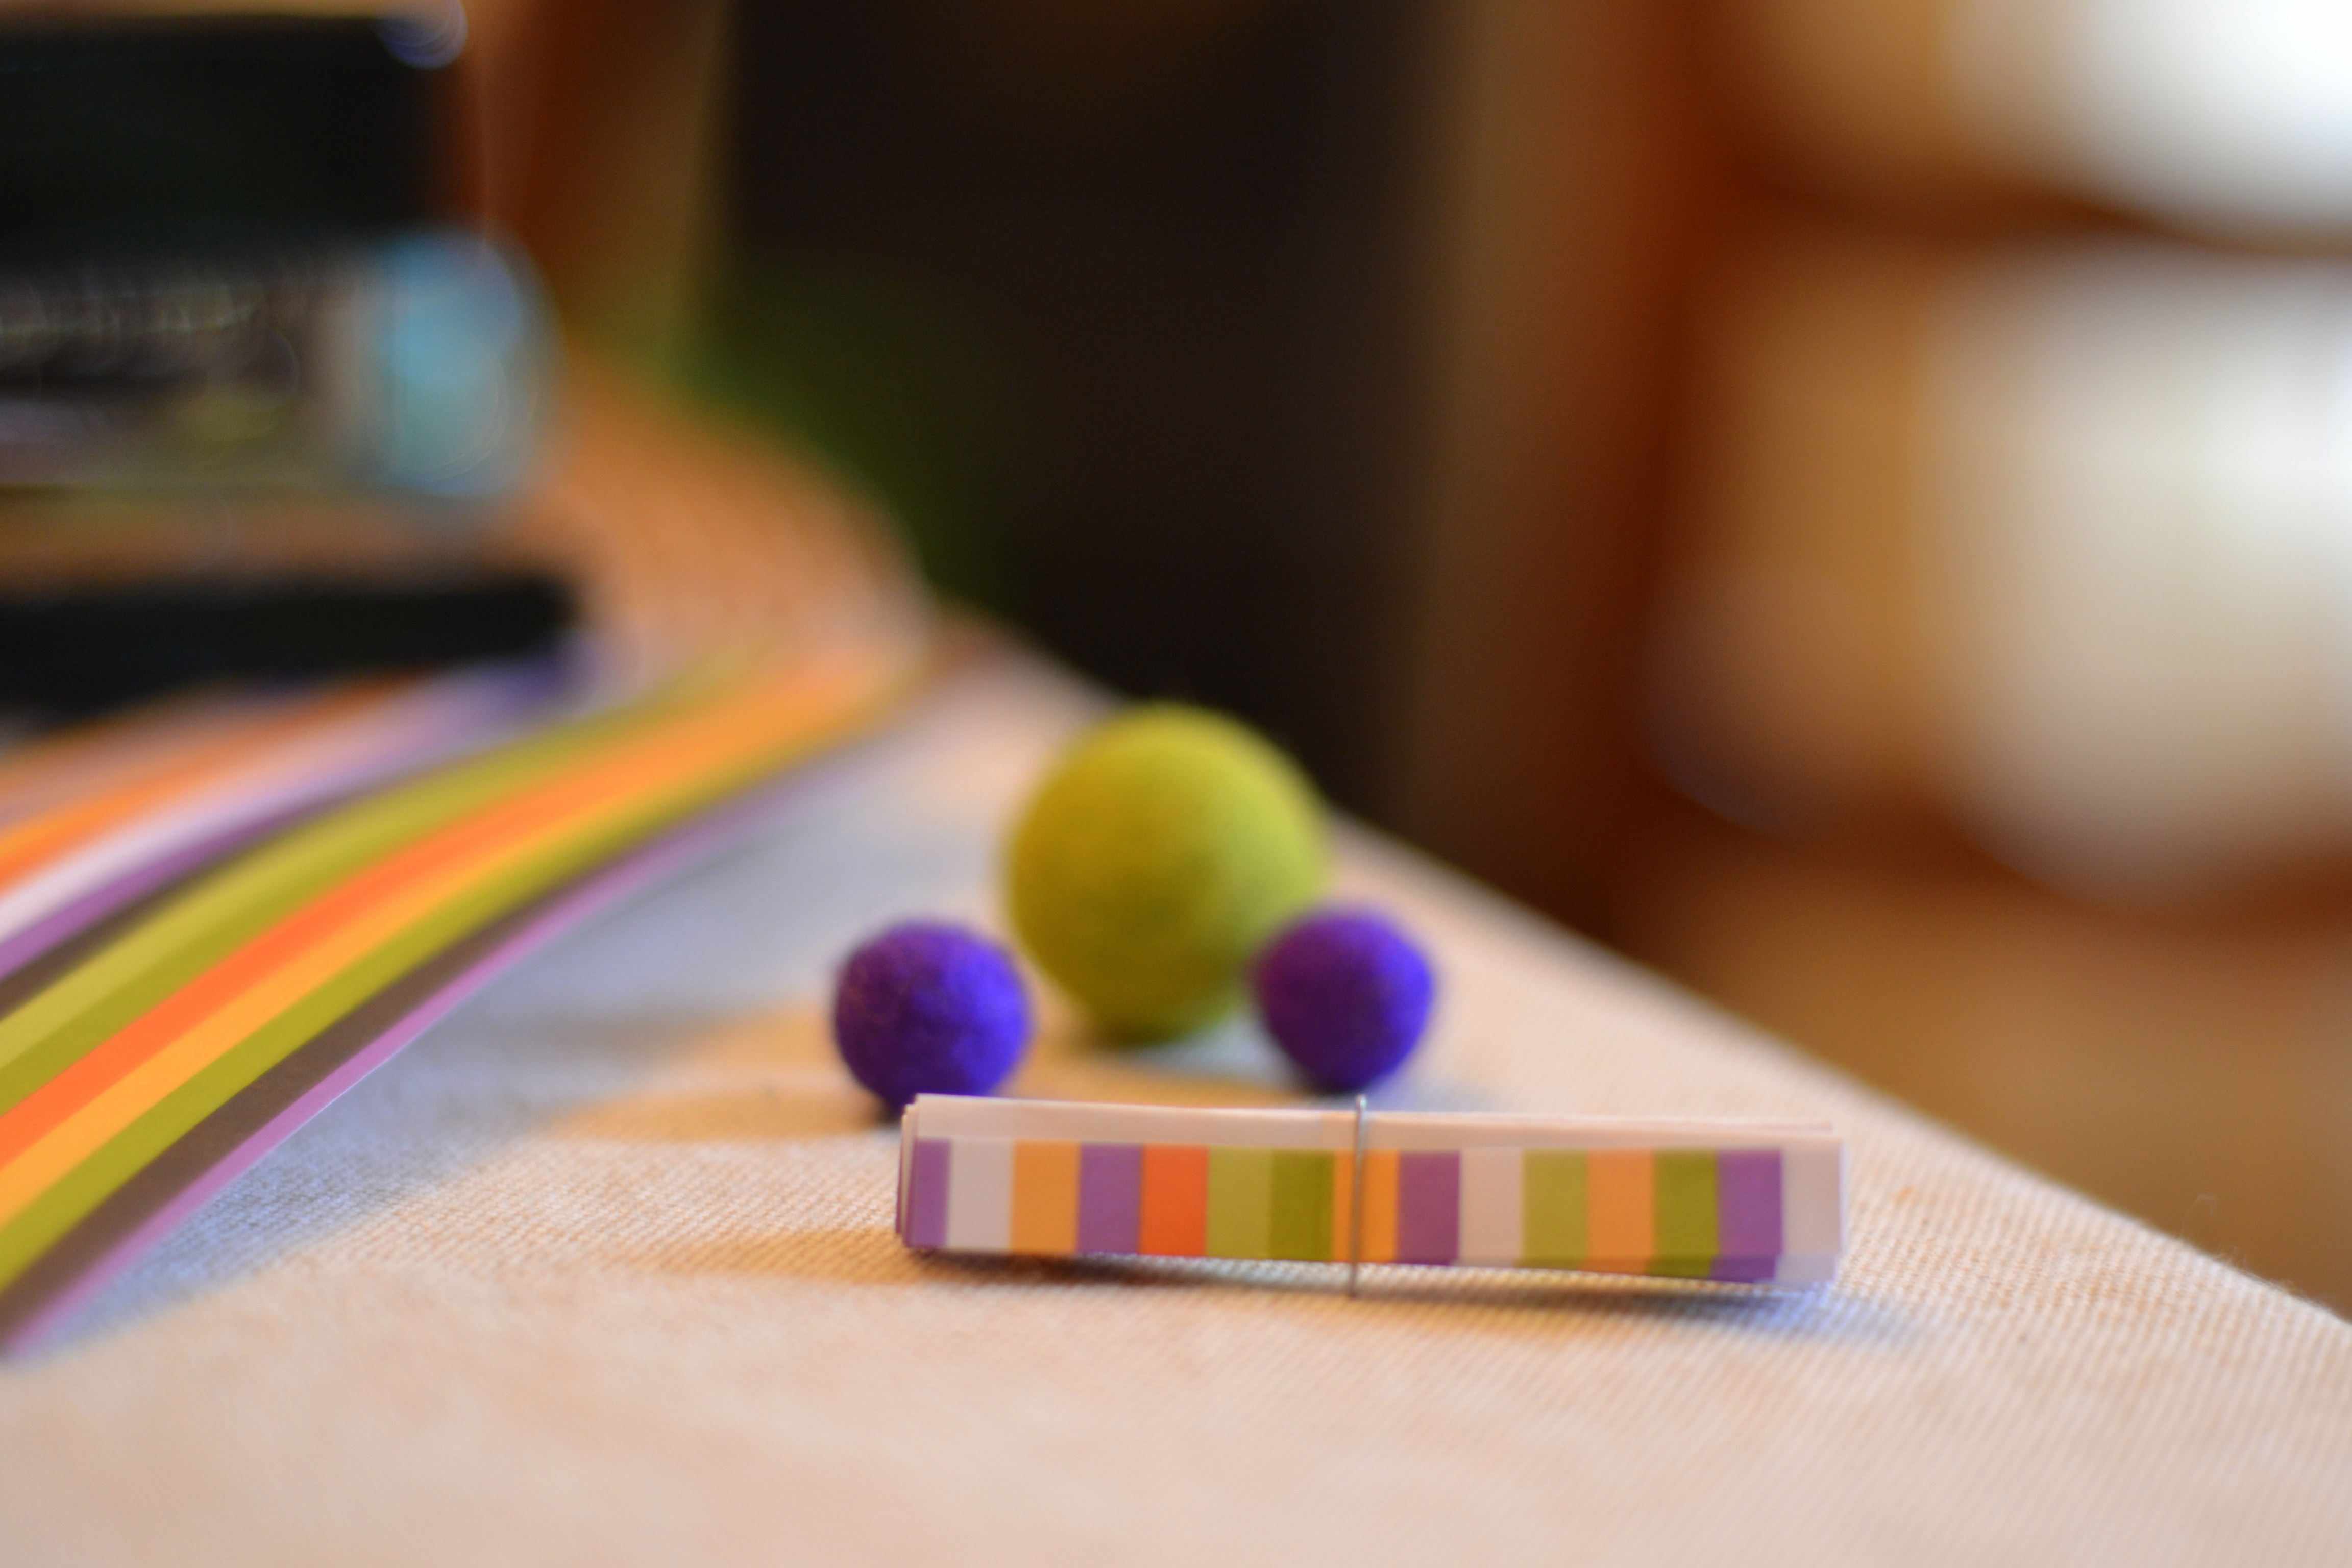
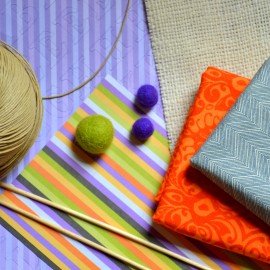
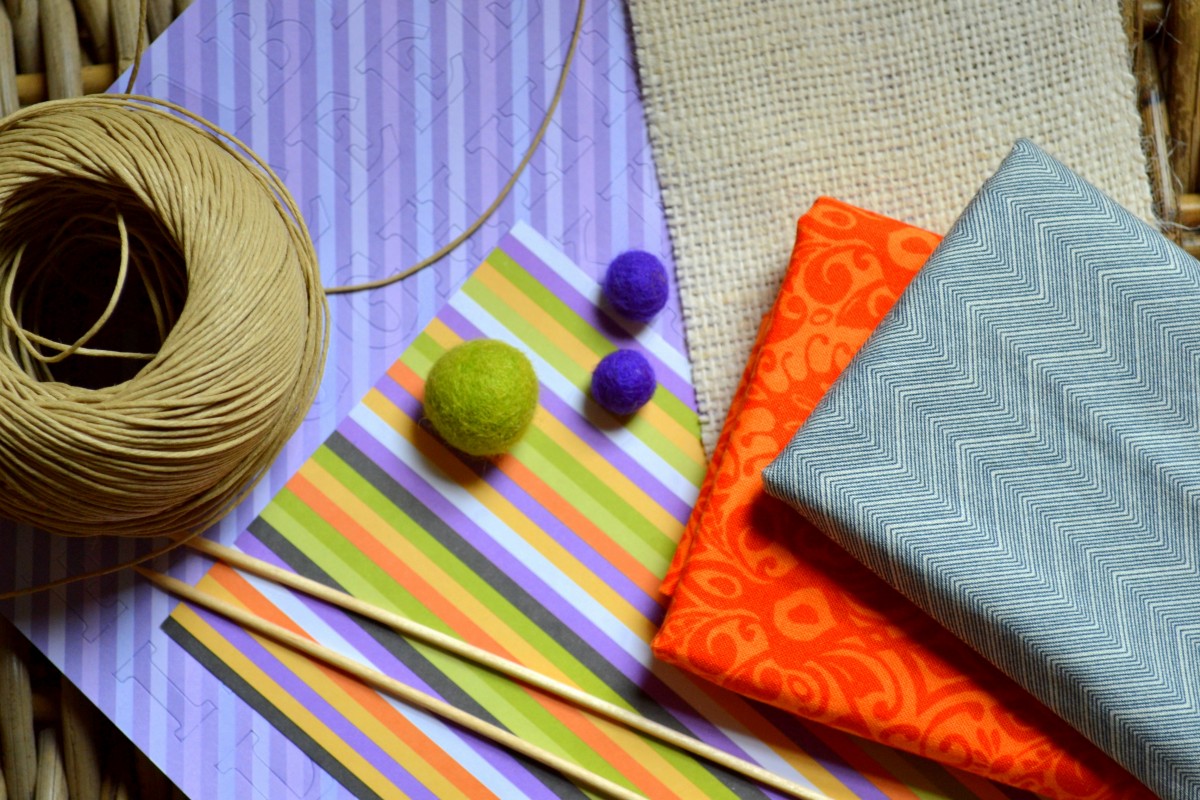
Here’s what I gathered for the project: pre-punched letters (could use stickers, cricut, hand embroider), 2 – 2 ¼” x 9” (approx.) strips of striped paper, cream burlap, small pieces of orange patterned and black patterned cotton fabric, felted wool balls, hemp, 2 bamboo skewers, scissors, glue stick, embroidery needle large enough to thread hemp through
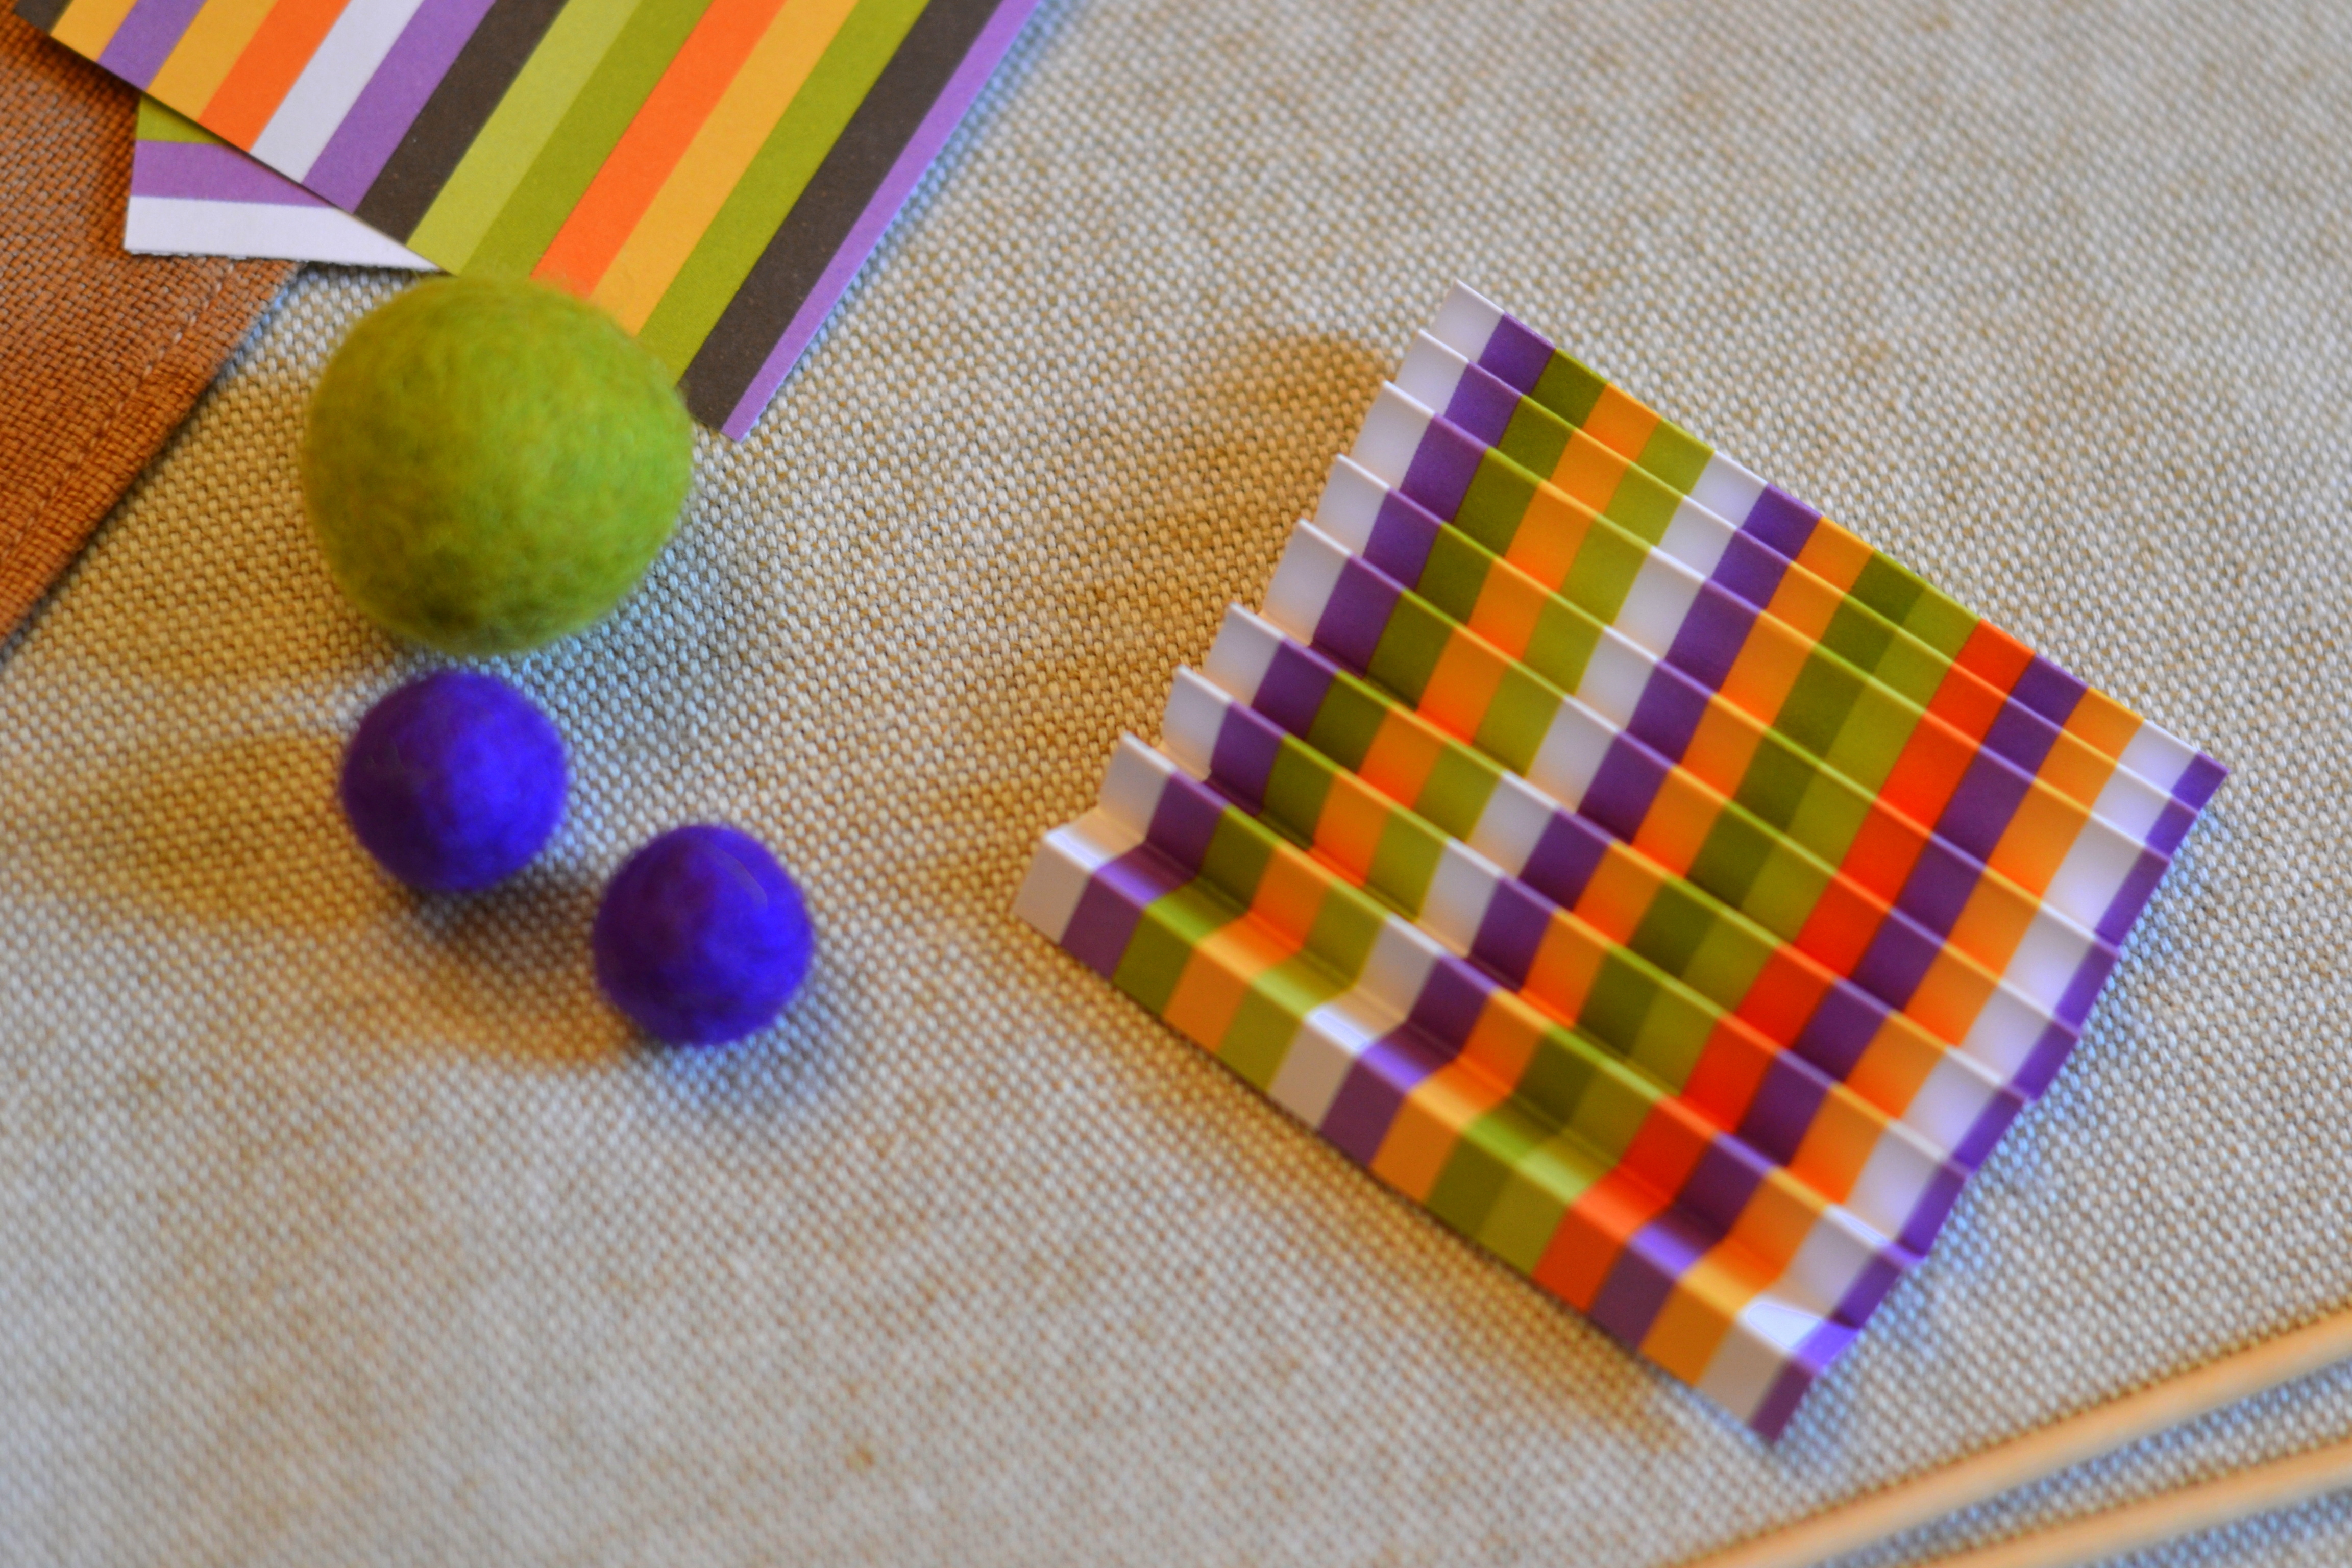
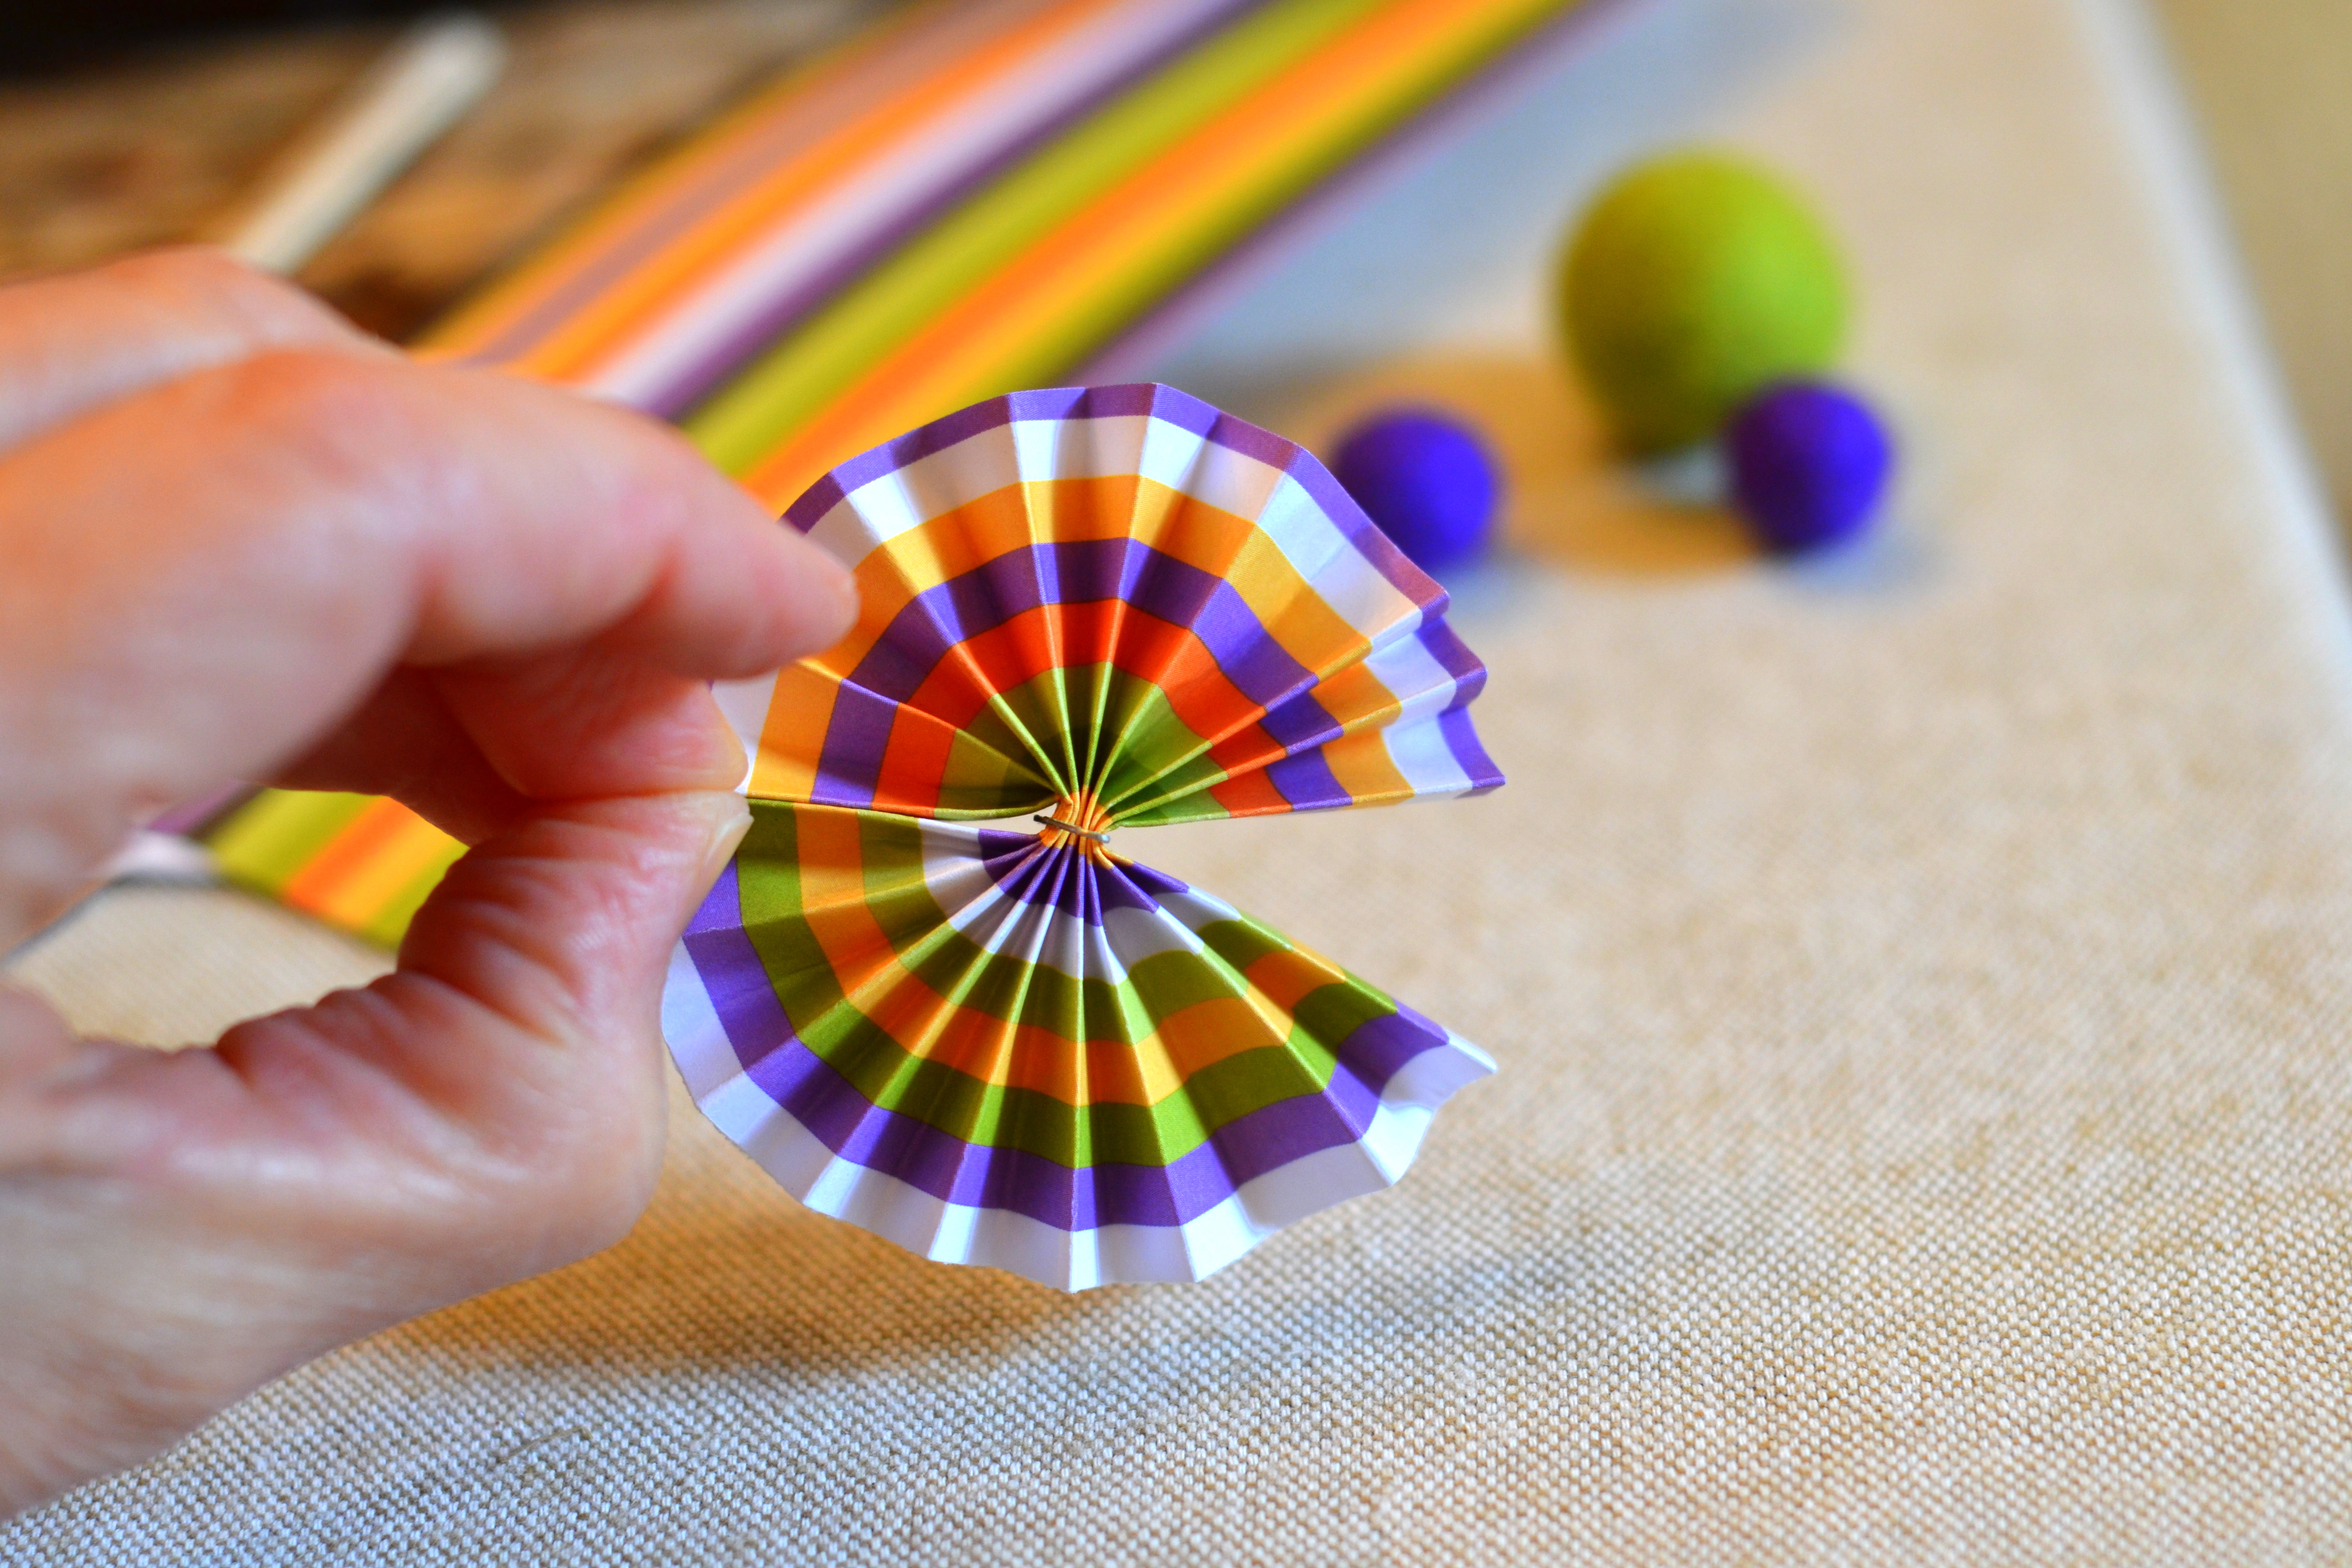
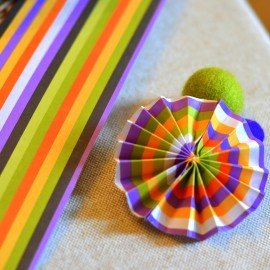
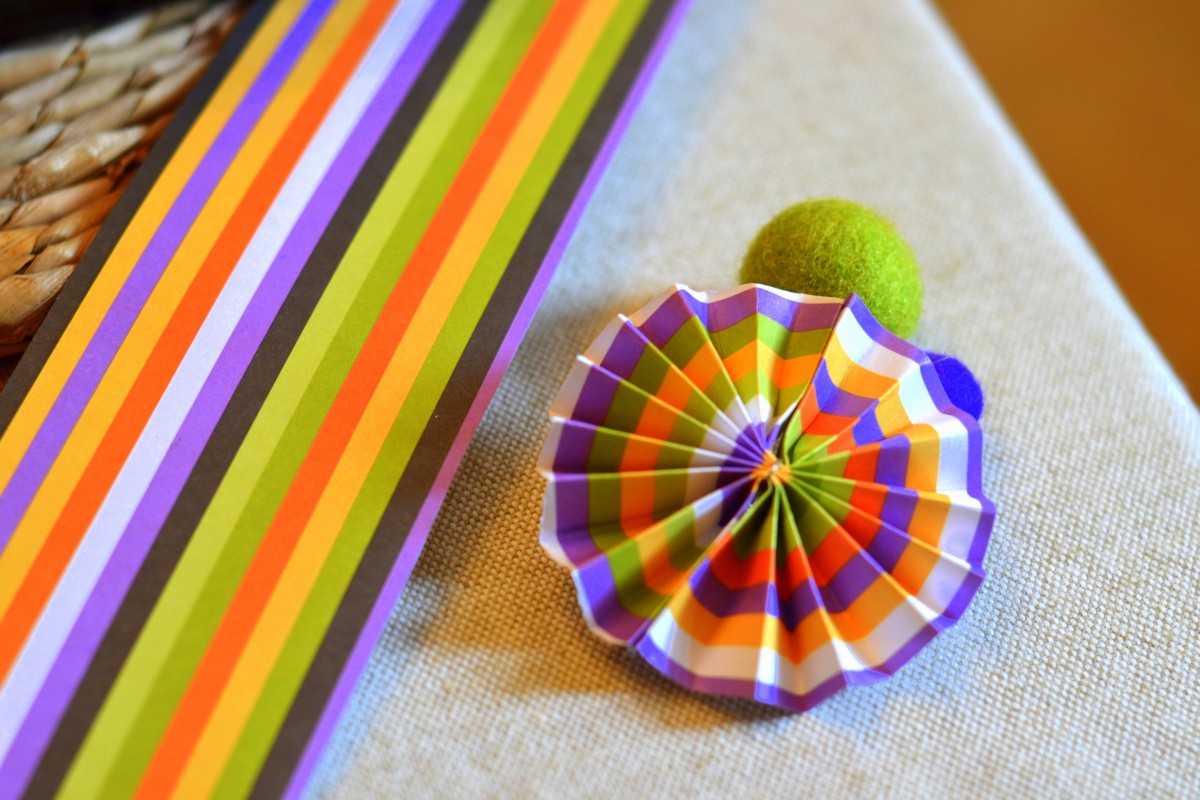
- Take the strips of paper and fold accordion style. Mine was only folded over at 3/8” which created more little pleats than if I folded it over say ¼”. You should now have 2 pleated pieces.

- Staple across the center of the pleated pieces. It won’t pierce the paper if you do yours small like me. By using the staples more as clamps, the excess part of the staple ended up being great for threading the hemp through when assembling. Once you open up the pleats to make the circle you will see what I mean.
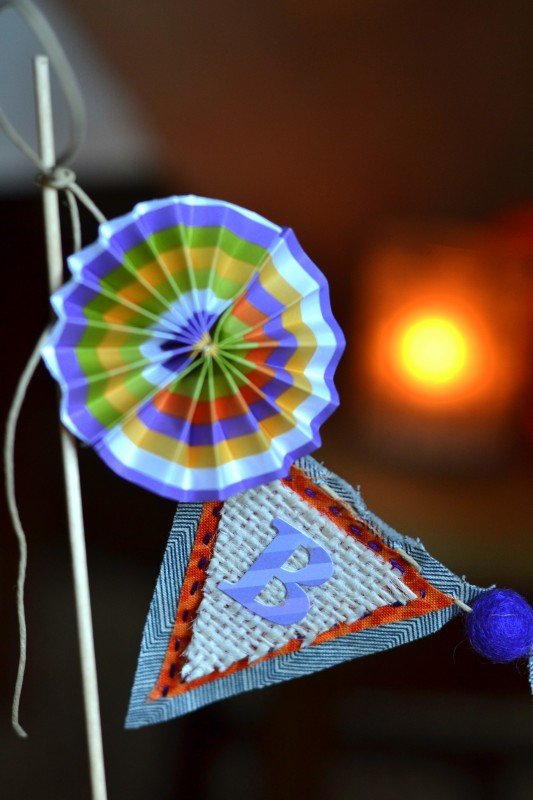
- Next I opened the pleats to create a full circle. To keep paper open I glued the ends together with glue stick and pinched it closed until the glue held. Now I had a circle of pleated paper!

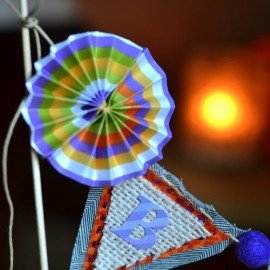
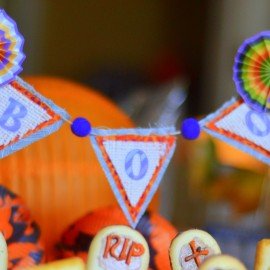
- I cut triangles of graduating size out of black fabric, orange fabric and burlap, laying one on the other. Add letters on top. I spelled out “BOO”, but you can obviously do anything you like! Keep in mind the number of letters will determine the size of the triangles. With only 3 letters, mine were a good-size….more letters, smaller triangles so the banner doesn’t get too long.
- Now lay out the pieces you’ve decided on for your banner. I ended up not using one of the felted wool balls (green one) and added a little running stitch in purple embroidery floss around the second triangle.
- Cut a length of hemp longer than you think you’ll need. Thread it in the embroidery needle. Now start adding the pieces onto the hemp. I sewed a big running stitch through the tops of pennants. To finish it up I tied the hemp onto the skewers.
All you need to do now is give your banner a home! These work great in cakes, but the first one I ever made I put in a pie at Thanksgiving! If you have a tray of cupcakes you could stick the skewers into 2 of them. Same goes for a stack of brownies, krispy cereal treats, even cookies! You could try staggering the height of the skewers so your banner will drape at an angle. Try using apples, pears, pumpkins, or other fruit as the base for the banner. Fruit is nice and solid and really holds the skewers in place! There are no rules and that’s the beauty of it!! Just make it fun! After using the banner on my cake, I just propped it on a lampshade for the remainder of the month!
“I’m so glad I live in a world where there are Octobers.”
~Anne of Green Gables