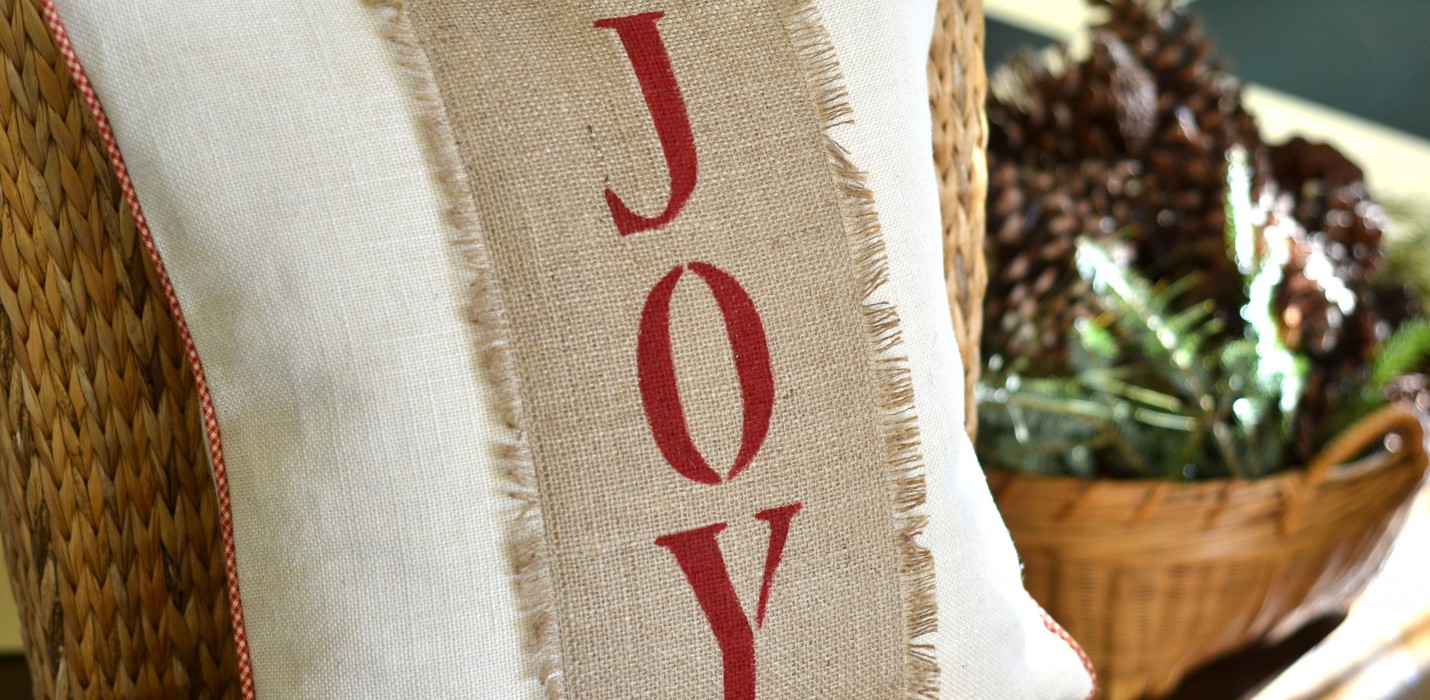
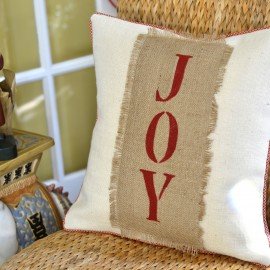
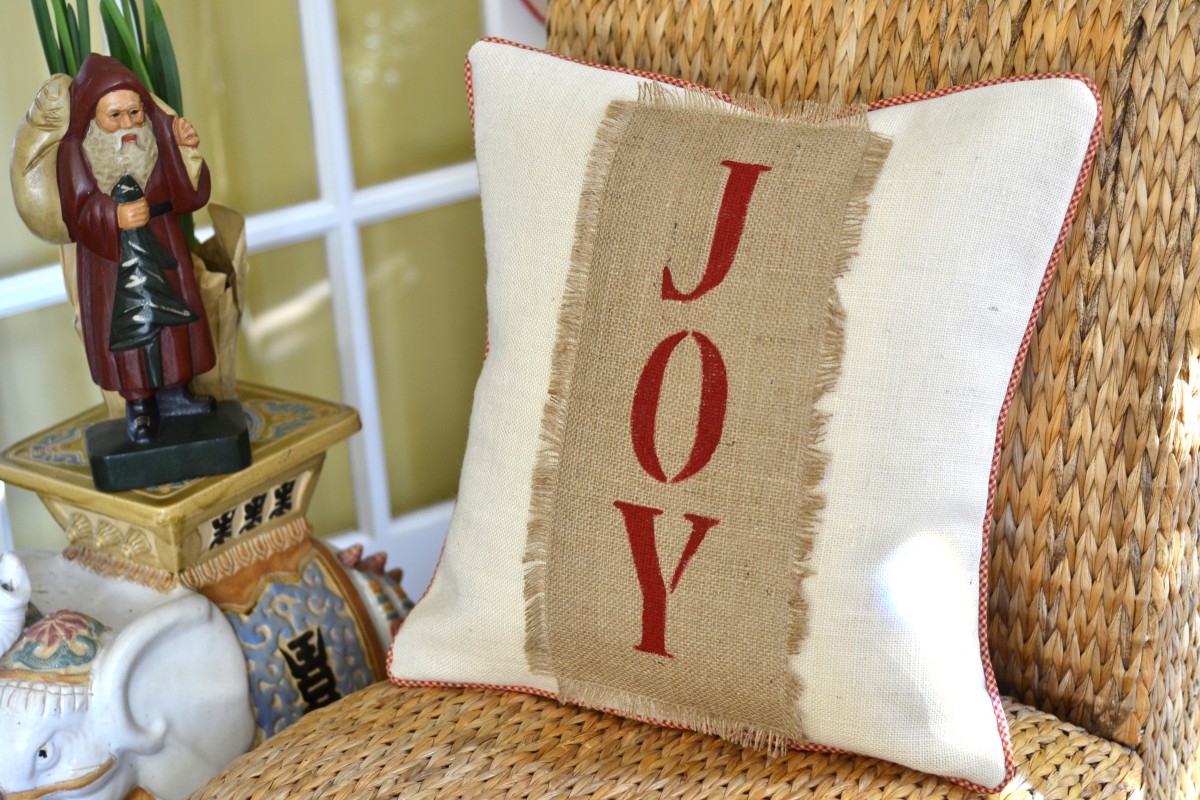
I am always trying to “do one more thing” … and my husband just shakes his head! Here is a tutorial for my JOY pillow! It really is quite quick, and I love the way it turned out! My motto…”It’s never too late”!
This pillow is 20” x 20”. I used the method described in my “Pretty Pillow On The Porch” post back in July (for the pillow with flowers and black background). I added cording to this pillow though.
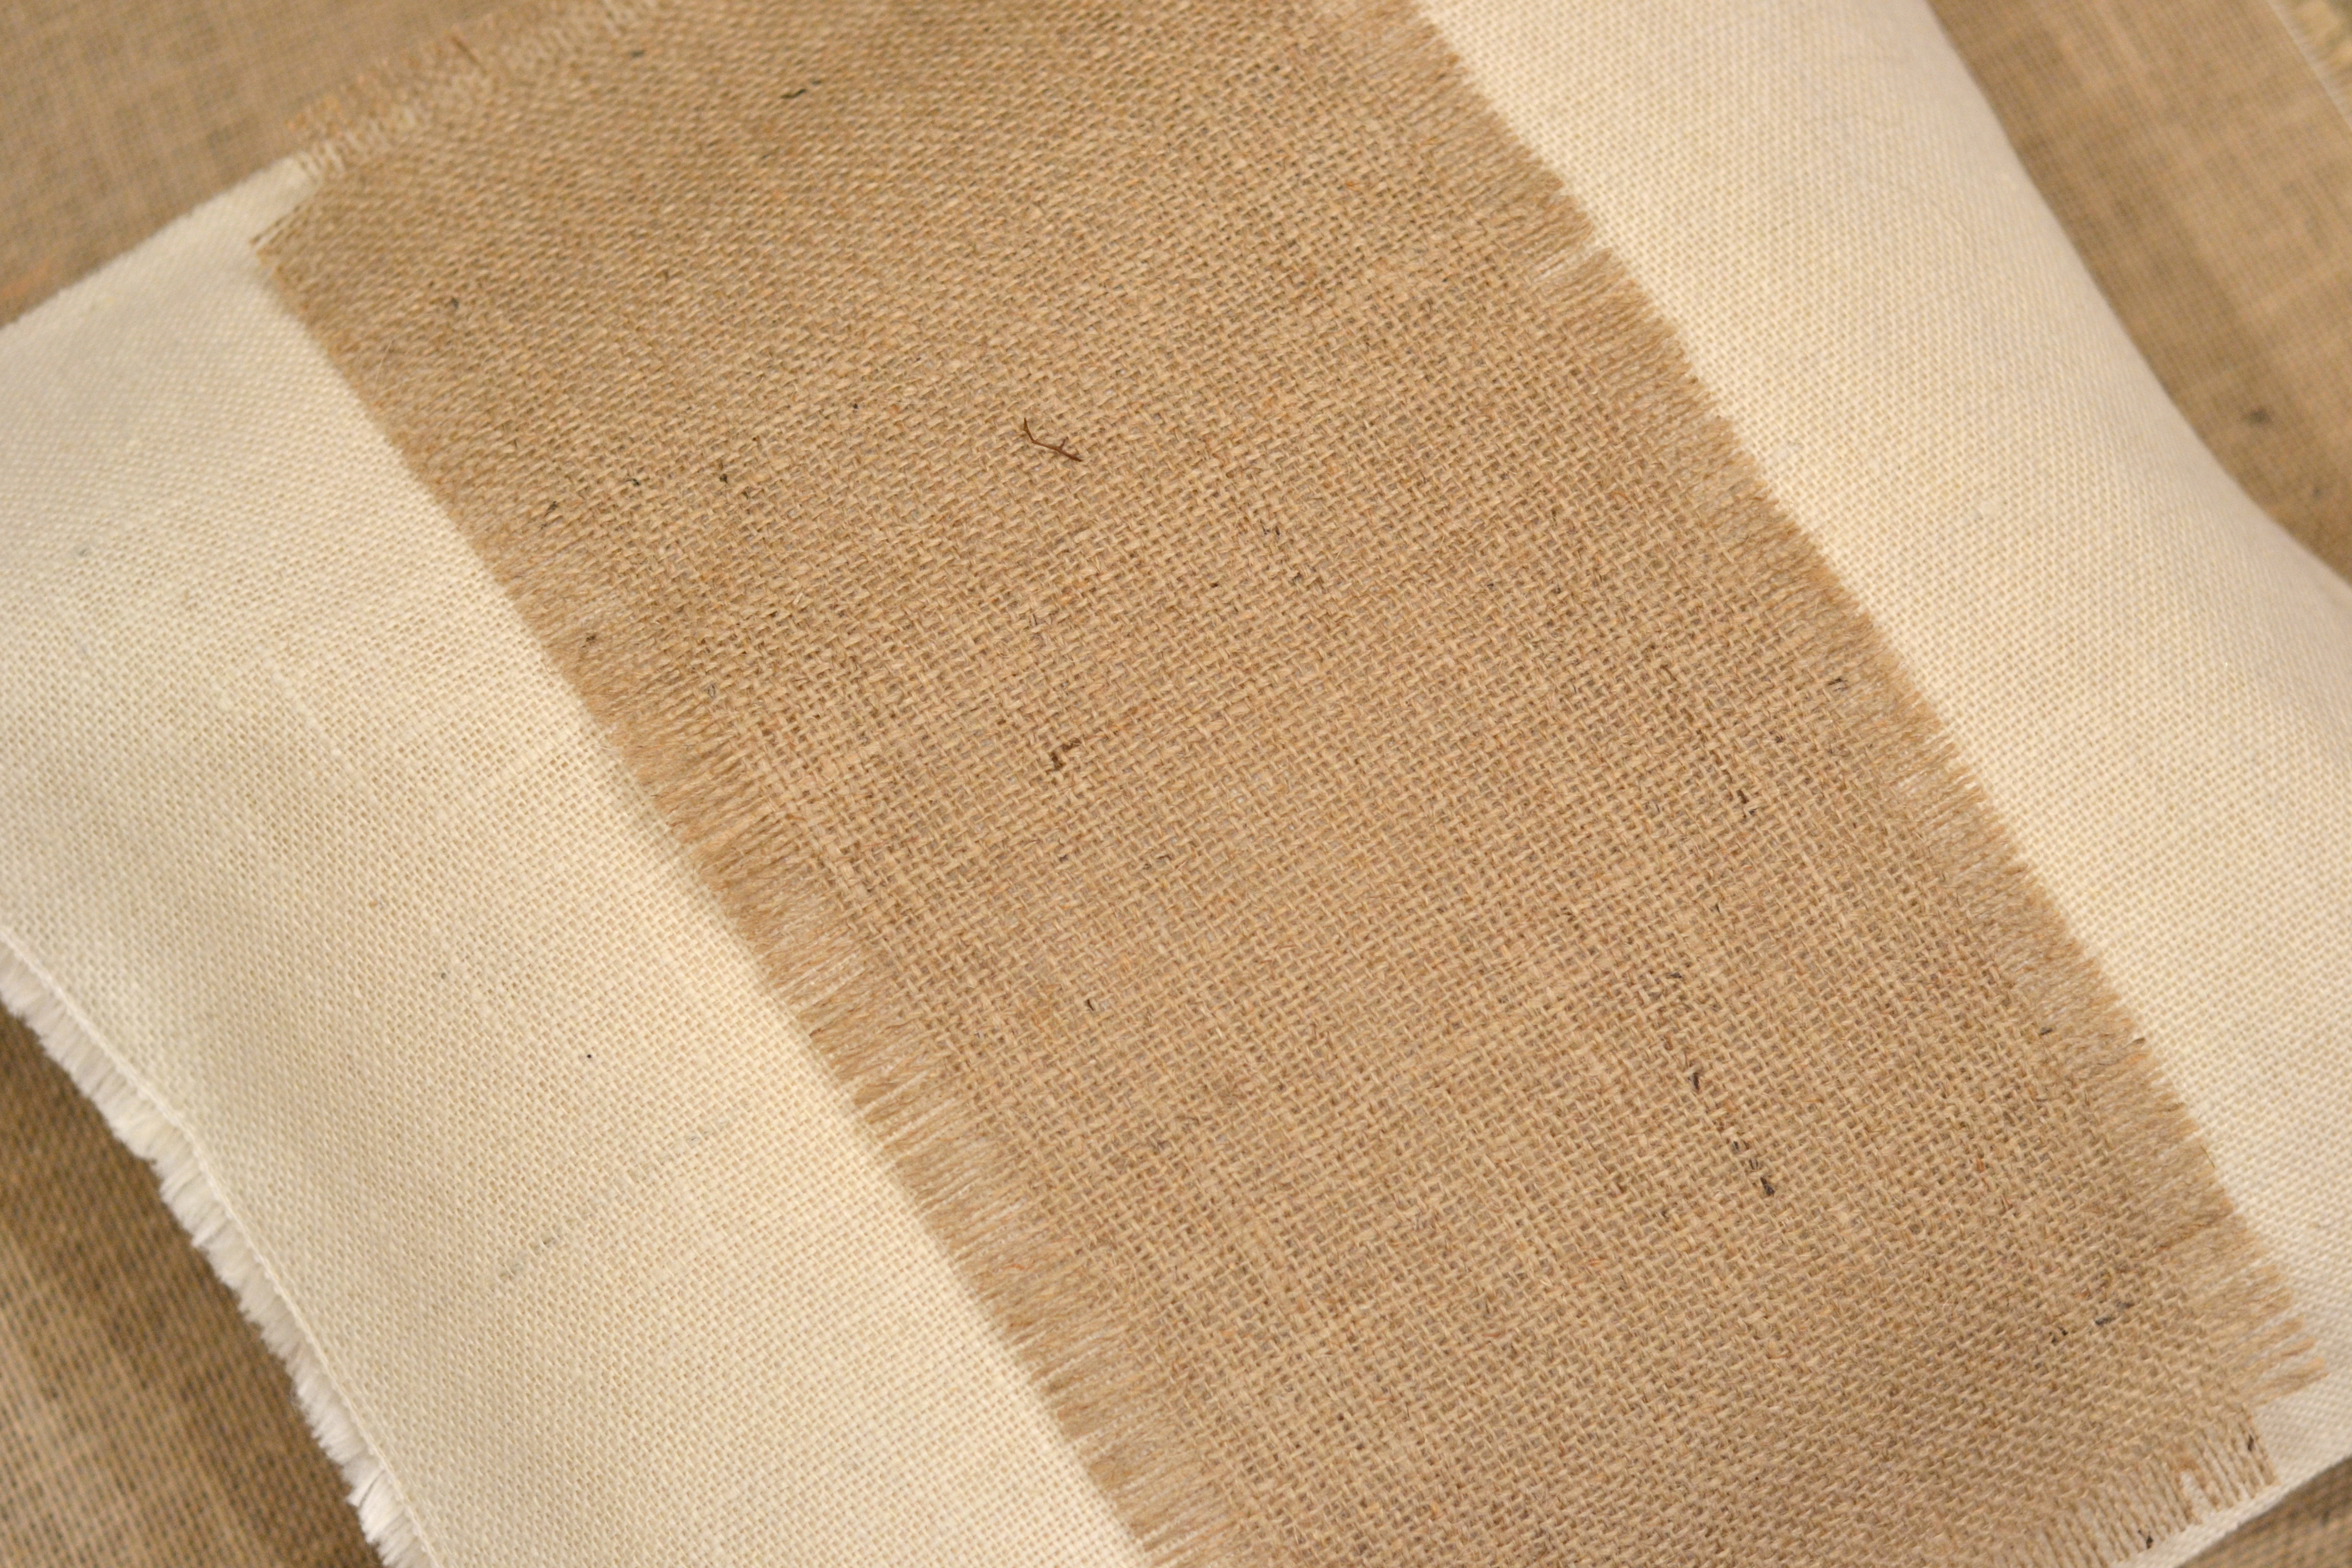
I started by cutting the front of the pillow from creamy white burlap 20” x20”. (Remember, I cut the fabric the same size as the pillow form so it’s nice and full.) Then I cut a piece of natural burlap approximately 17” x 7”. I unraveled about 1/2” – ¾” of the burlap on all 4 edges. Take your time and work carefully as to not unravel more than needed. I pulled one piece at a time ‘til I liked the way it looked.
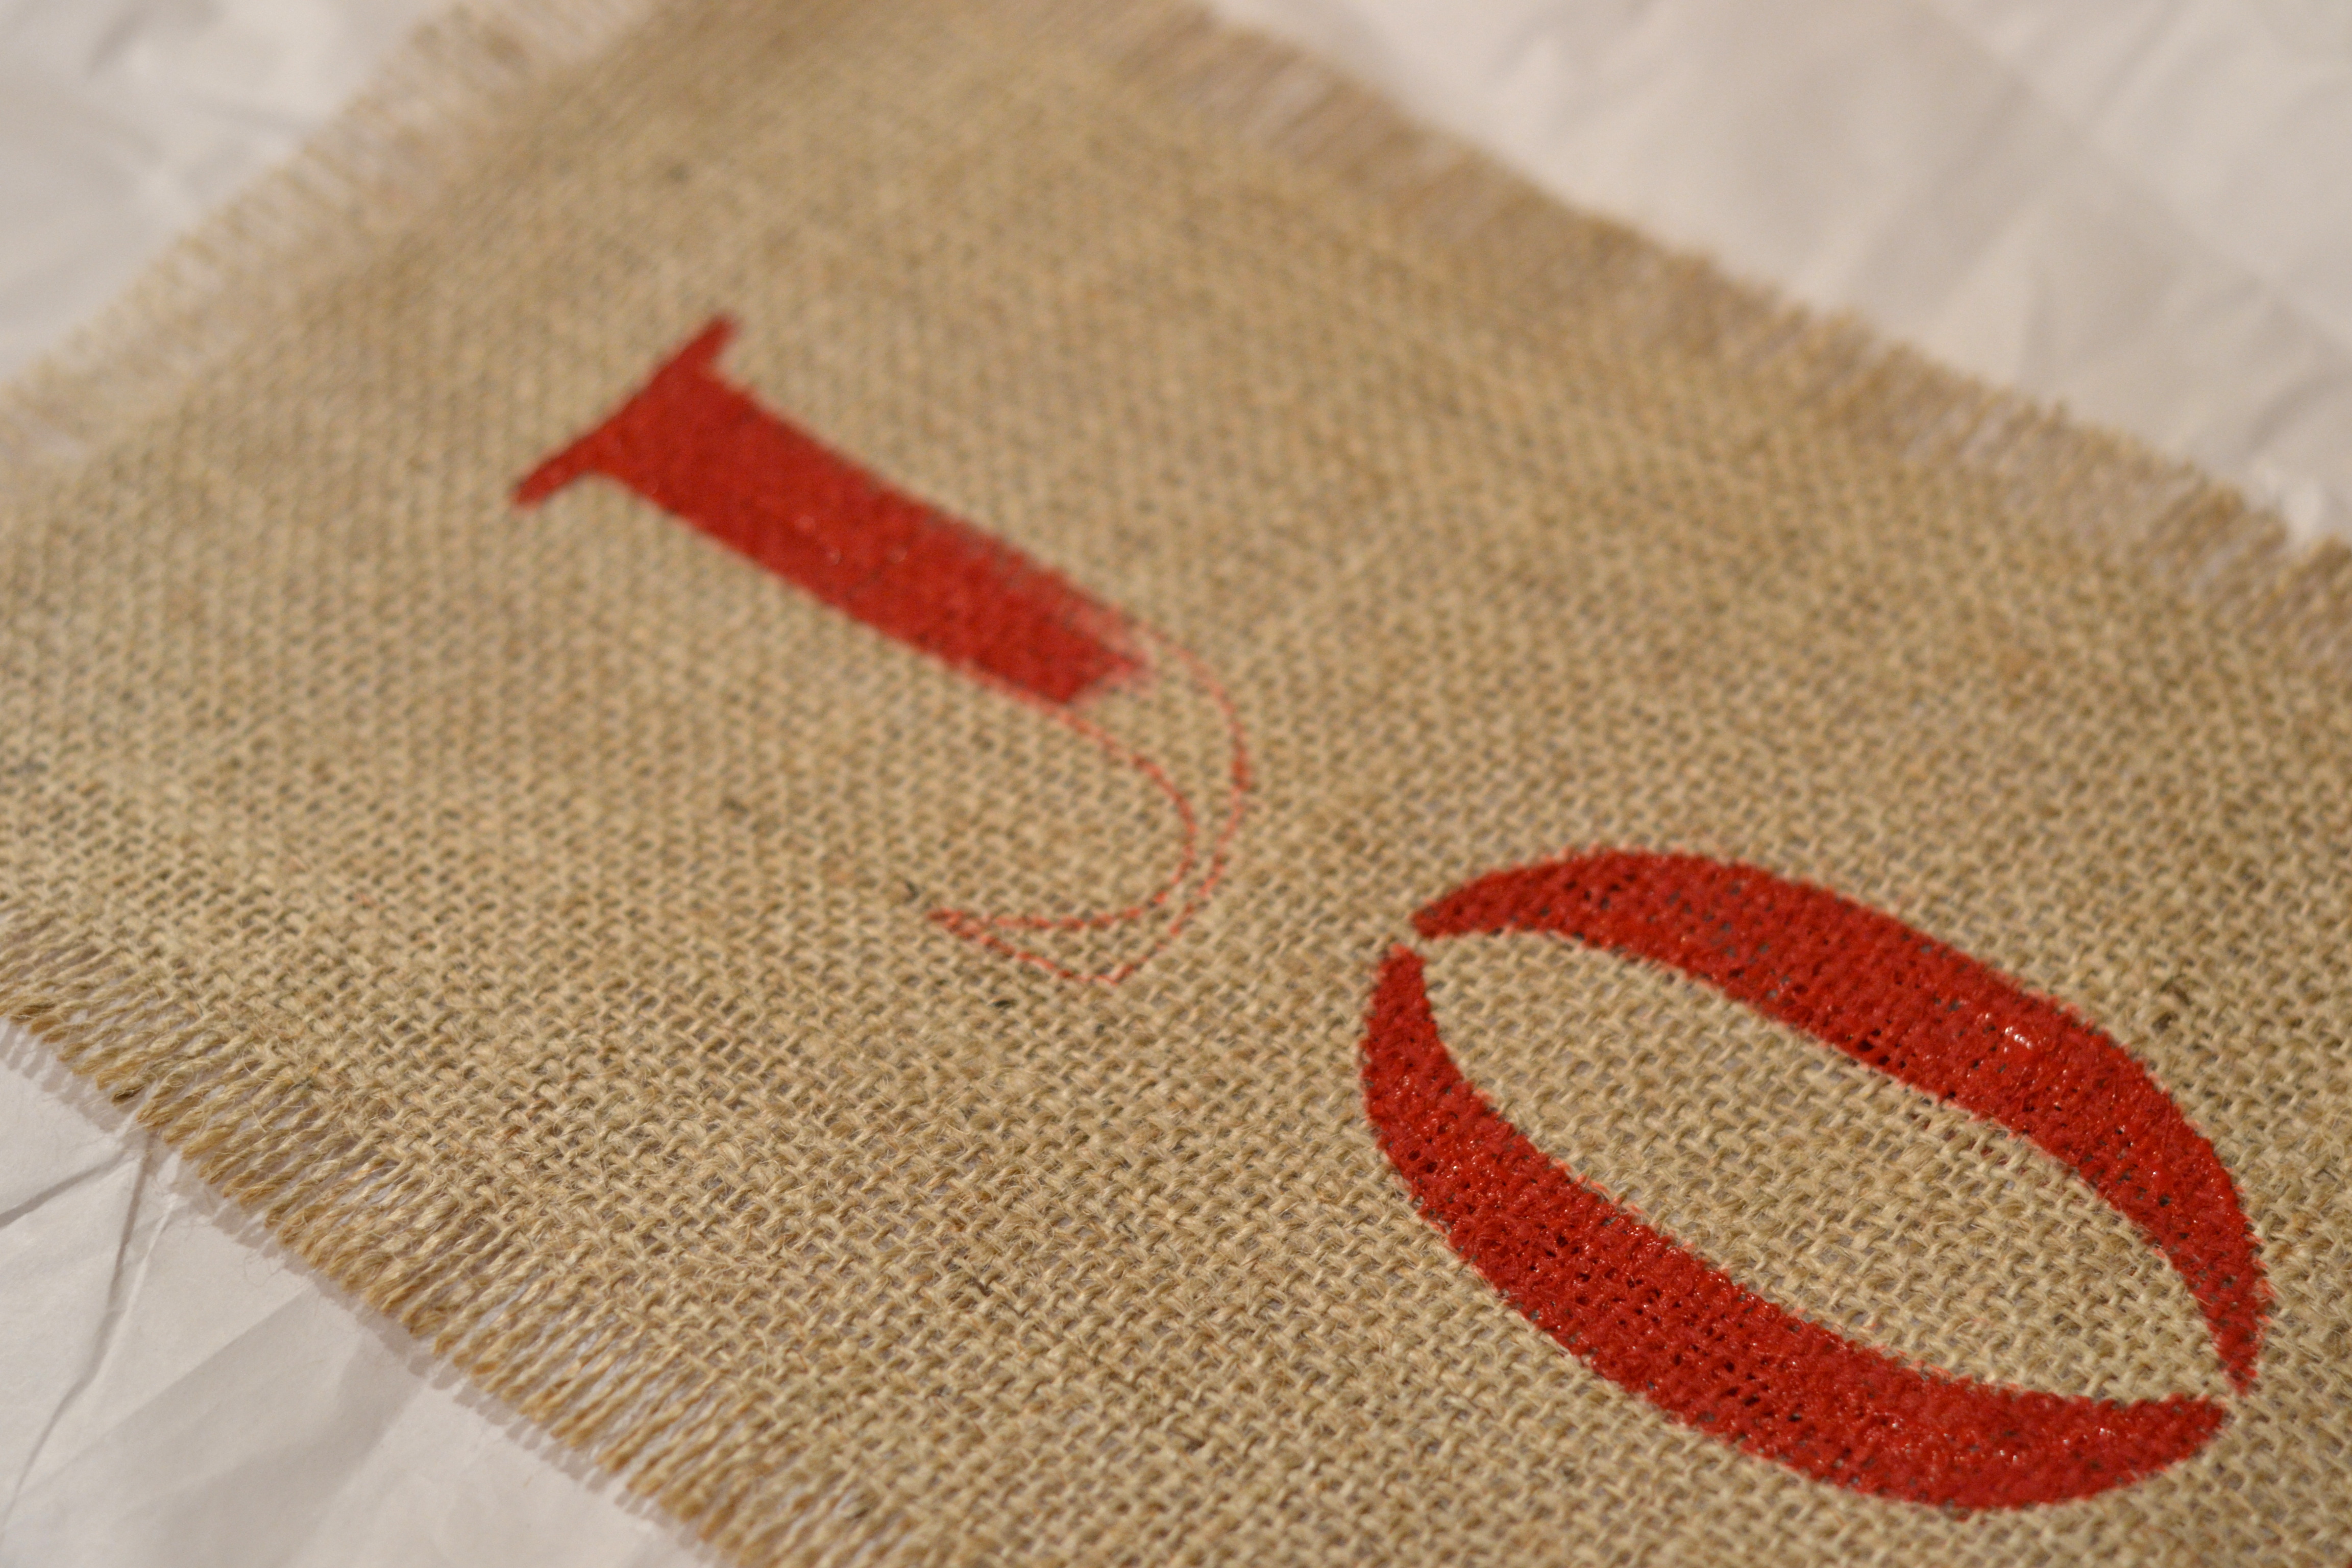
Next, I traced “J O Y” vertically on the natural burlap strip using 4” letter stencils. I knew I wanted to paint the letters red, so I used a red marker, lightly tracing each letter. I do know that the purpose of stencils is to stencil the letters, but I was afraid I would make a mess, so I opted to fill in with red craft paint by hand, using a fairly stiff, short bristled brush.
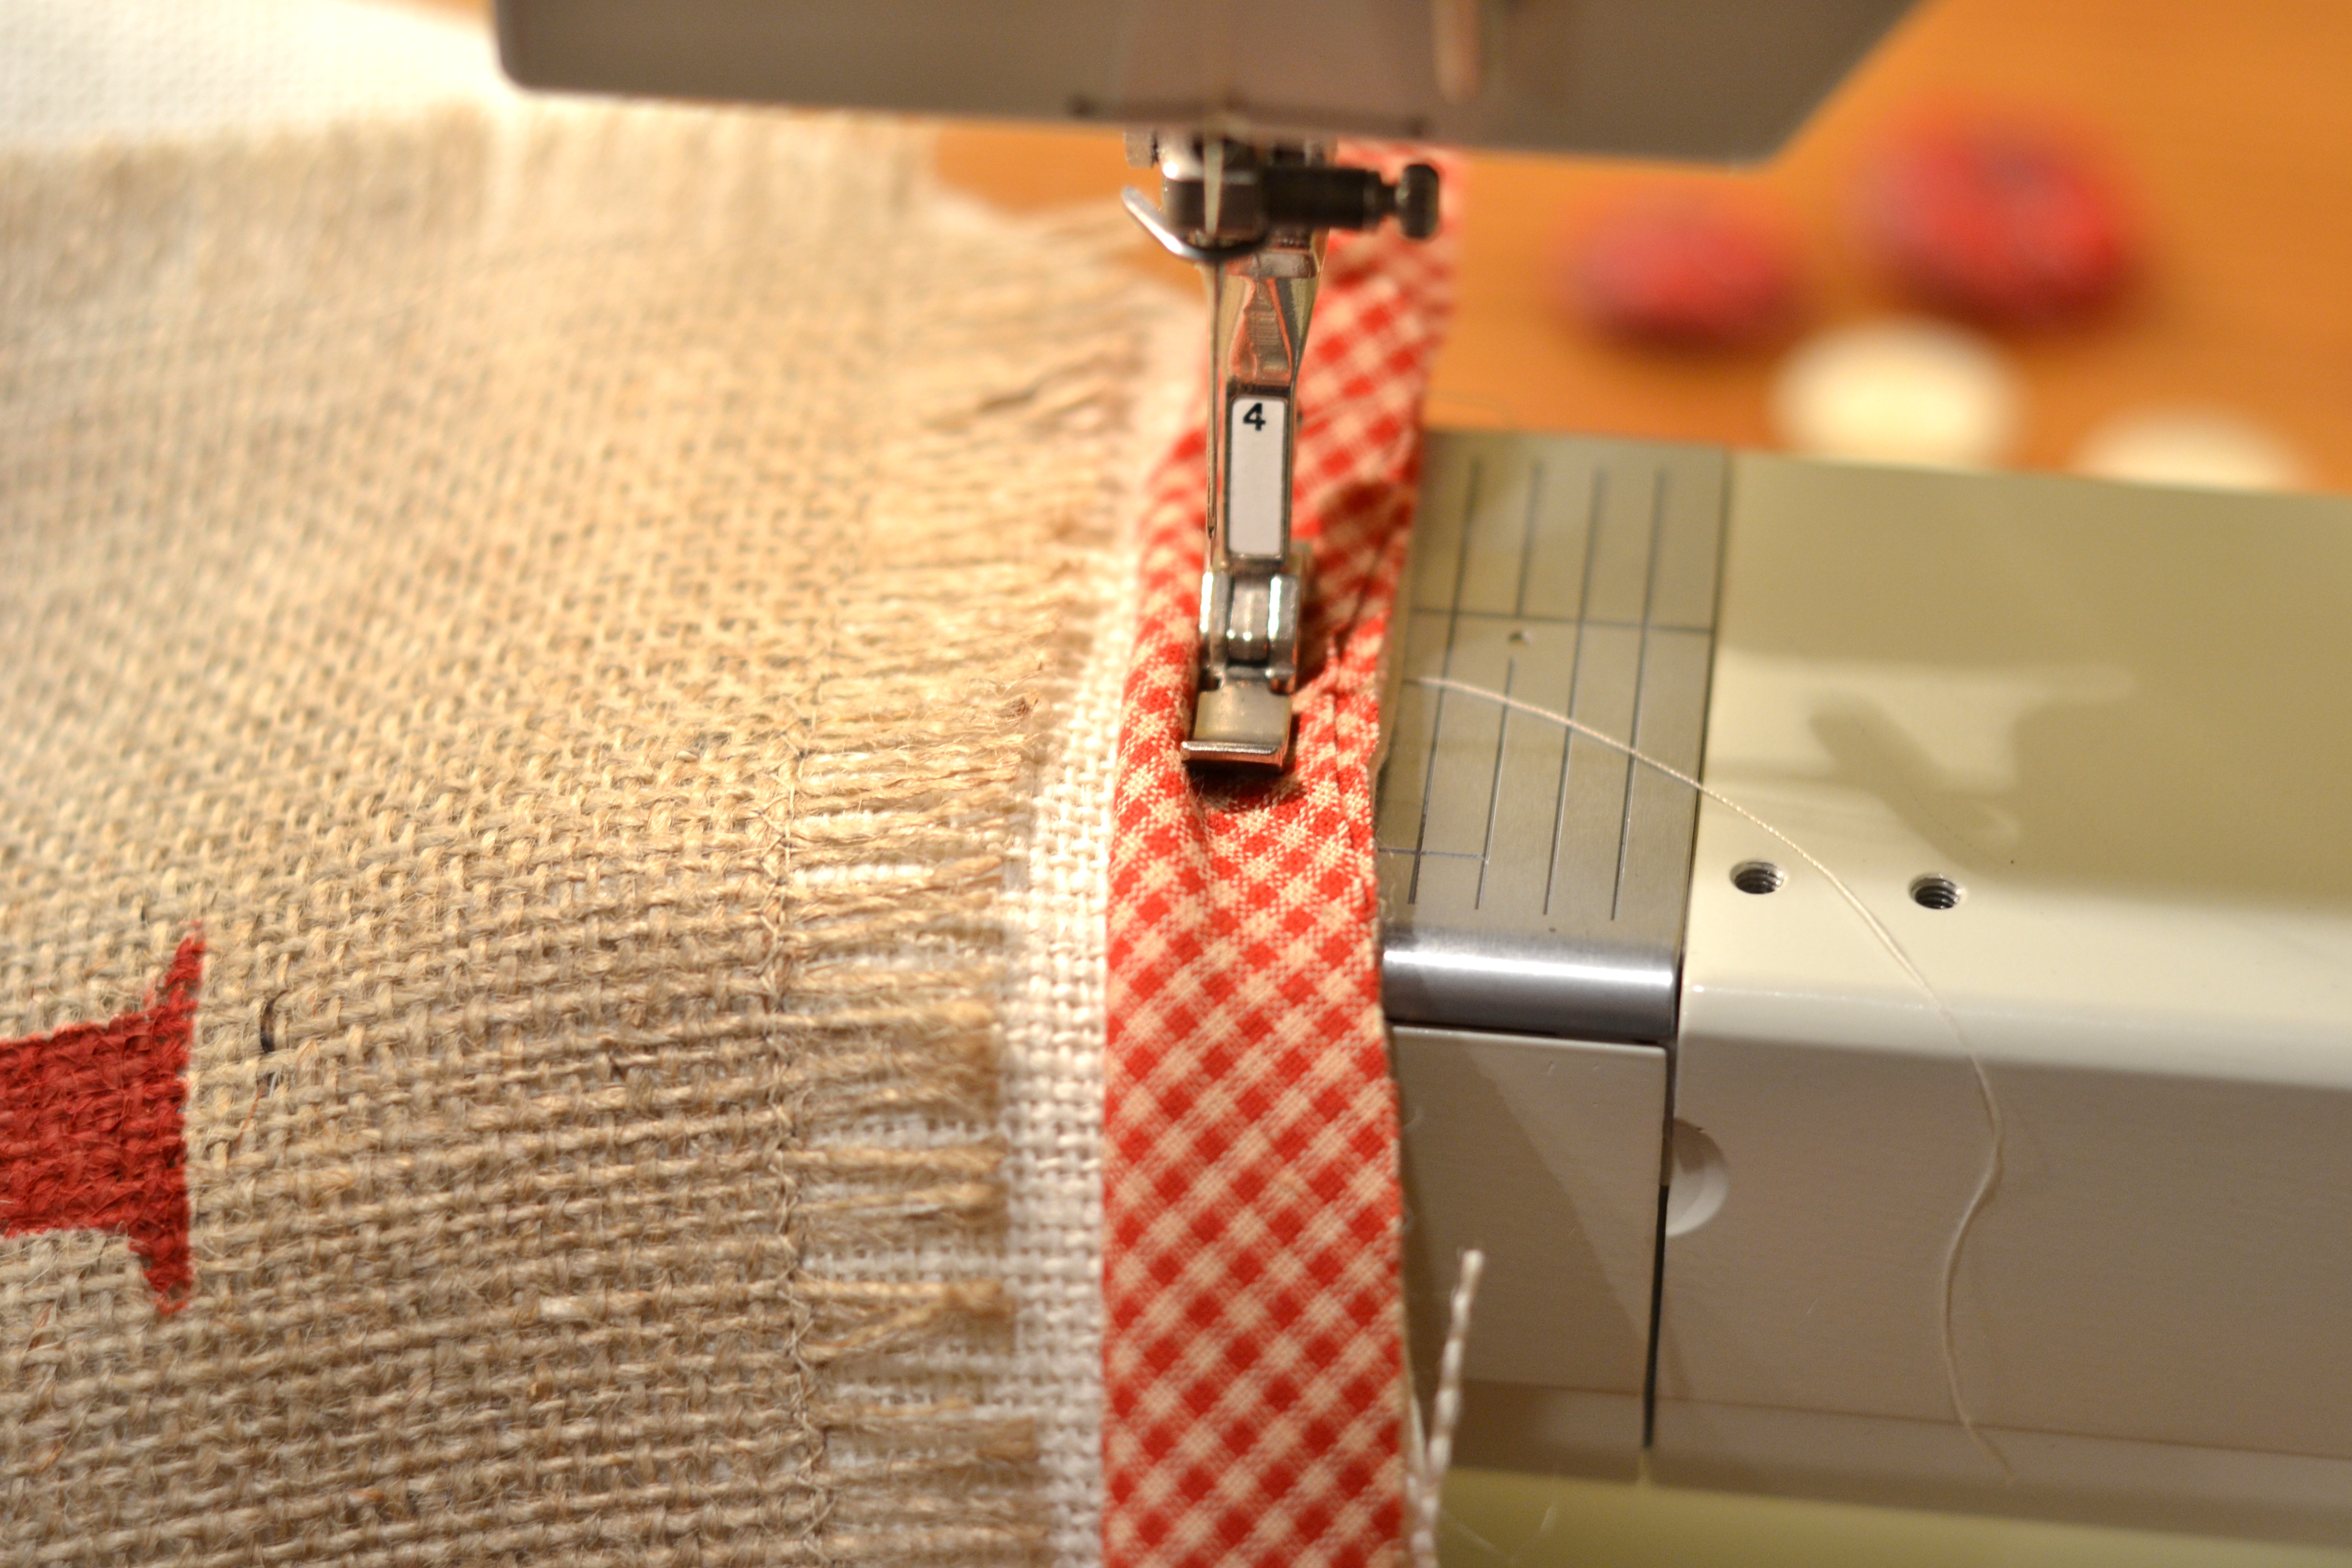
After the paint dried thoroughly I sewed the strip onto the pillow front, centering it. Then I added cording covered in a red and cream gingham all around the pillow’s edge. I did this by sewing it with a zipper foot at the ½” seam allowance on the pillow front.
Then I cut the back of the pillow. I cut a piece of the light burlap 20” x 27”. Next I folded it in half and cut this piece in two, making 2 – 13 ½” x 20” pieces. I hemmed one 20” edge of each half… one piece I sewed a narrow (1/2”) hem and the other approximately a 1 ½” hem. Press.
Now lay the pillow front right side up on work area; place the back piece with 1 ½” hem on top of the front, lining up the top edges with the hem near the middle of pillow front; now put the remaining back piece down letting the 2 back pieces overlap in the center. All of the front and back outside edges should be matching each other at this point. Using the stitch line from adding the cording to the pillow front as a guide for sewing, sew front and backs together all the way around the outer edge. Turn right side out. Insert your 20” x 20” pillow form into your pillow cover, and JOY, you’re done!!


