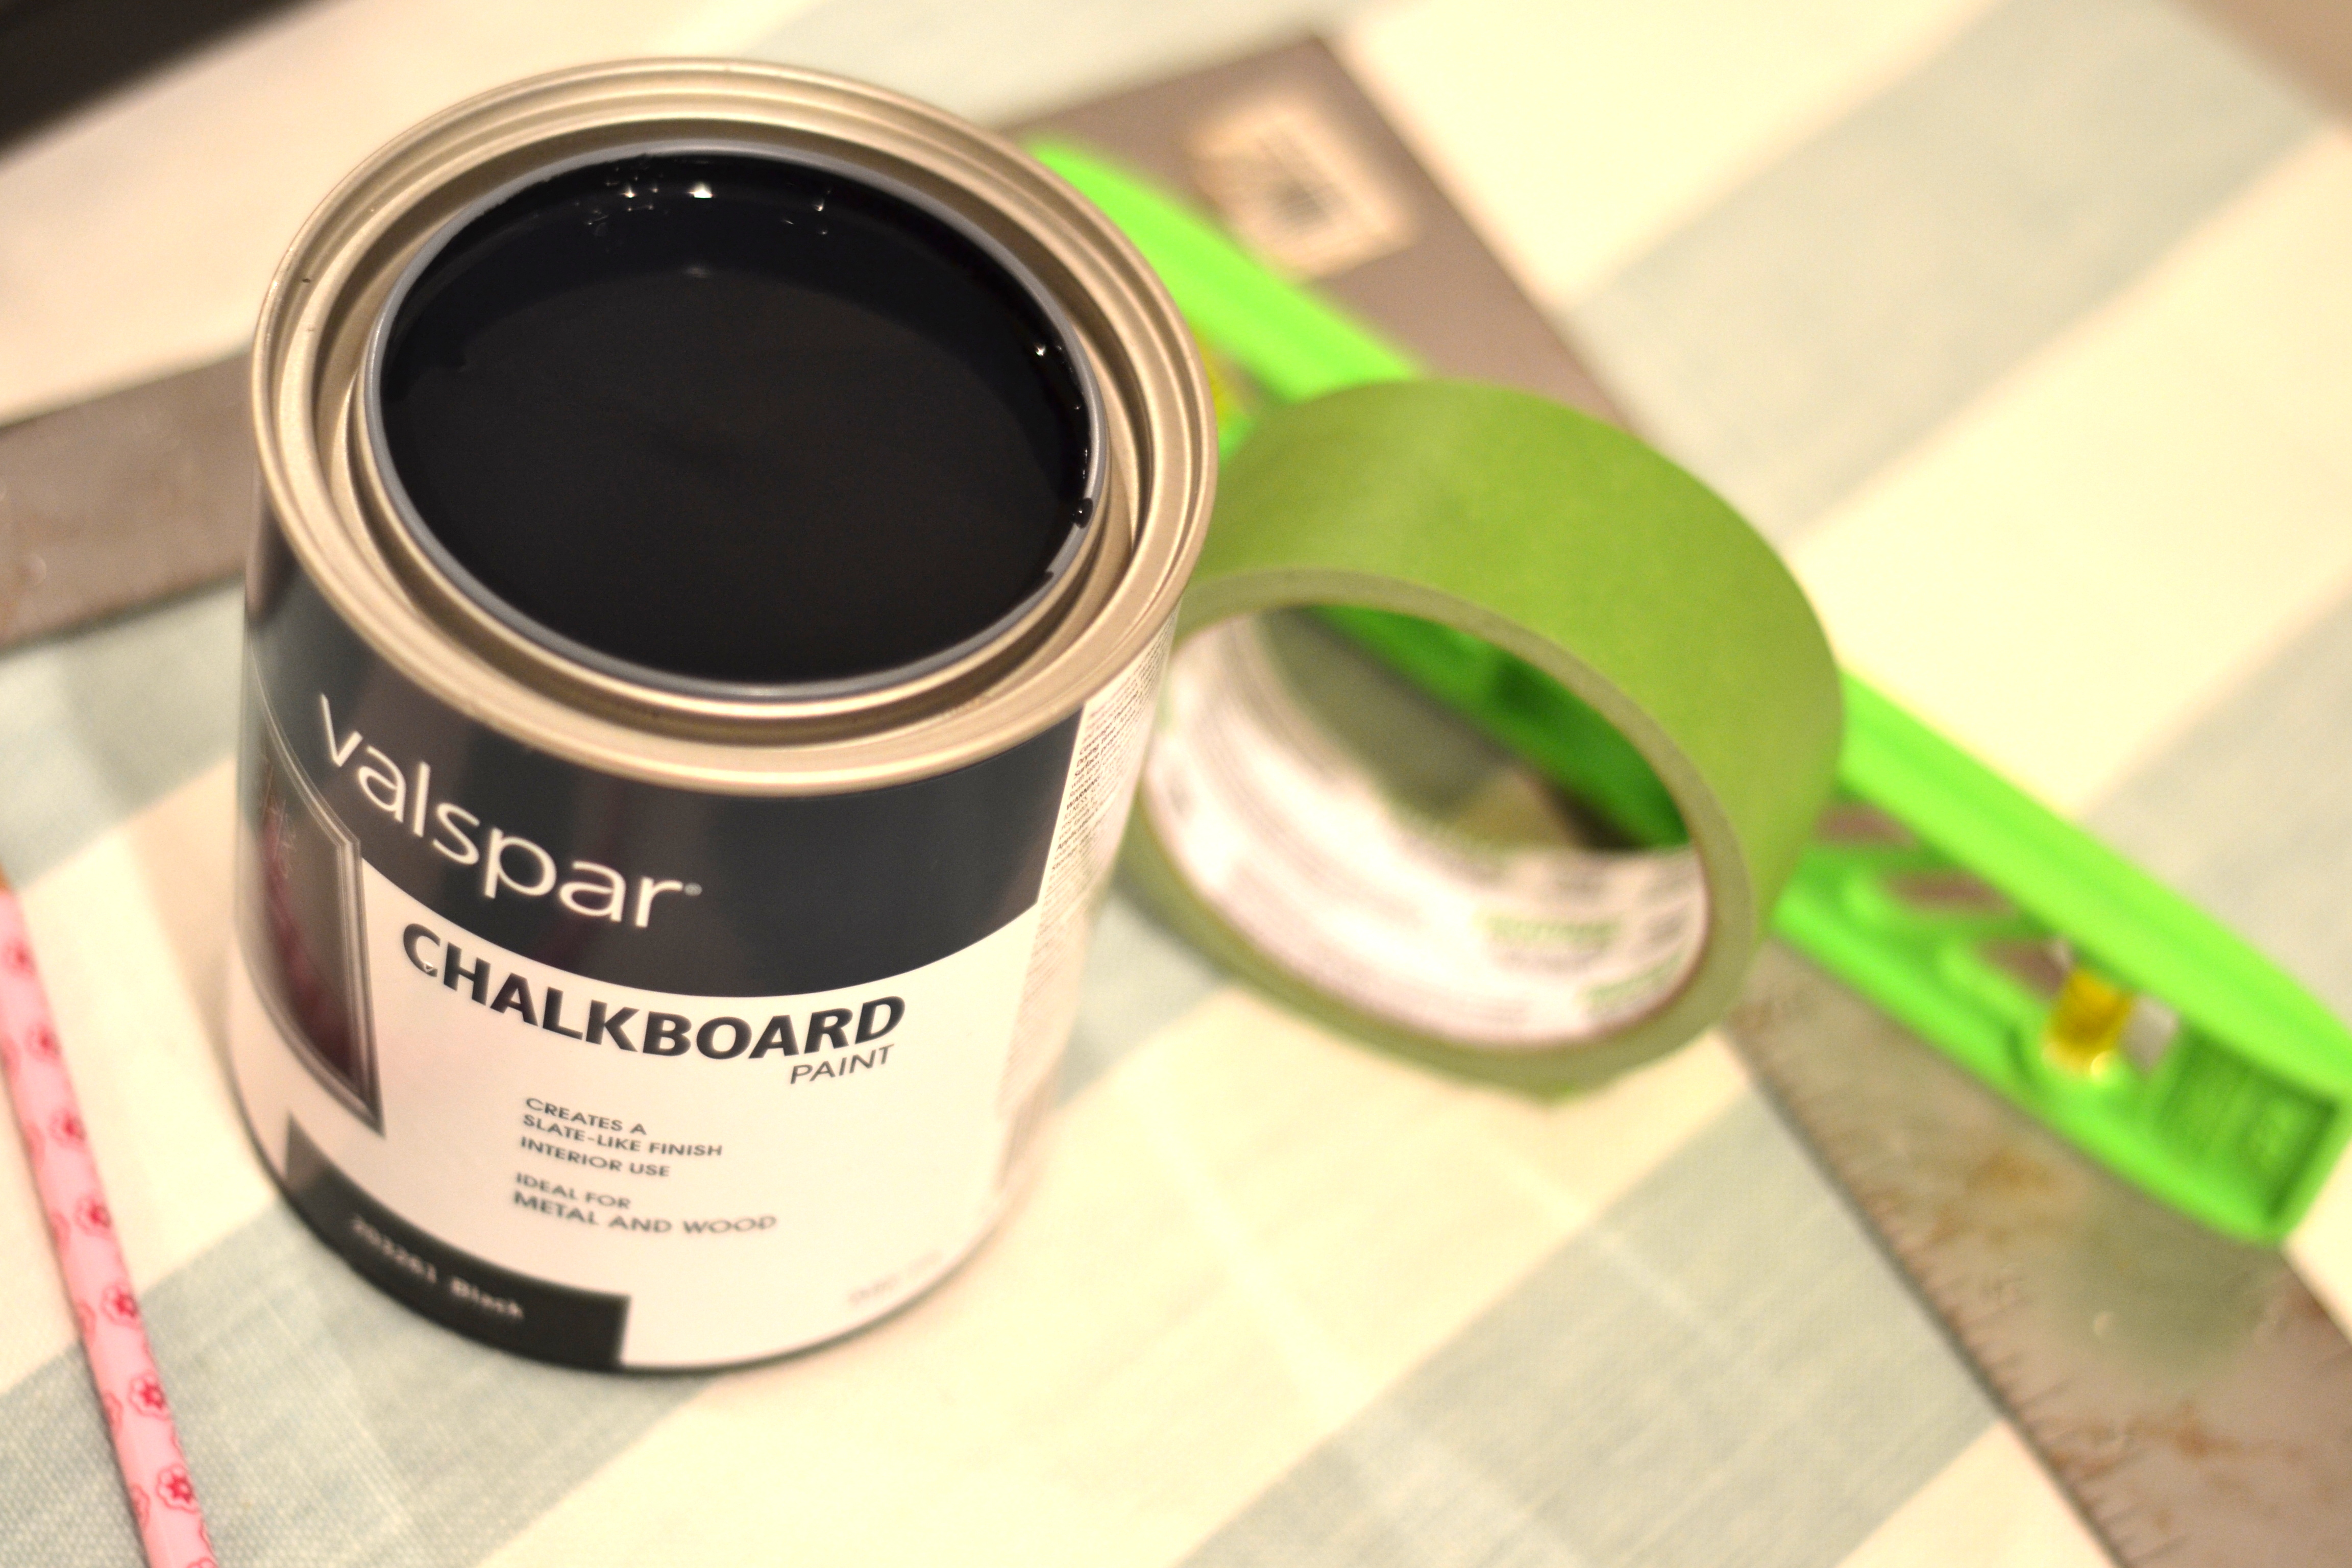
Chalkboard paint is being used everywhere! So, I wanted to get on the bandwagon! My craft and sewing room was the perfect spot for me to give it a try. After reading reviews about the product I felt like it was something I could do. That was until I checked out with paint in hand and asked the cashier to wish me luck. She chuckled and said, “you’re going to need it.” Yikes!
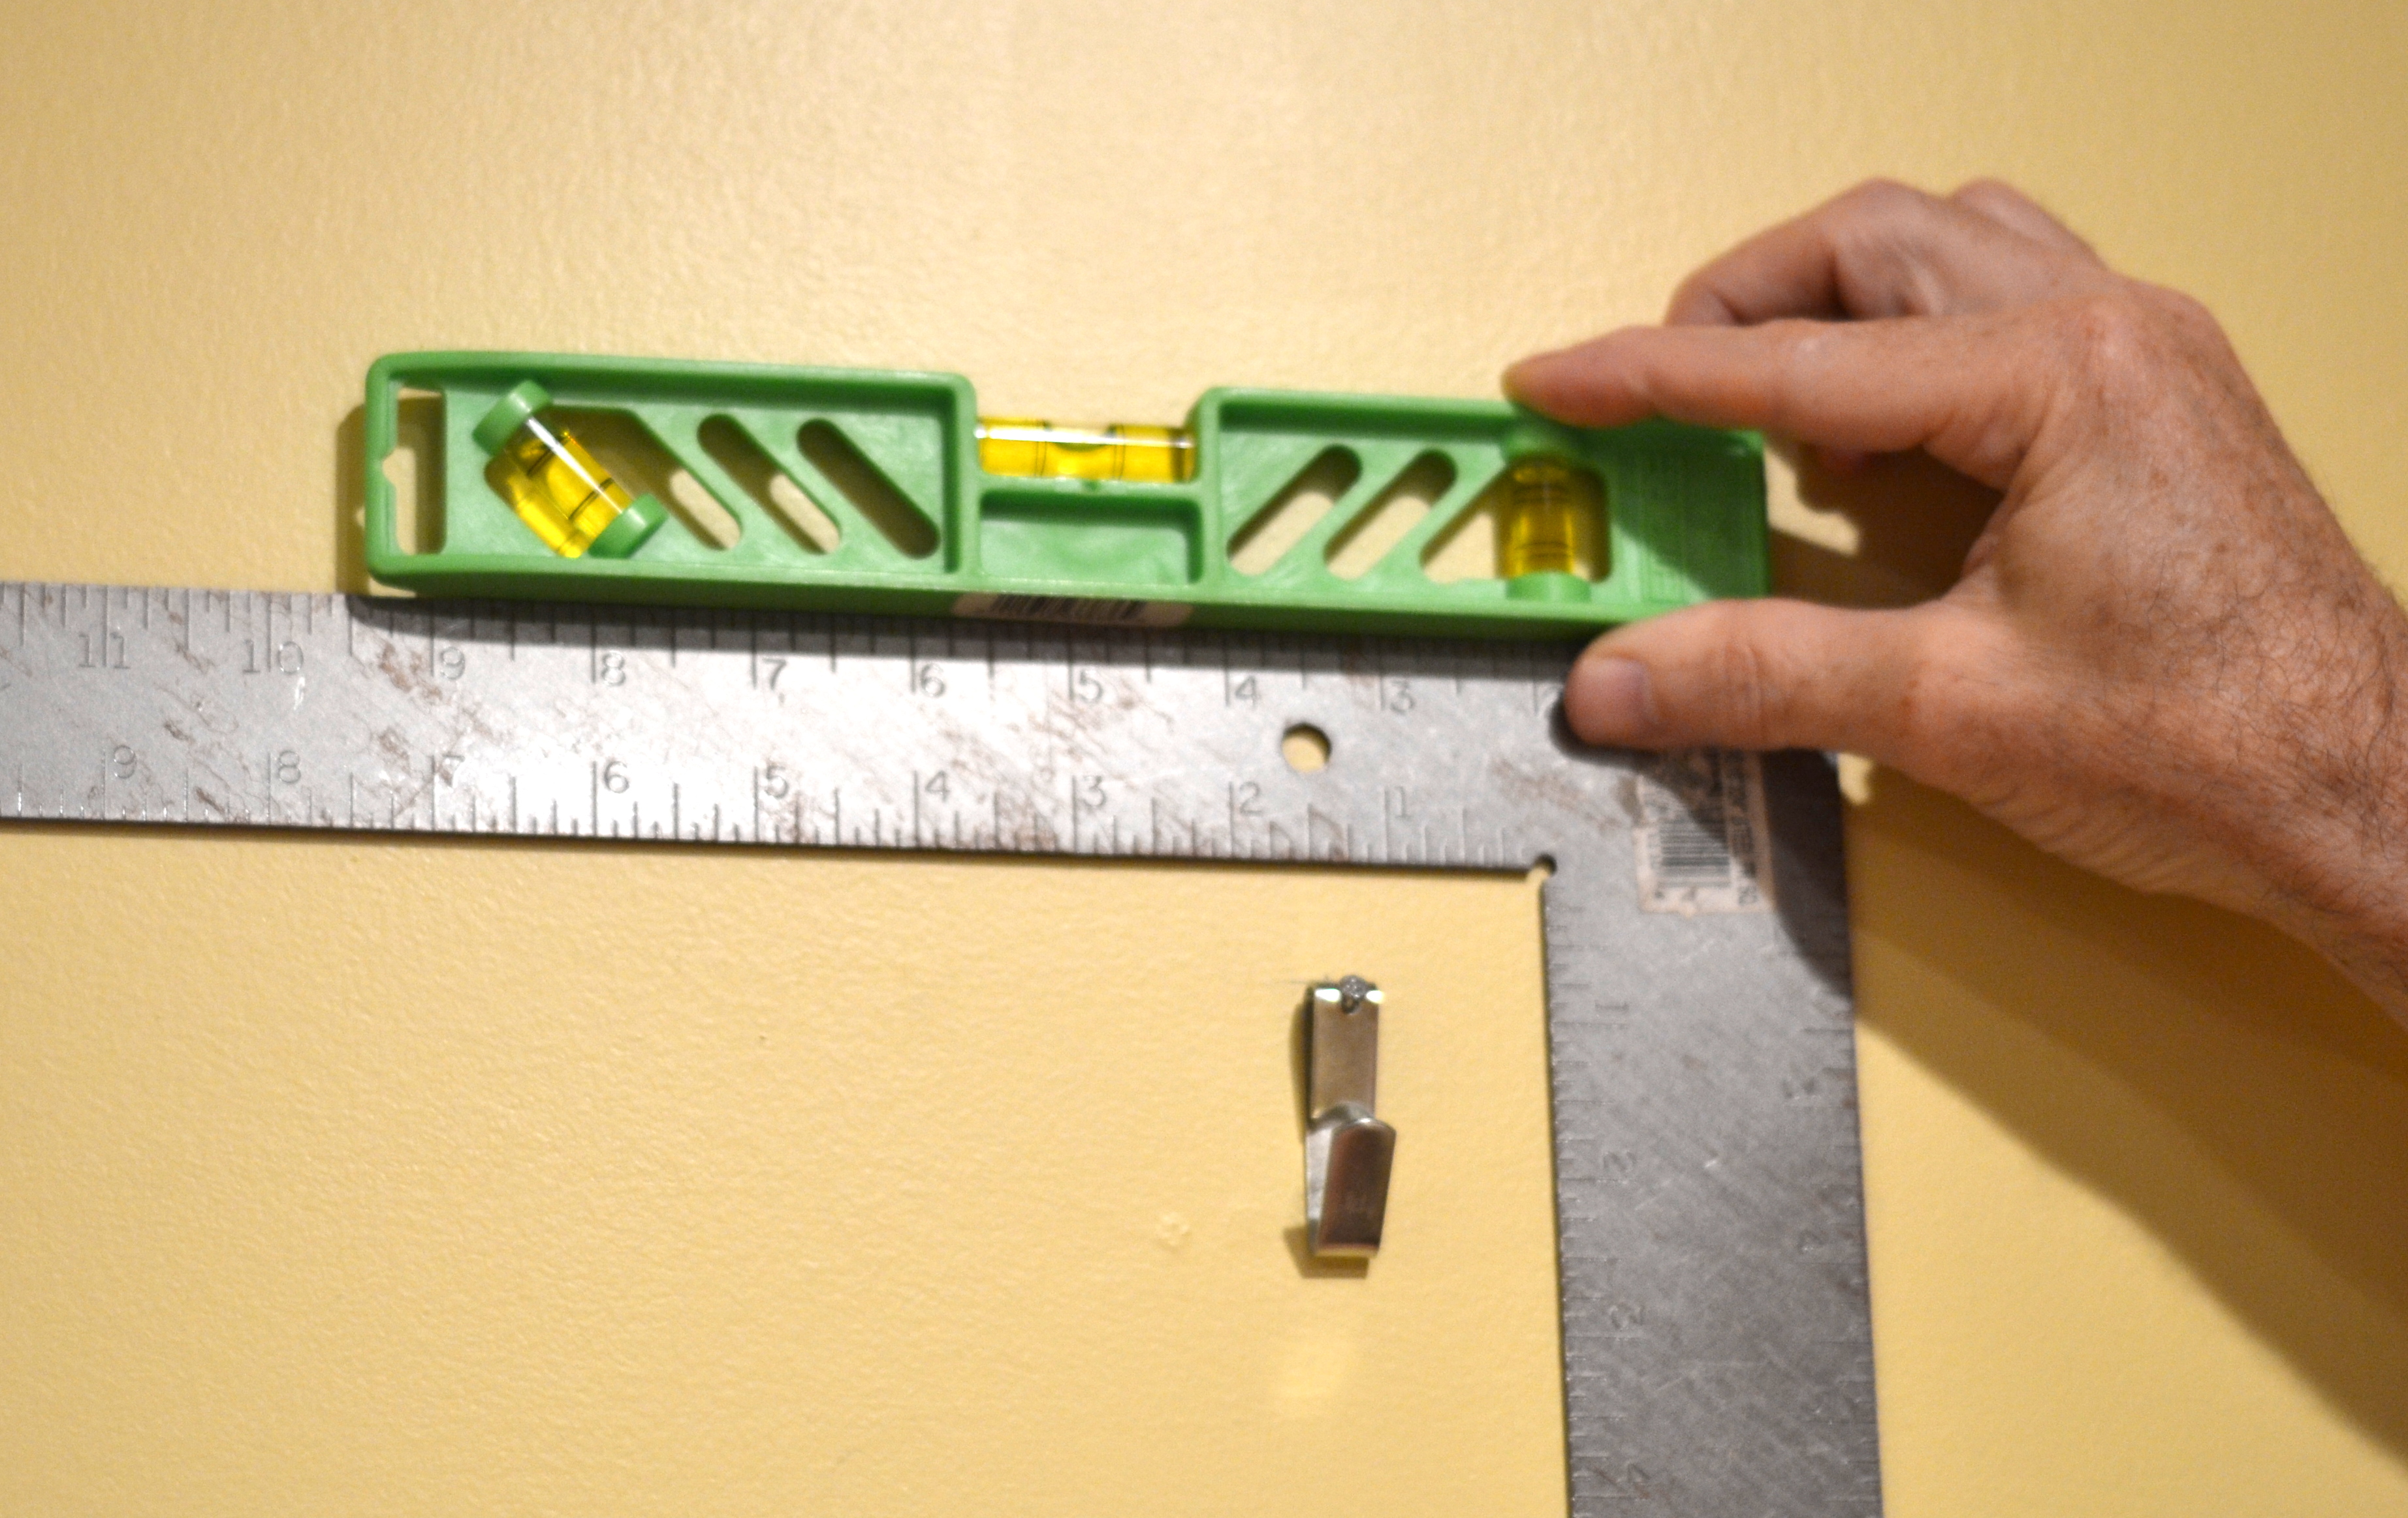
Feeling a little less sure of myself, I got busy anyway. Deciding exactly where I wanted the chalkboard was the first step because I needed it to be pretty size-able. Next, using a square as a guide and a level, I lightly drew my four corners with a pencil. Then with a yard stick, I connected the corners creating my sides and bottom.
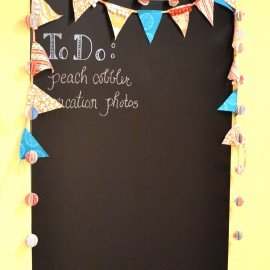
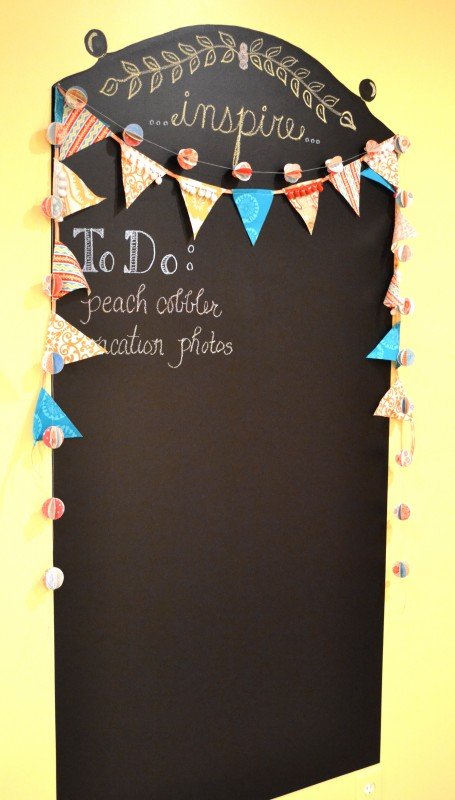
I tried to make the top interesting and drew an arch free-hand. (I may try to improve this “design” later.). Next, with painter’s tape, I taped off the area using the pencil lines as my guide. Using a small roller, I rolled on 3 coats of chalkboard paint, allowing each coat to dry before applying another. I used a paint brush to outline the arched top. After about two hours I pulled off the tape, and it looked great!

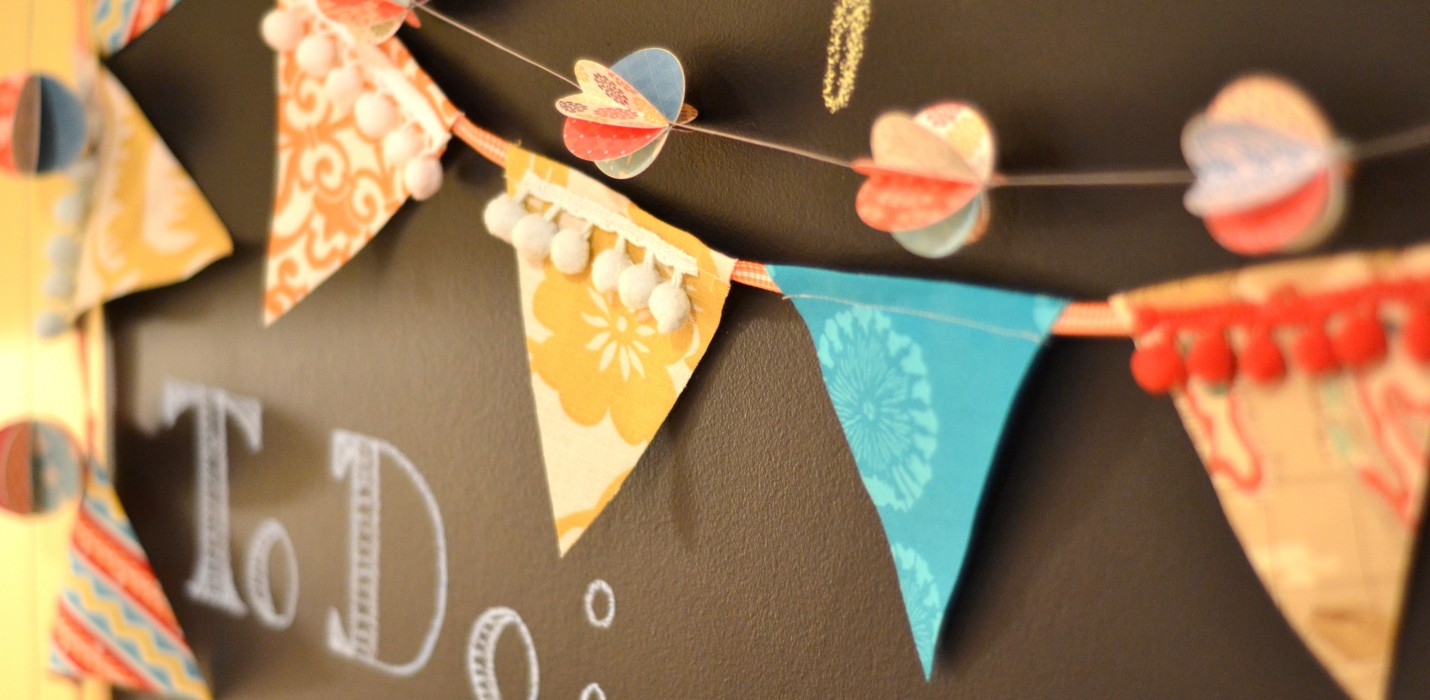
To liven things up, I made a pennant garland from small fabric scraps and another garland of folded paper circles! Love both! Chalking will take some practice, but I can see it will be something I’ll enjoy!
This project was truly one of the easiest ever, which leads me to believe the cashier had never even tried chalkboard paint!
Think about it, and I bet you can come up with a great place for using chalkboard paint, too!